Earth: buried by catherine yass
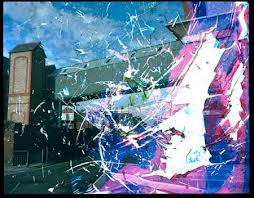
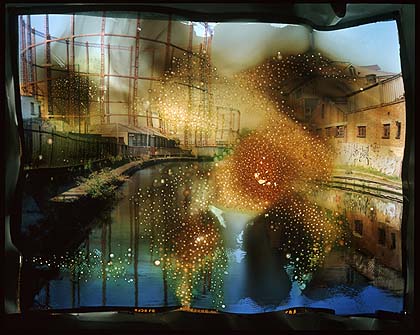
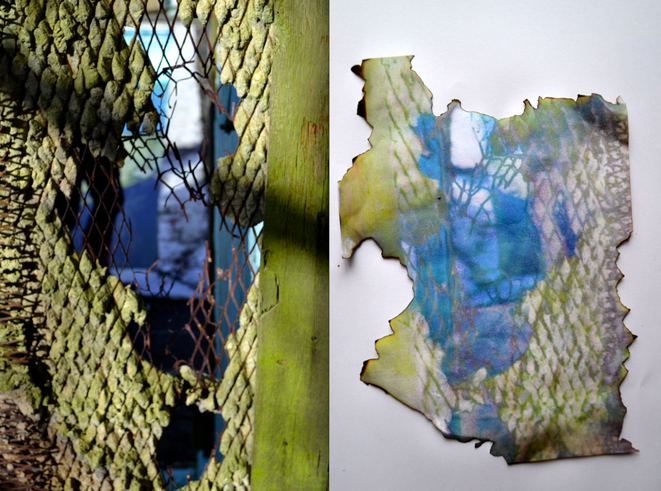
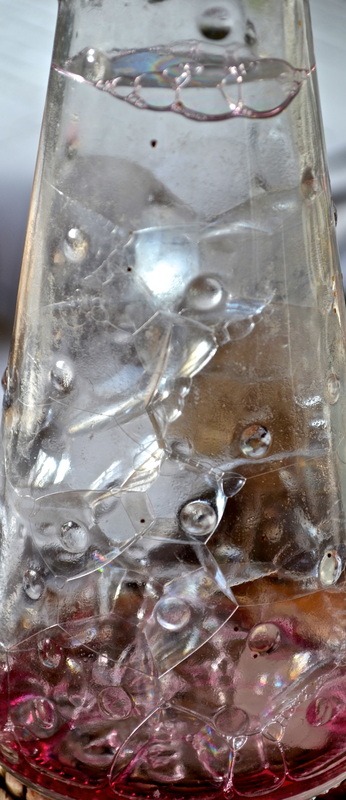
Catherine Yass, born in 1963, lives and works in the UK. She's renowned for her films and brightly coloured photographs. Her subjects have varied from concentrating on interiors, Smitchfield's market in London, mental hospitals, empty cinemas and Indian bollywood stars. In the images above, Catherine Yass has manipulated her images using one of the elements. The image on the left was put in a canal, and subjected to the element of water, causing the image to appear as if the an 'explosion' of colours has erupted from the centre. One side of the photo has been affected more than the other half, as it has a pink, saturated tone. The image on right was subjected to fire, as it was burnt. The fire has a caused a 'scale-like' effect. The colours have darkened to sepia/dark brown tones, and it appears are if there's bubbles across the image. The sides of the photo have crinkled inwards giving an antique feel. Below is my response to Catherine Yass (photo before and after). I exposed my photo to the elements of water and fire. I left the photo outside for a few days to be rained on, and then I used matches to burn it. The rain caused the ink to spread, and the matches left the edges with a rustic effect.
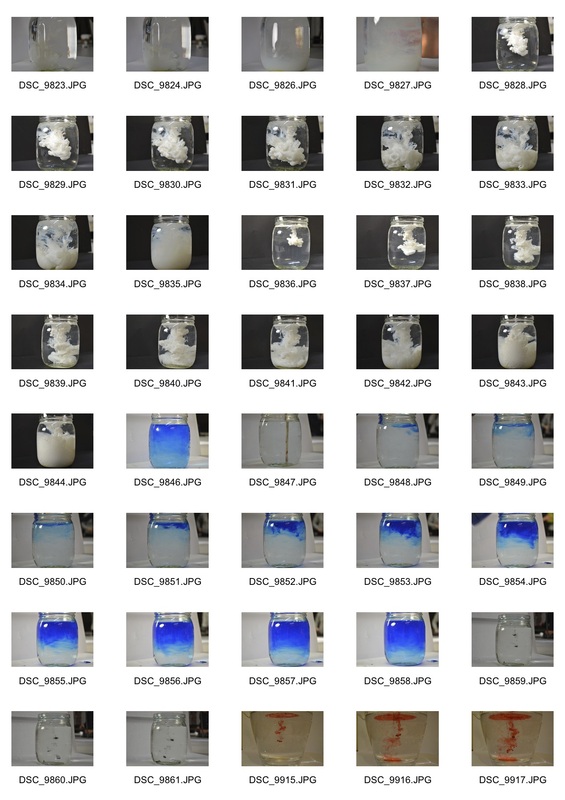
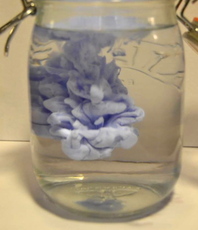
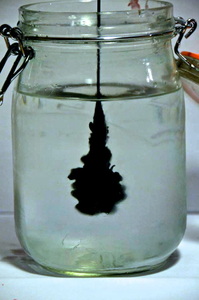
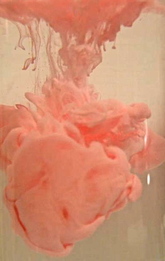
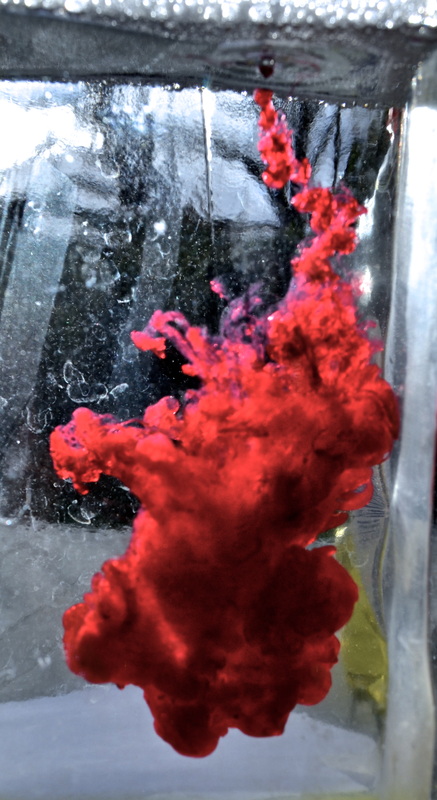
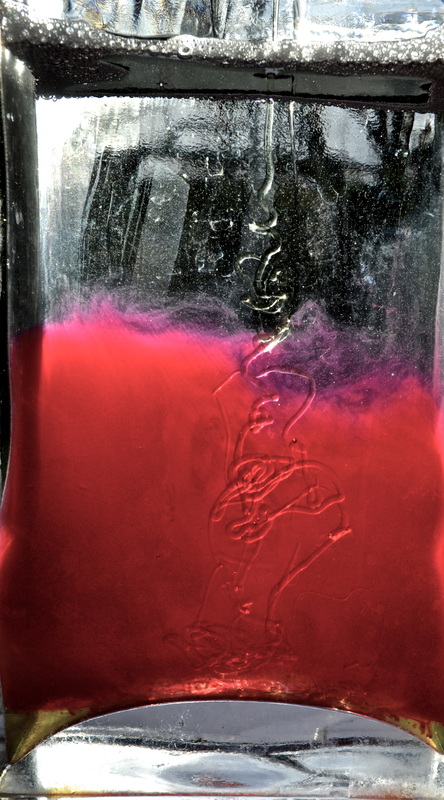
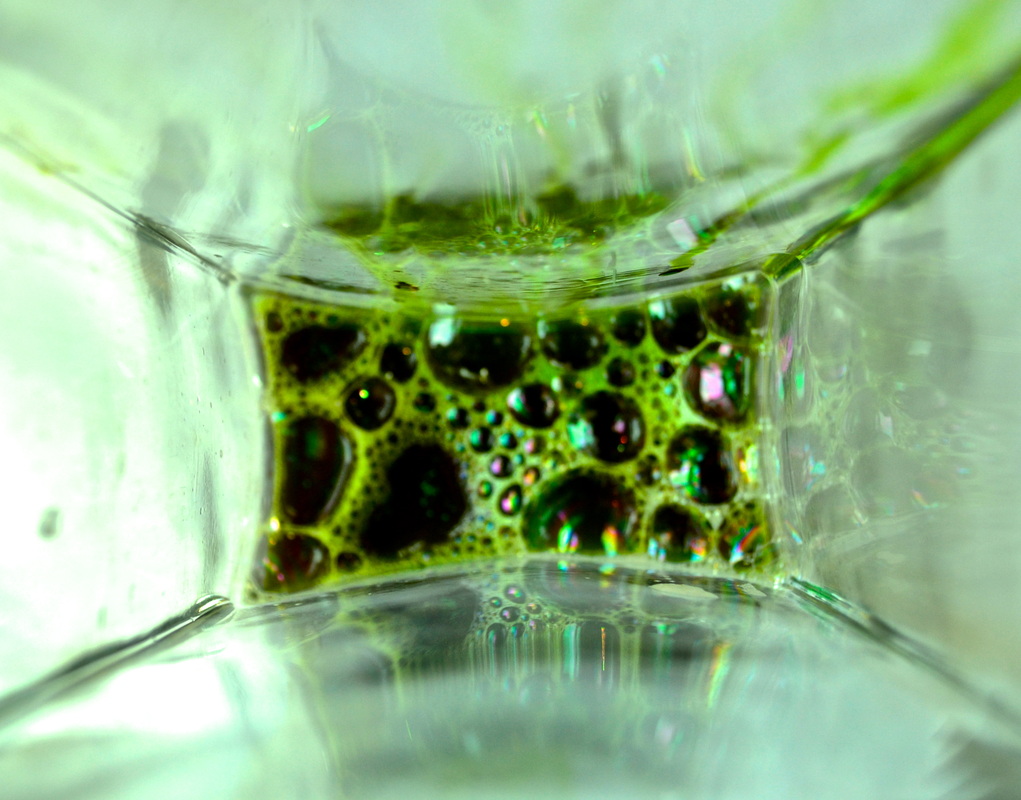
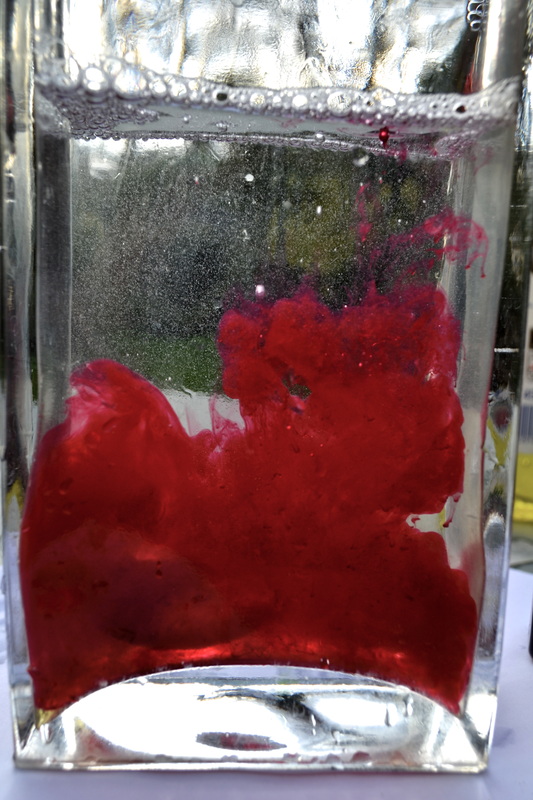
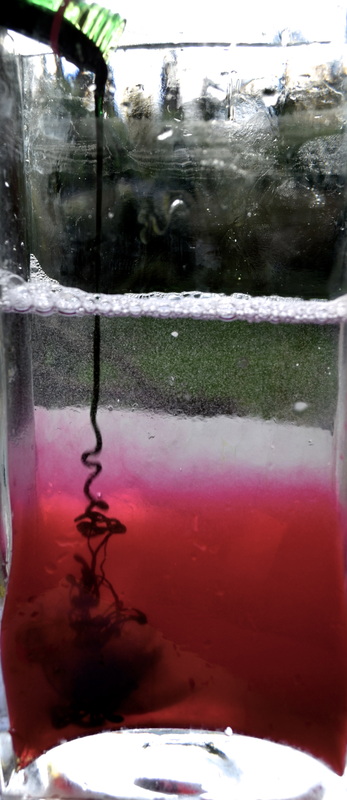
water: ink in water
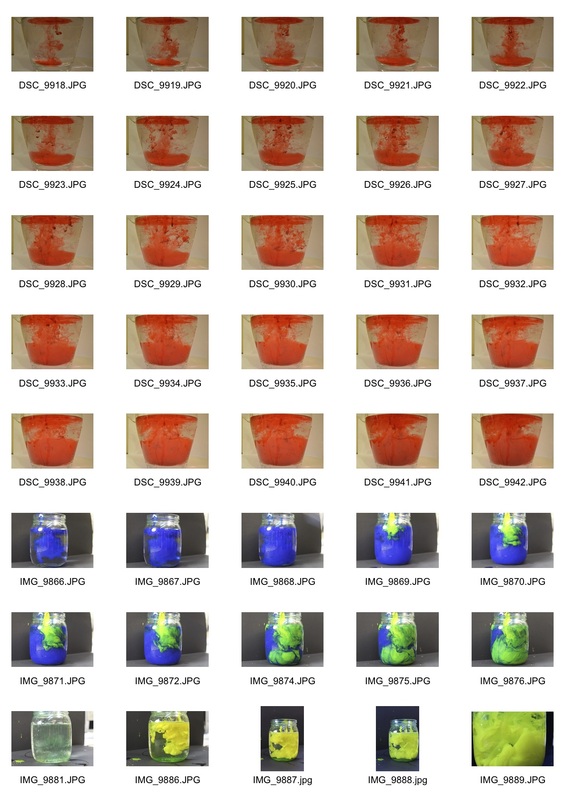
In this task, we filled a jar with water, and dropped ink, food colouring and paint into water, and photographed the pattern they formed in the water. I varied the colours of food colouring/ink, and even tried more than one at a time to get a different result.
|
|
|
|
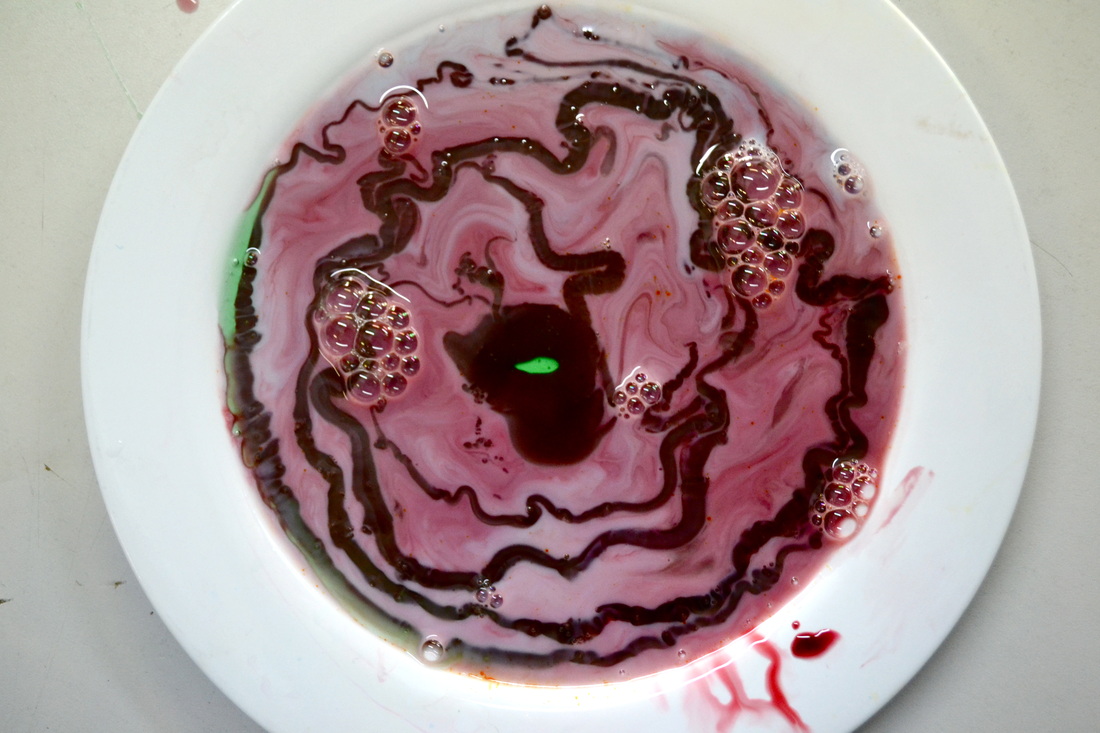
colour changing milk
Ingredients/equipment:
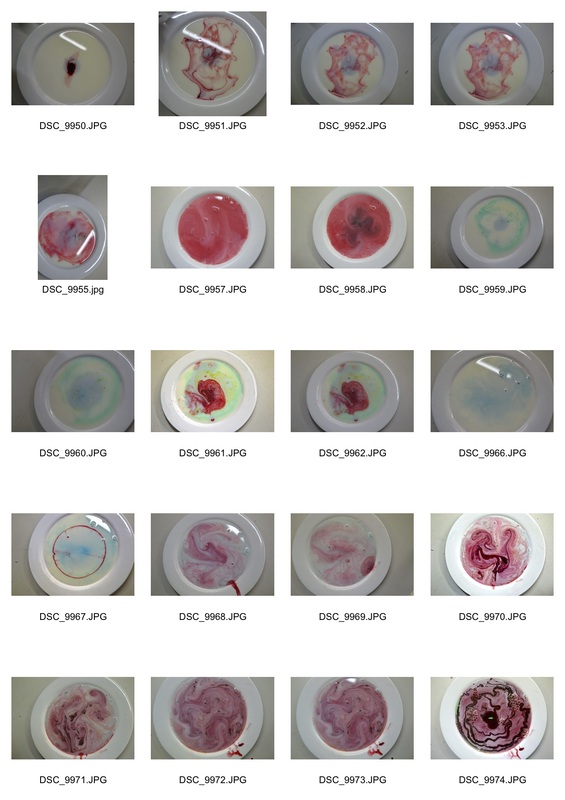
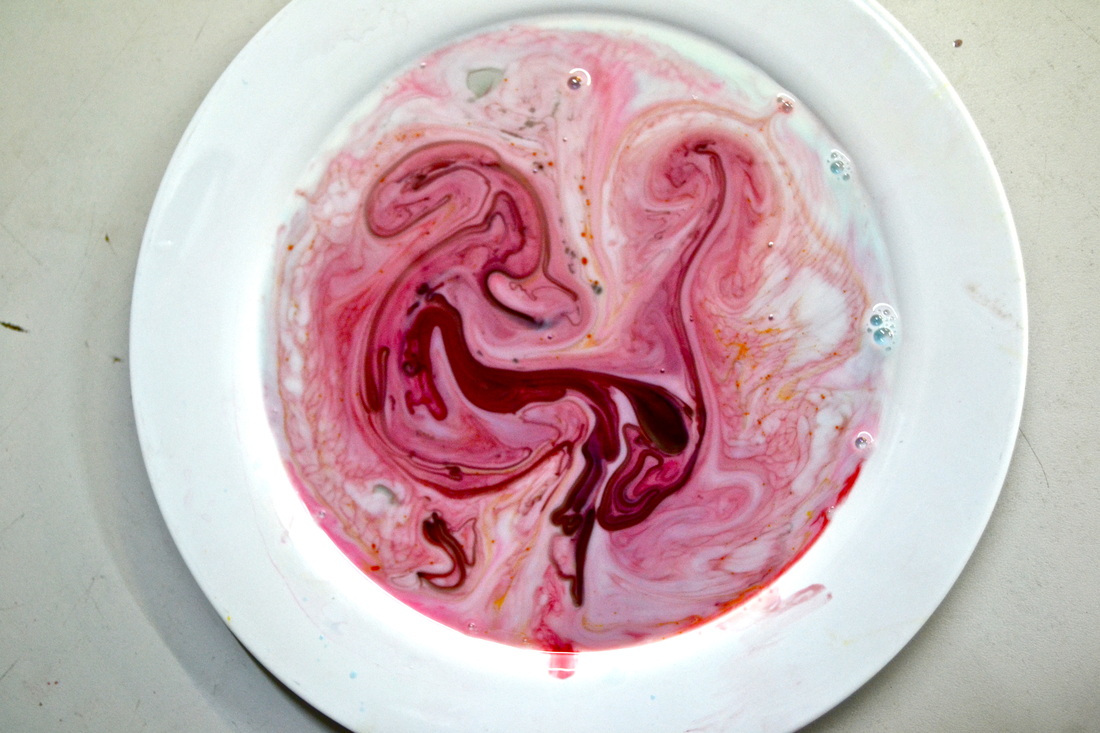
Firstly, we poured milk into a plate, ensuring that it covered all of it. Then we added a few drops of various food colouring (either the same, or different colours) to the centre of the plate of milk. We got a cotton bud, covered it in washing up liquid, and placed it into the food colouring holding it for a few seconds. The molecules of fat bend, roll, twist, and contort in all directions as the soap molecules race around to join up with the fat molecules. During all of this fat molecule gymnastics, the food colouring molecules are bumped and shoved everywhere, providing an easy way to observe all the invisible activity. We then moved the cotton bud around the plate, creating various patterns and distortions.
- Whole milk
- Plate
- Food colouring (red, yellow, green and blue)
- Cotton buds
- Washing up liquid
Firstly, we poured milk into a plate, ensuring that it covered all of it. Then we added a few drops of various food colouring (either the same, or different colours) to the centre of the plate of milk. We got a cotton bud, covered it in washing up liquid, and placed it into the food colouring holding it for a few seconds. The molecules of fat bend, roll, twist, and contort in all directions as the soap molecules race around to join up with the fat molecules. During all of this fat molecule gymnastics, the food colouring molecules are bumped and shoved everywhere, providing an easy way to observe all the invisible activity. We then moved the cotton bud around the plate, creating various patterns and distortions.
|
|
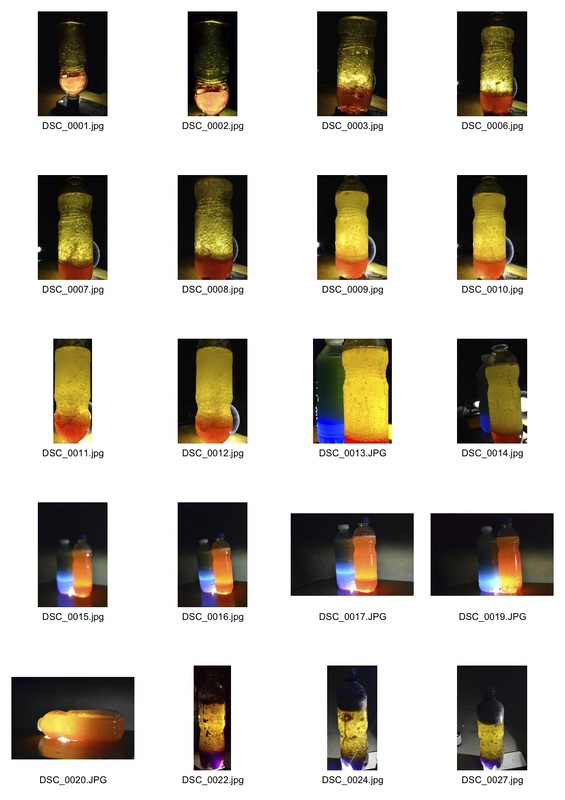
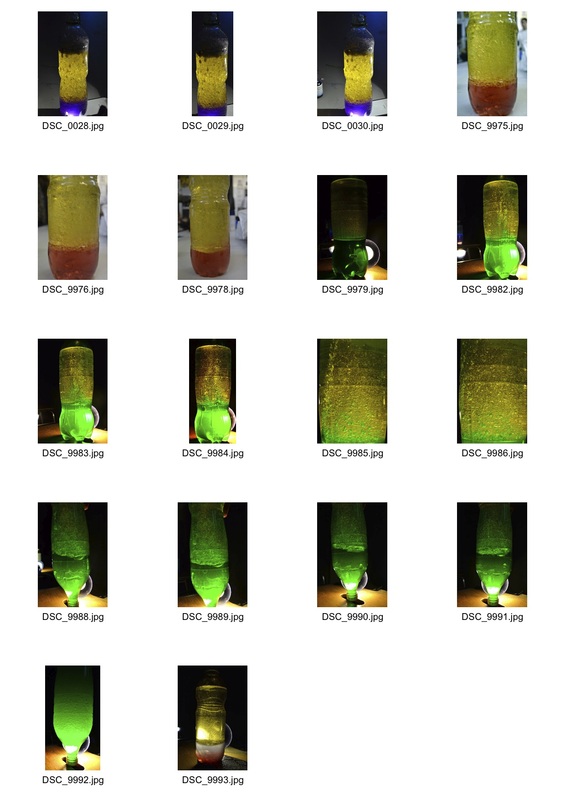
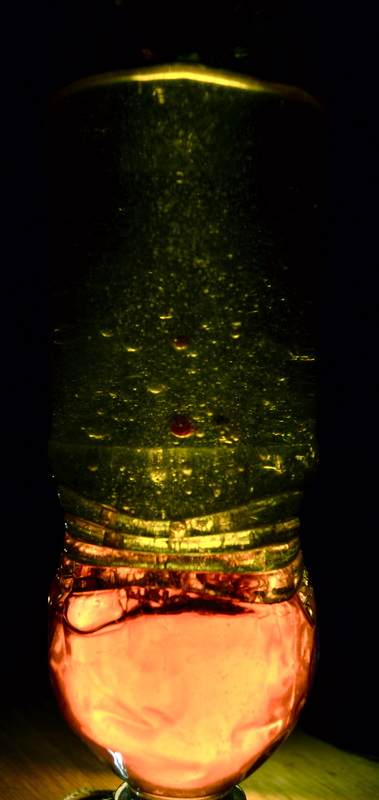
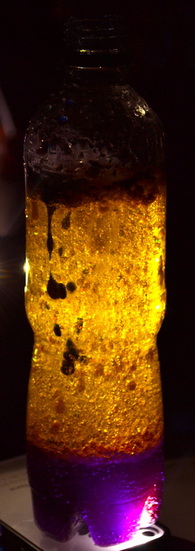
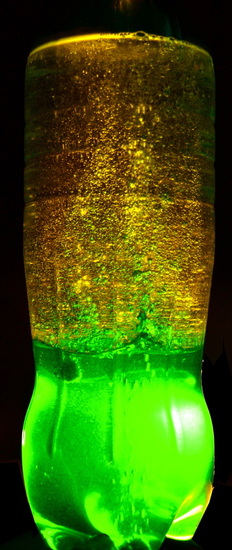
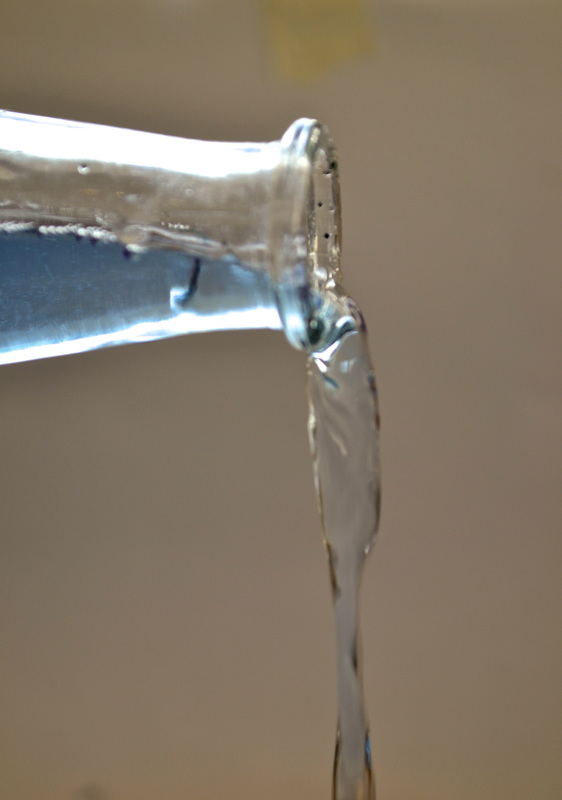
lava lamp
Materials:
- Clean plastic soda bottle
- Soda bottle top
- Vegetable oil (the cheaper the better)
- food colouring
- Alka Seltzer table
- Water
|
|
|
|
|
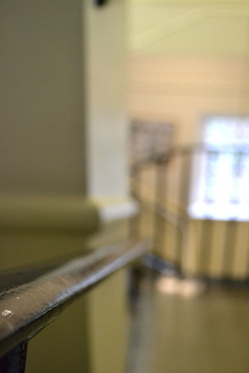
uta barth
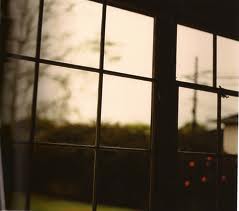
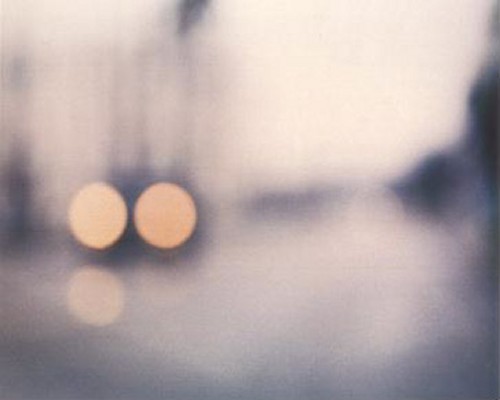
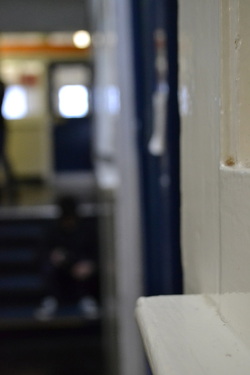
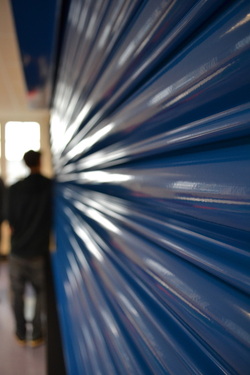
Uta Barth, born in 1958, in Berlin, is a contemporary photographer who lives and works in Los Angeles. She produces abstract photographs that explore the nature of vision and the difference between how a human percieves reality, and how a camera records it. In contrast to conventional photography, Uta Barth focuses on incidental objects, or ordinary surroundings in order to make the viewer think about their perception of images/reality. The images above are are blurred as opposed to being focused. This technique encourages viewers to reconsider the traditional functions and expectations of photography. Below are my photos in response to Uta Barth's blurred images. I experimented with manual focus, varying the focus on objects afar, and near. Underneath, my contact sheet, are my top three edited photos that I thought conveyed Uta Barth's intentions most effectively.
Blurred photos in response to uta barth
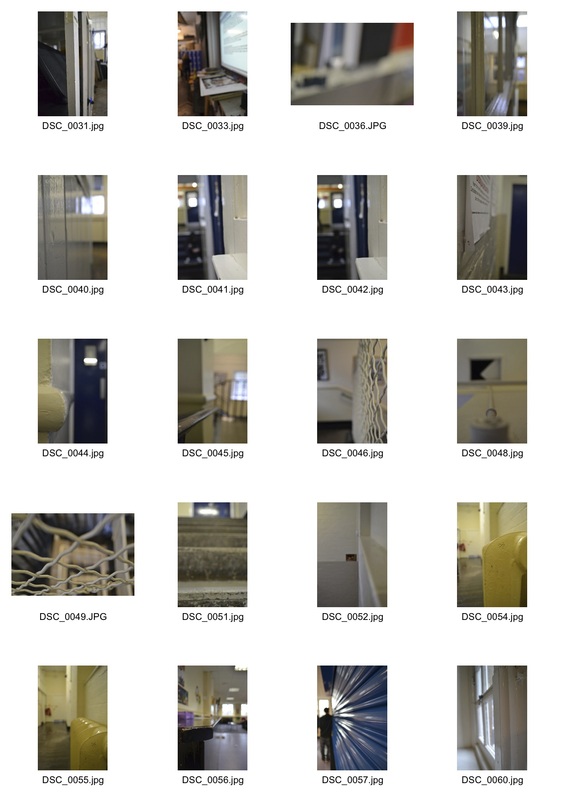
edits
|
|
|
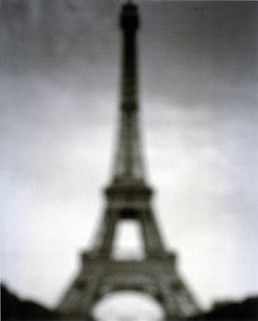
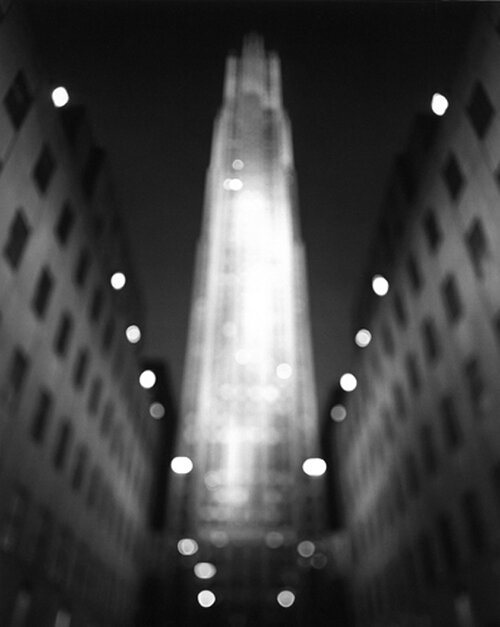
hiroshi sugimoto
|
|
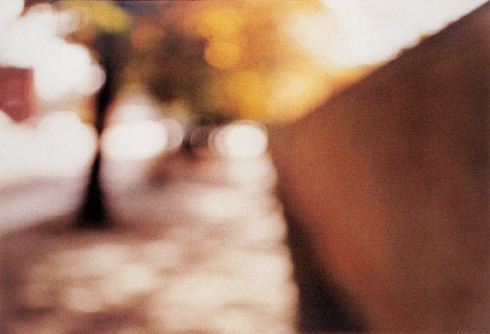
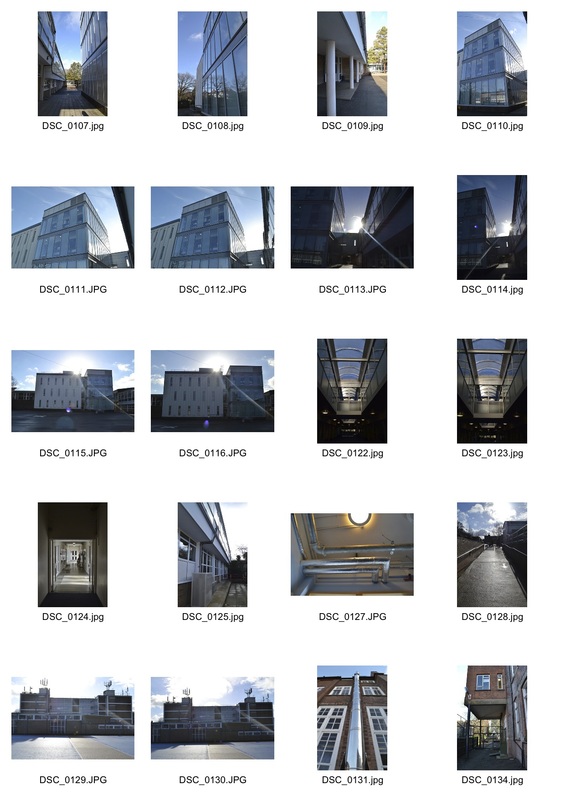
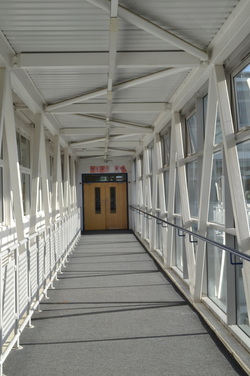
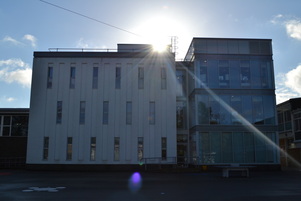
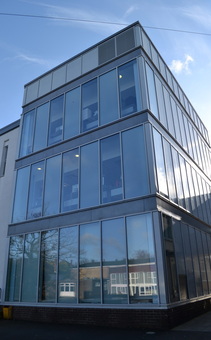
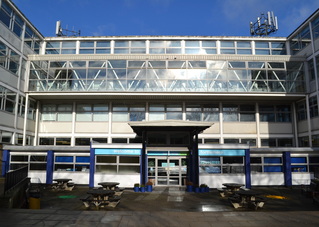
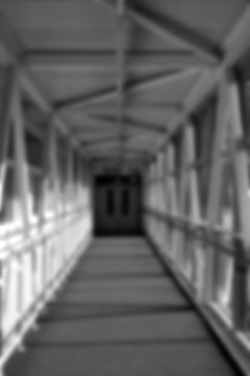
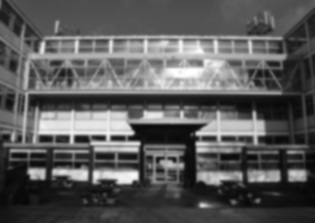
Hiroshi Sugimoto, born on February 23, 1948, is a Japanese photographer who spends his time in Tokyo, and New York. In 2000, he began his Architecture series which consists of blurred images of well-known Modern architecture. He quotes: 'Early-twentieth century Modernism greatly transformed our lives, liberating the human spirit from untold decoration. No longer needing to draw attention from God, all aristocratic attempts at ostentation have fallen away. At last we avail ourselves of mechanical aids far beyond our human powers, attaining the freedom to shape things at will. I decided to trace the beginnings of our age via architecture. Pushing my old large-format camera’s focal length out to twice-infinity―with no stops on the bellows rail, the view through the lens was an utter blur―I discovered that superlative architecture survives, however dissolved, the onslaught of blurred photography. Thus I began erosion-testing architecture for durability, completely melting away many of the buildings in the process.' The blurred focus demonstrates just how impressive the architecture is, as it remains to stand out even when the detail has been removed. Below are photos that I took around of my school's architecture in response to Hiroshi Sugimoto's blurred architecture series. I took the photos in focus, and edited a few below, making them black and white, and giving them a blurred effect, using photoshop.
photo response to hiroshi sugimoto

|
|
blurred black and white edits
|

|
fire - jiang zhi
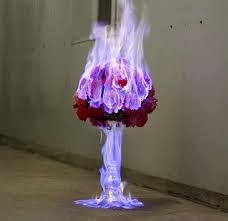
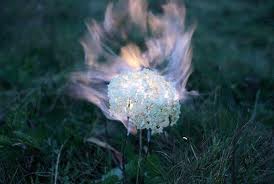
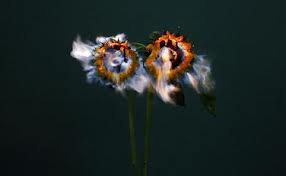
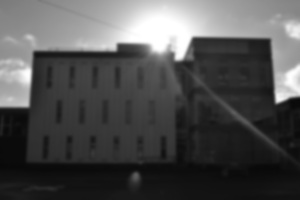
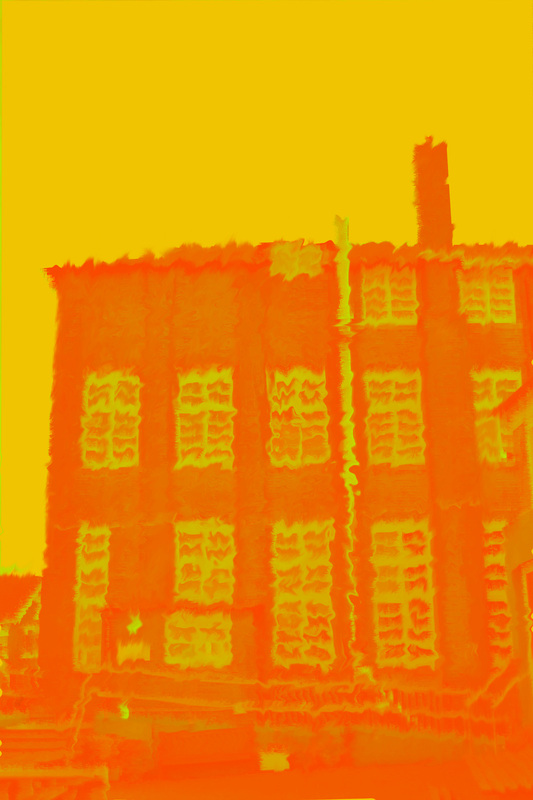
Jiang Zhi, was born in 1971 in Hunan Yuanjiang. In 1995 he graduated from the China Academy of Fine Arts, and now he lives and works in Shenzhen and Beijing. The photos above are from a series called 'love letters.' Jiang Zhi uses alcohol as a flaming agent, and sets various types of flowers and blossoms on fire, whilst photographing them as they burn. His photos, captures the last moment of life from the flowers, aswell as the lively flames of the fire. Each photo focuses on one type of flower, or even a single stem. He chooses appealing flowers such as white orchids, red lilies, and yellow sunflowers and contrasts them against a plain background. This juxtaposition of the flowers, highlights the beauty and danger of nature. Zhi says, "Beautiful things and objects themselves will ultimately disappear, but the beauty itself will live on, as well as love. Perhaps this is what I am trying to express." Below I attempted to edit a photo of a building, to make it appear appear as if it was burning on photoshop. Unfortunately the result is poor and very ineffective, however it still conveys fire and burning.
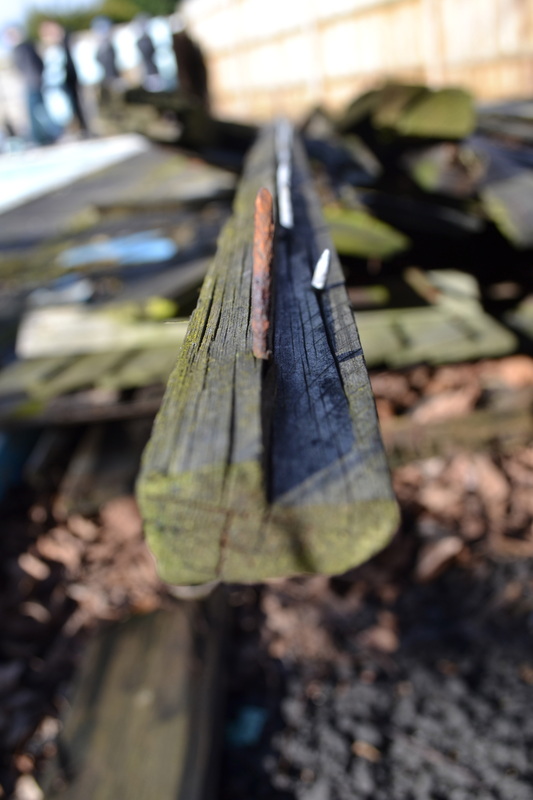
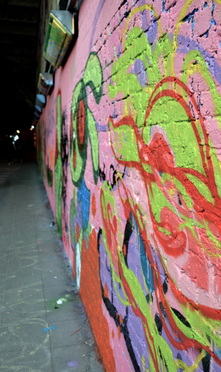
elegant corrosion - colin winterbottom
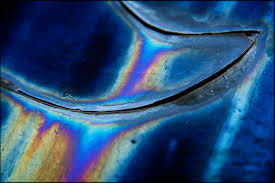

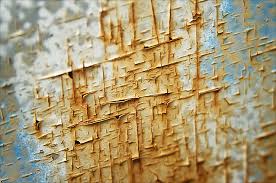
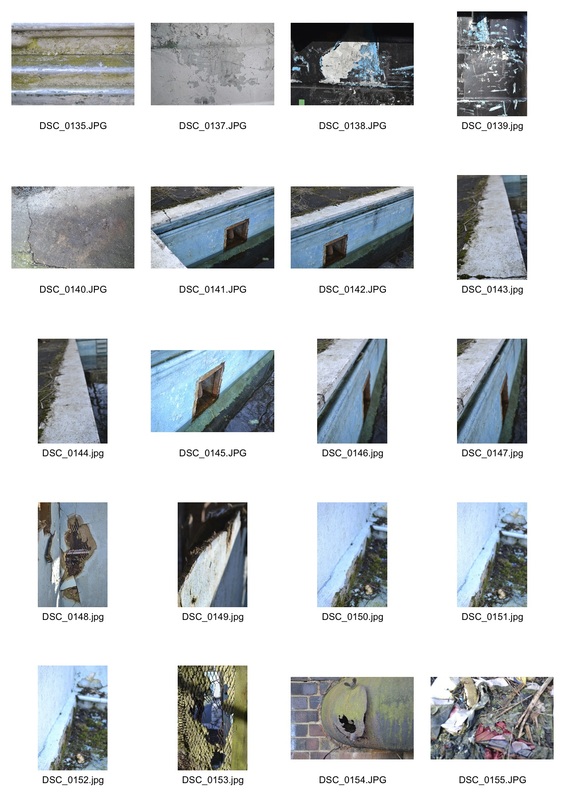
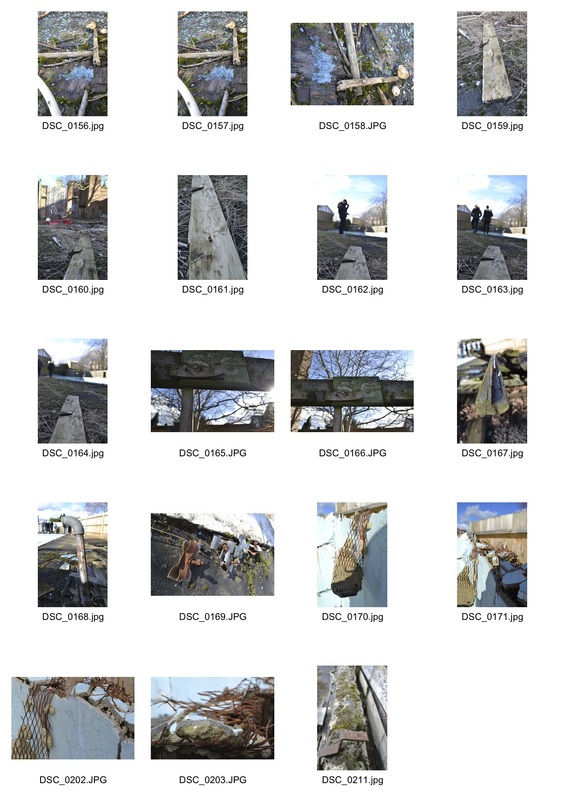
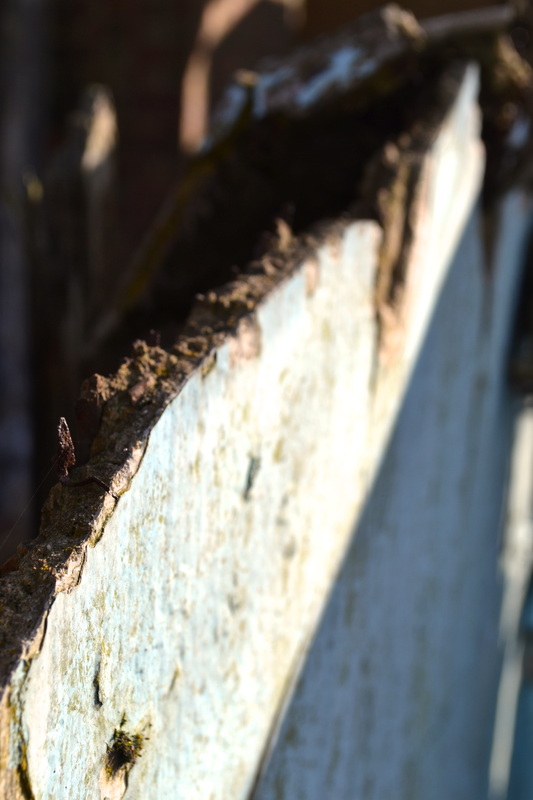
Above are images from Colin Winterbottom's series elegant corrosion, in which he photographs various textures, rusting and corroding objects. It's his first series in colour and his first shit digitally. His images capture the beauty to corrosive, man made objects. As opposed to documenting cities as we see it everyday, he offers a new perspective of compelling composition's and interesting perspectives to transform urban landscape into colourful abstractions. His photos invite the viewer to comprehend how it must feel to be in the landscape where the photos taken. It's as if the viewer 'feels' the texture with their sight. In many of his photos he uses film, emphasising the texture he's photographing. Colin Winterbottom scans his film and makes his own large formant prints using archival digital methods. His combination of traditional and contemporary methods, juxtaposes the combination of tradition, plain landscapes that he transforms into elegant corrosion. Below are some photos I took of an old, eroded swimming pool, in response to Colin Winterbottom's series. Underneath the contact sheets are the top three photos that I thought captured 'elegant corrosion' most effectively.
|
|
|

|
|
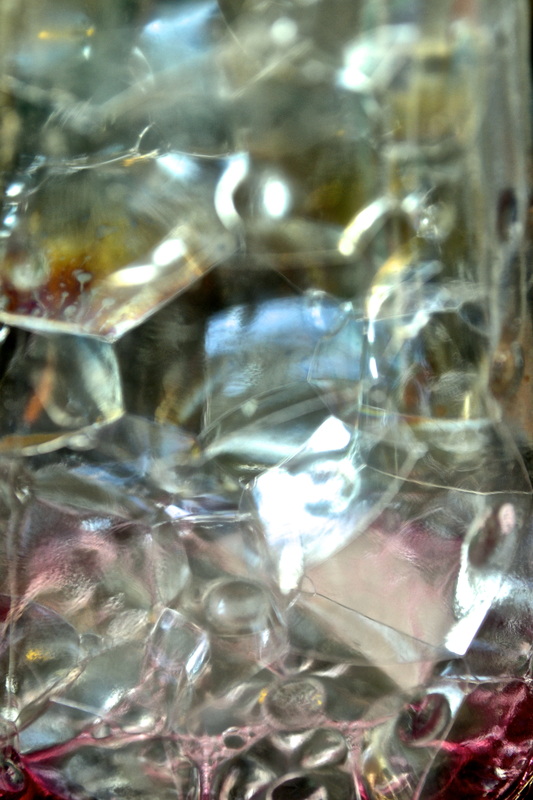
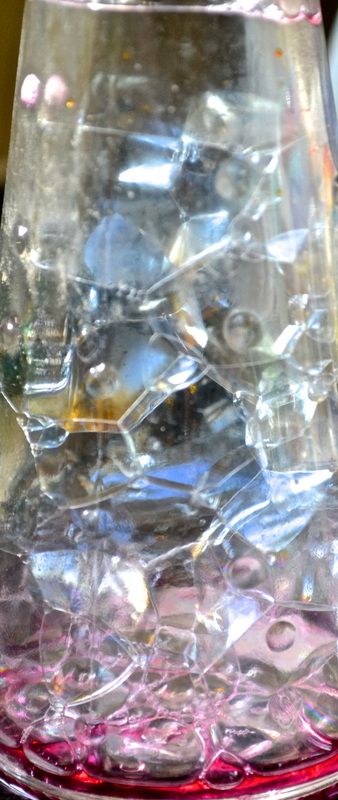
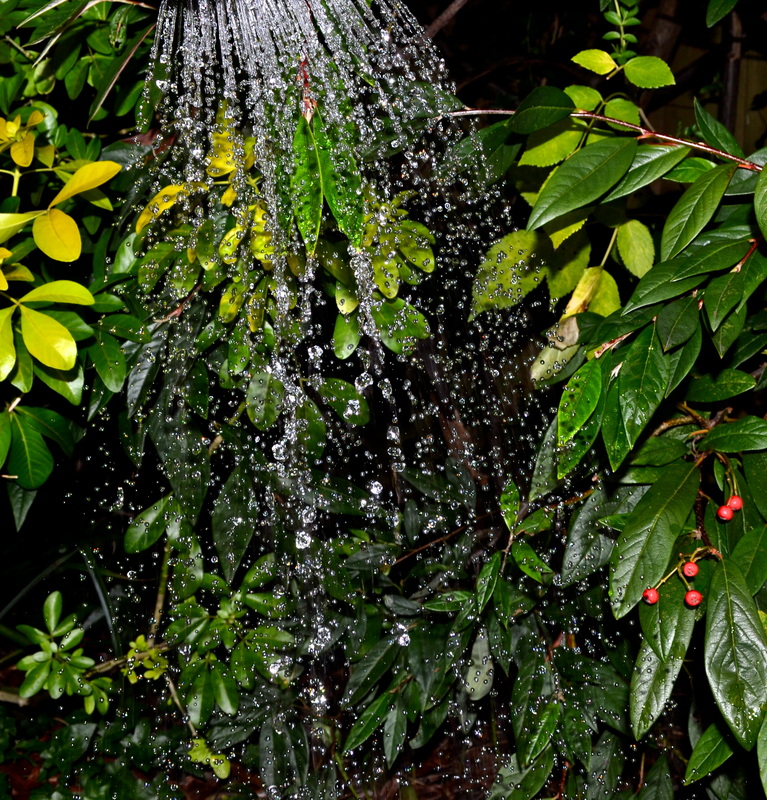
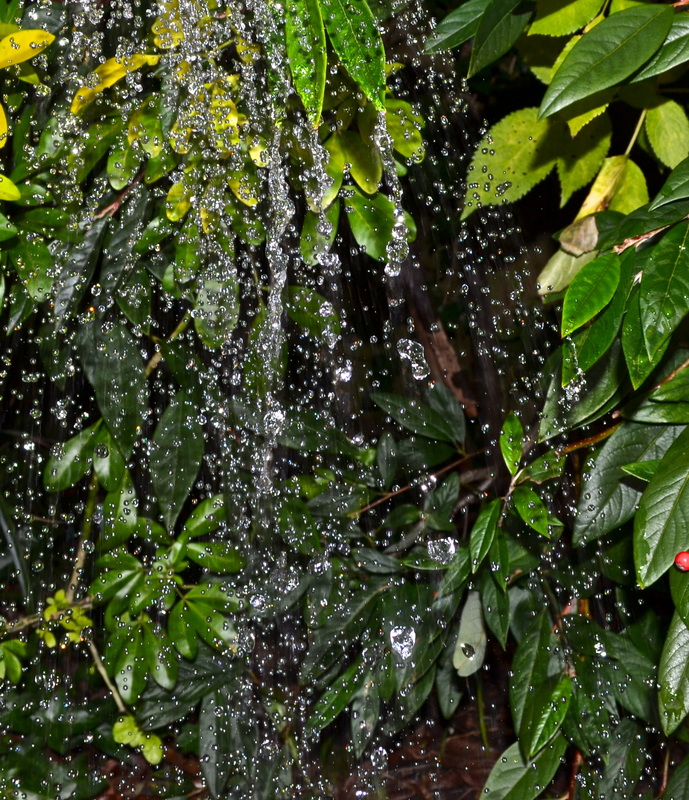
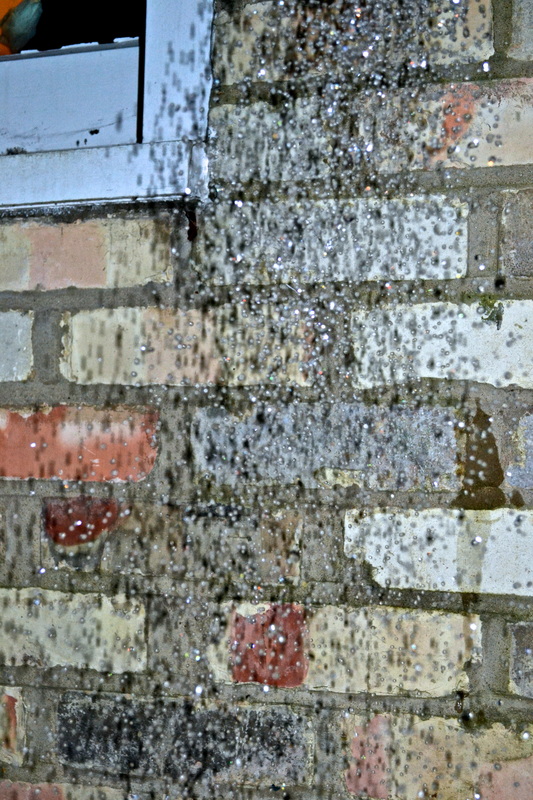
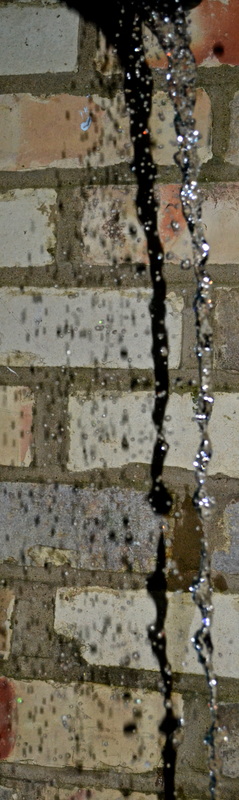
rain
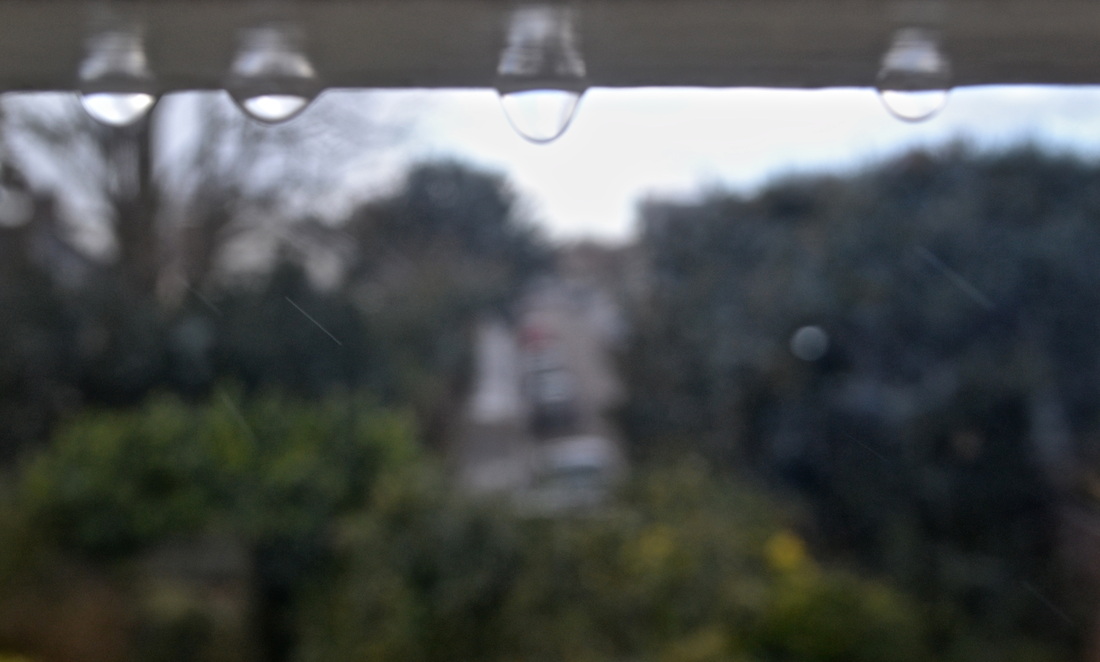
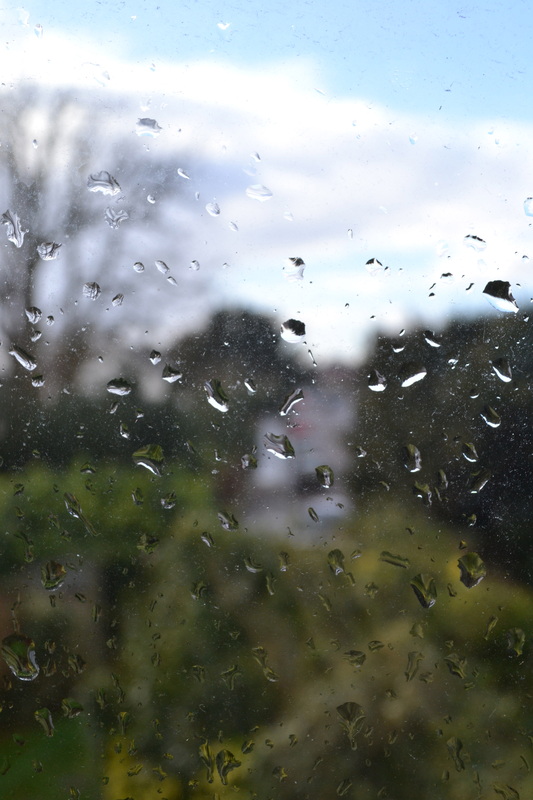
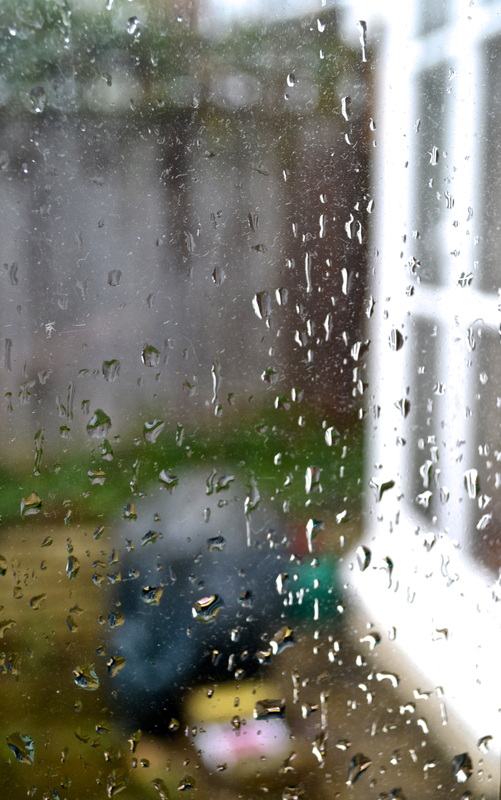
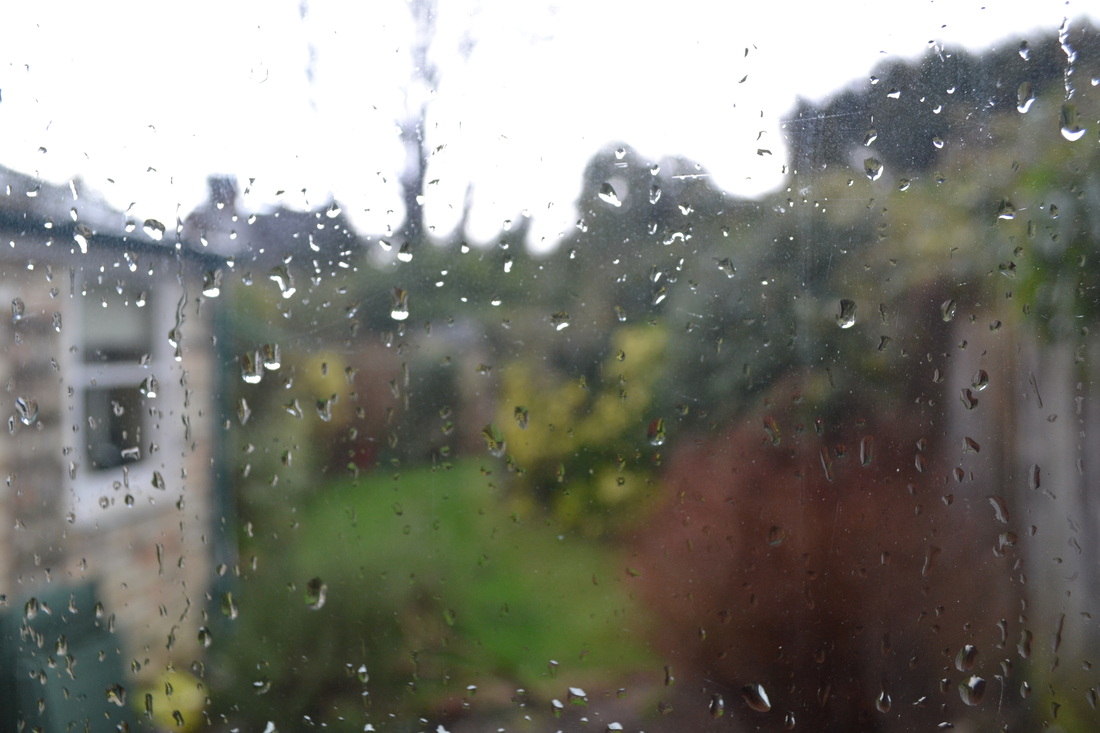
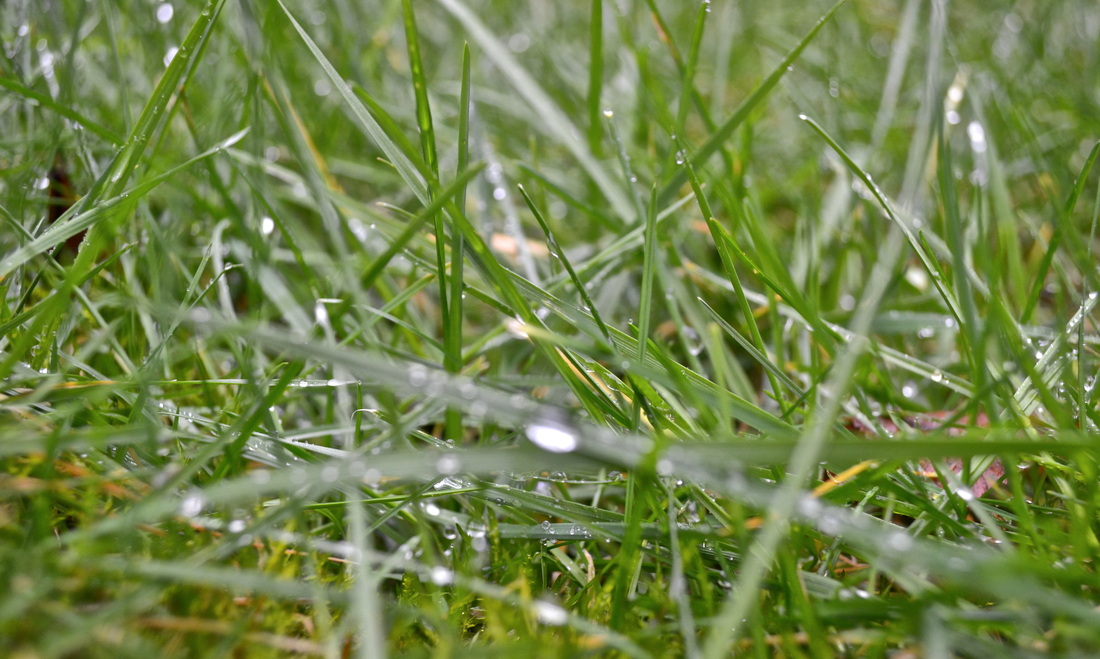
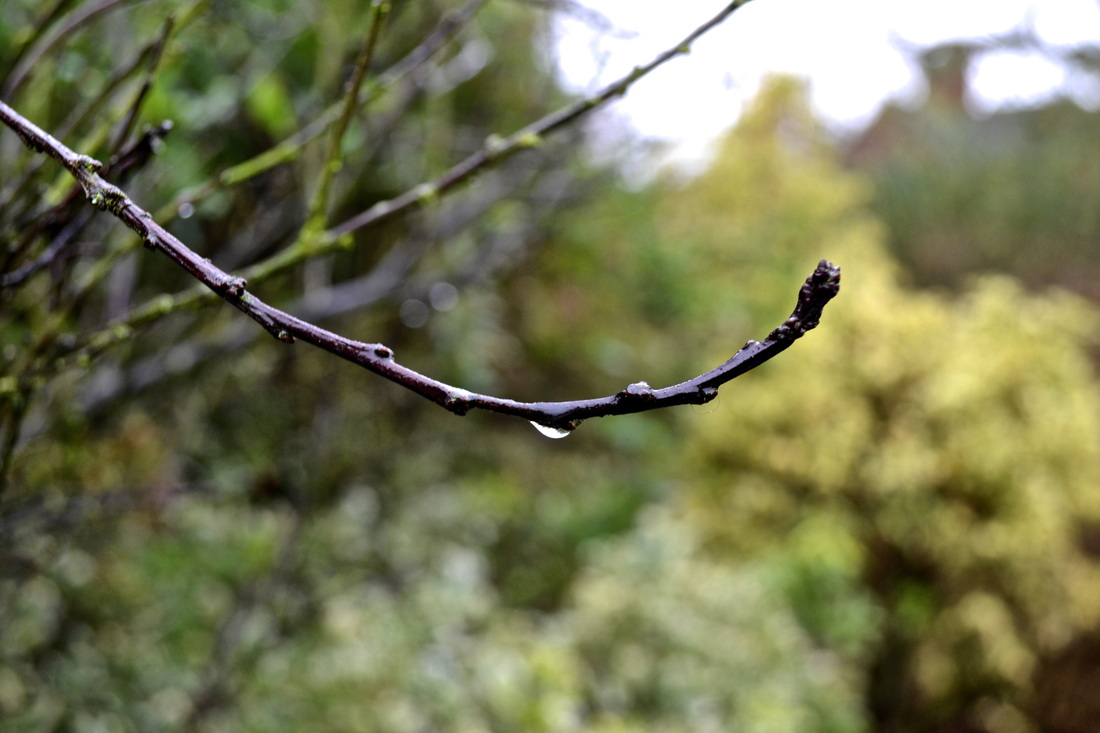
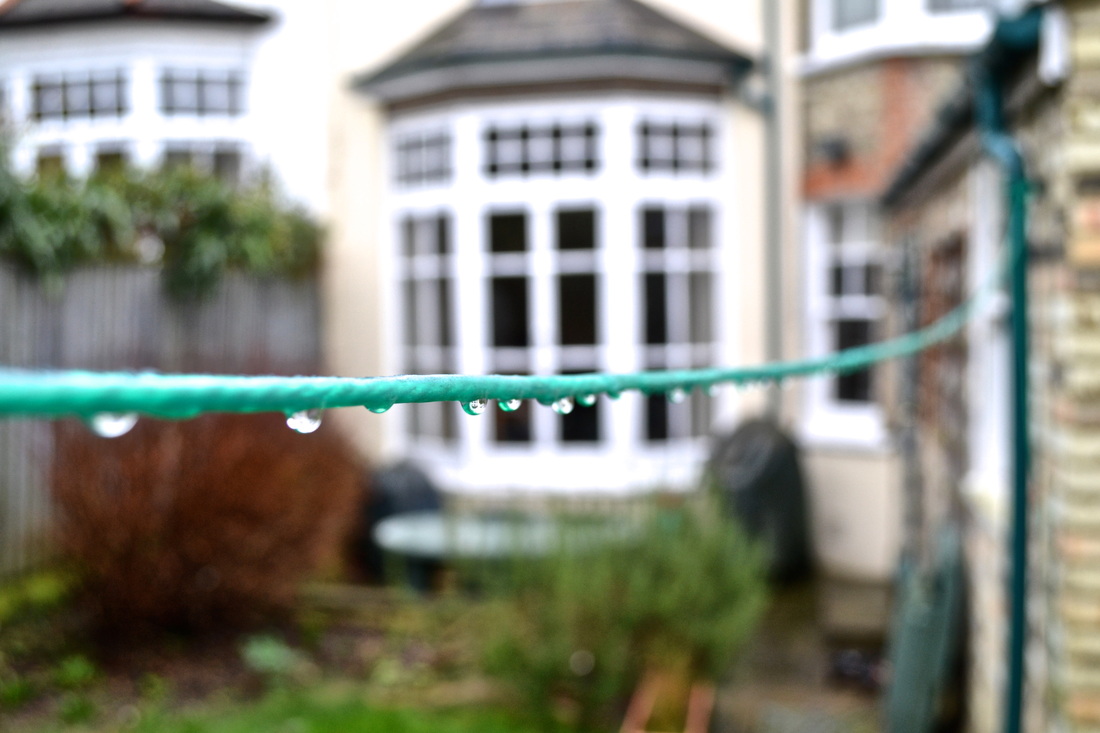
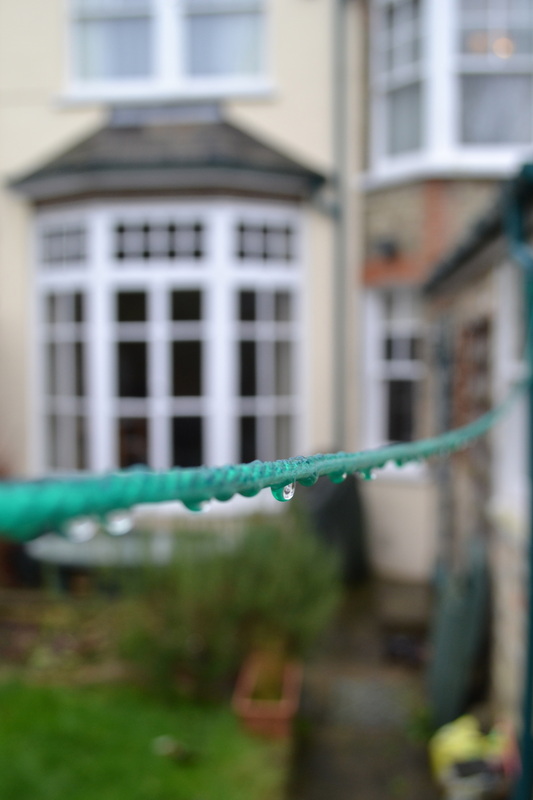
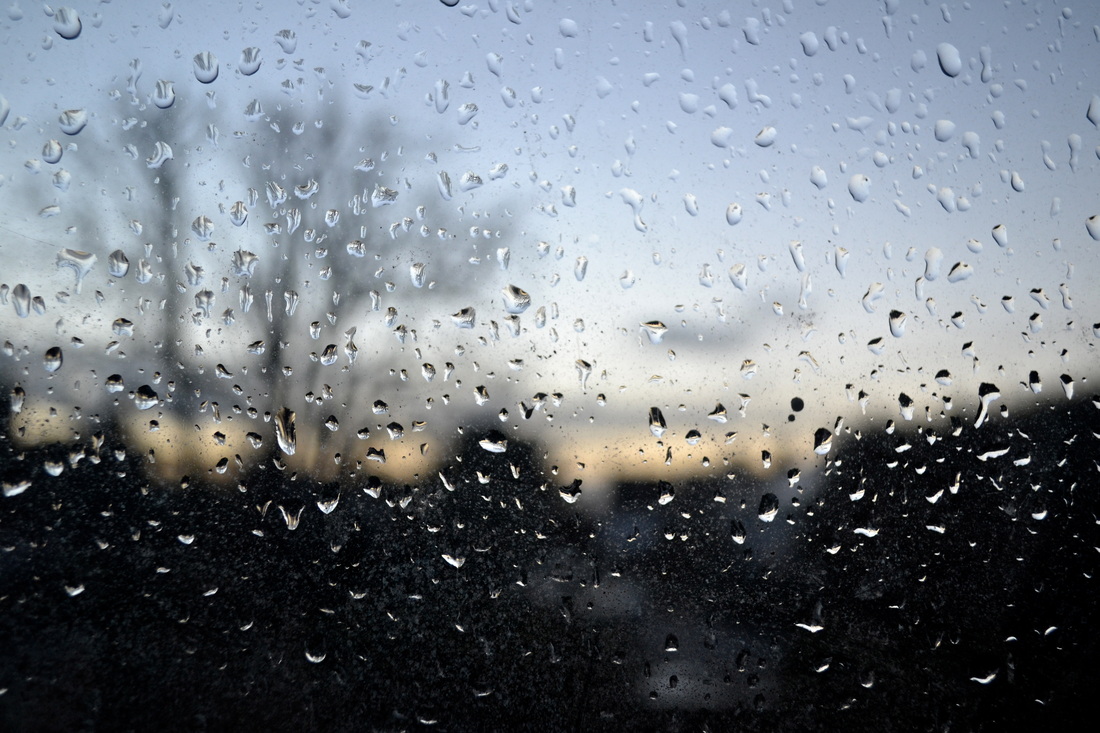
experimenting with water
In this series, I photographed the element water. In the first few photos, I continued to experiment with ink in water. I also tested what effect fairy liquid would have in water and ink, most of the photos didn't work, but I uploaded a few which did, when I captured a series of bubbles in a vase creating an interesting pattern and perspective. In the bottom photos, I attempted to capture rain fall 'frozen'. I used watering can to pour the water, and took photos in the dark using flash, which captured the raindrops and made them appear still, and frozen. I don't think these photos are that effective, or interesting, so I won't be following on from this theme. Below, I changed to the element of air.

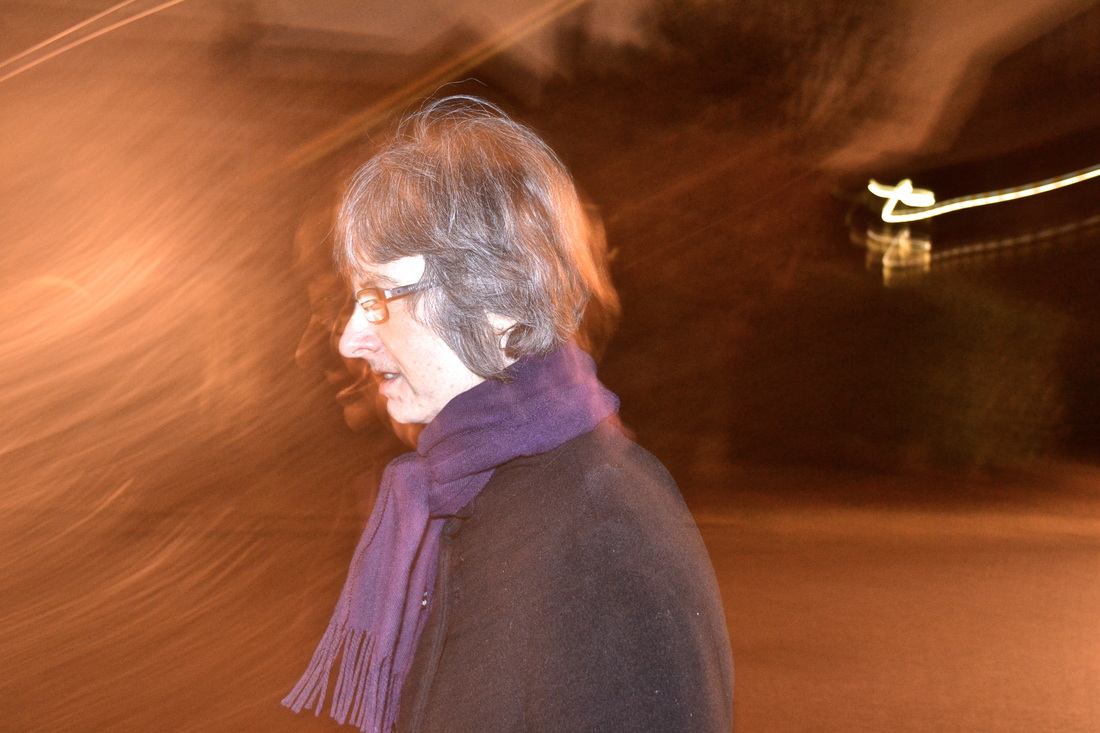
experimenting with air - idris khan
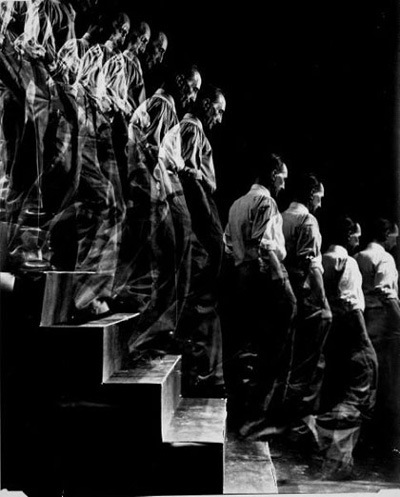
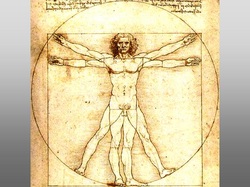
Idris Khan was born in Birmingham, in 1978, but lives and works in London. He works uses a broad range of cultural sources such as; literature, history, art, music and religion to create an abstract narrative of history. He photographs movement, but captures it one photo giving a ghost-like impression. This could be done by using strobe lights, and a very slow shutter speed. His work has been inspired by Leonardo Di Vinci, as both images capture different angles of the body. Idas Khan's work questions the viewer's perceptive, and conveys another element to movement.
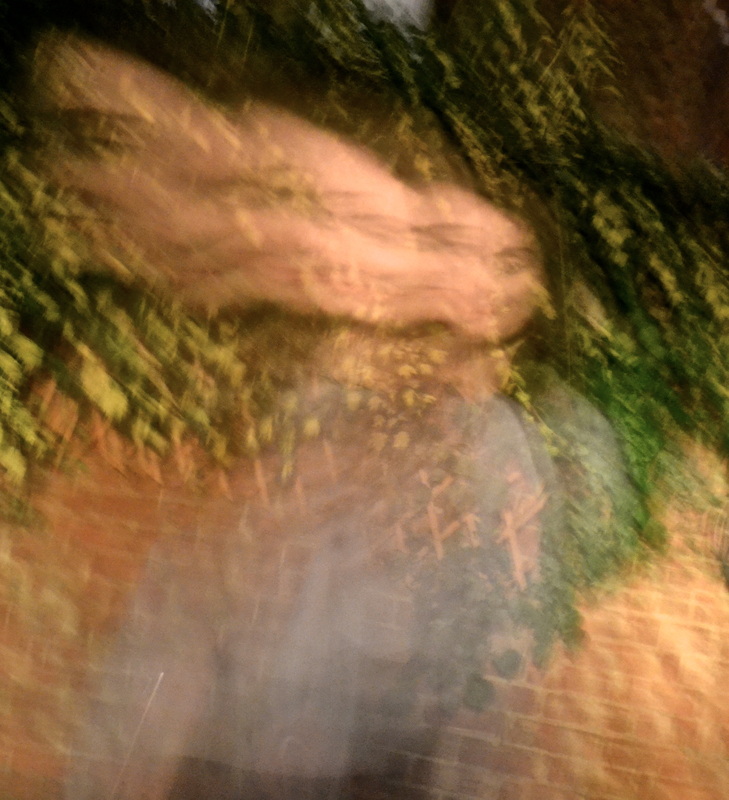
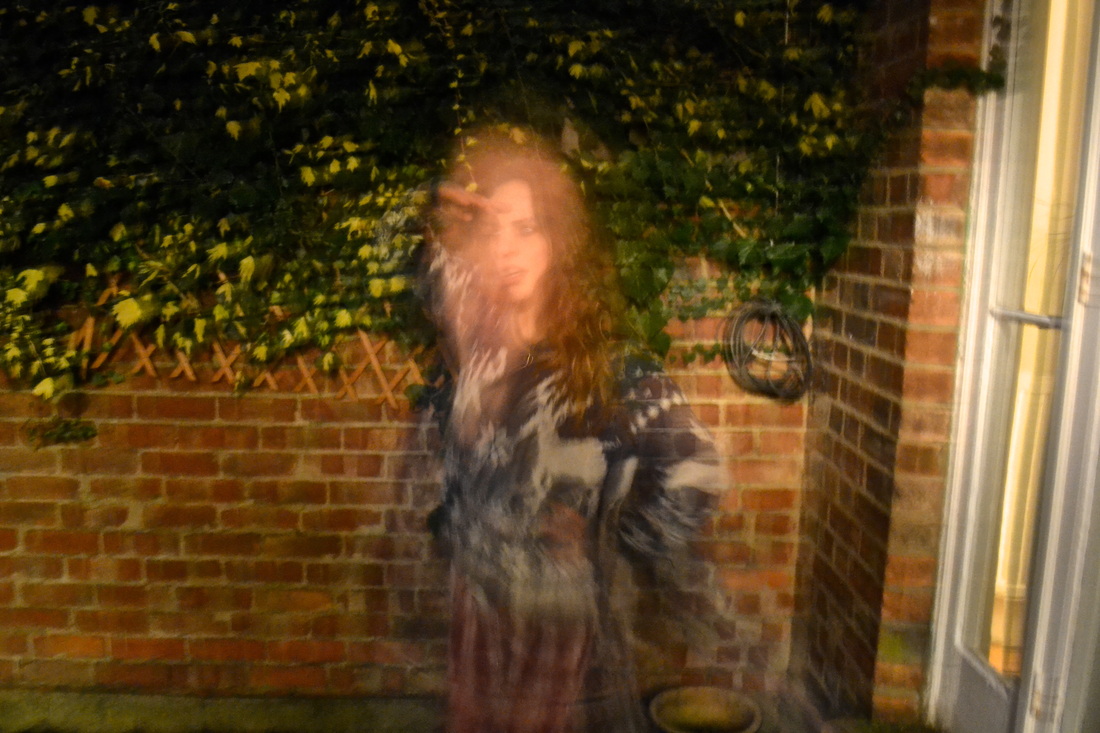
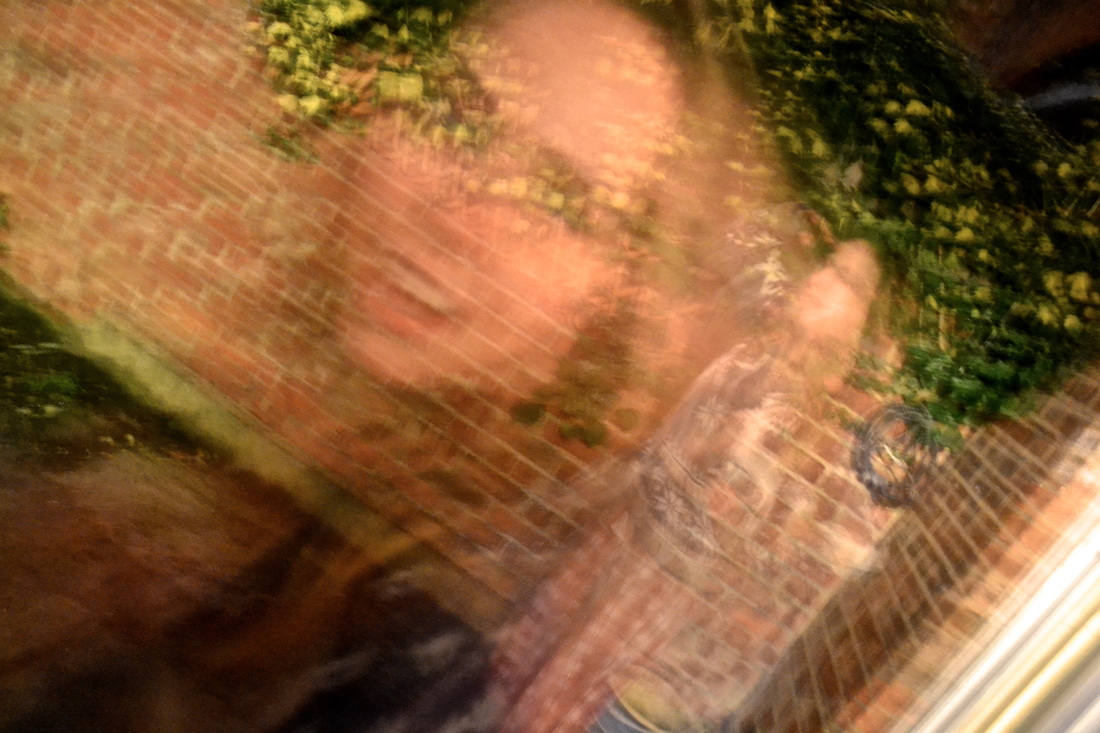
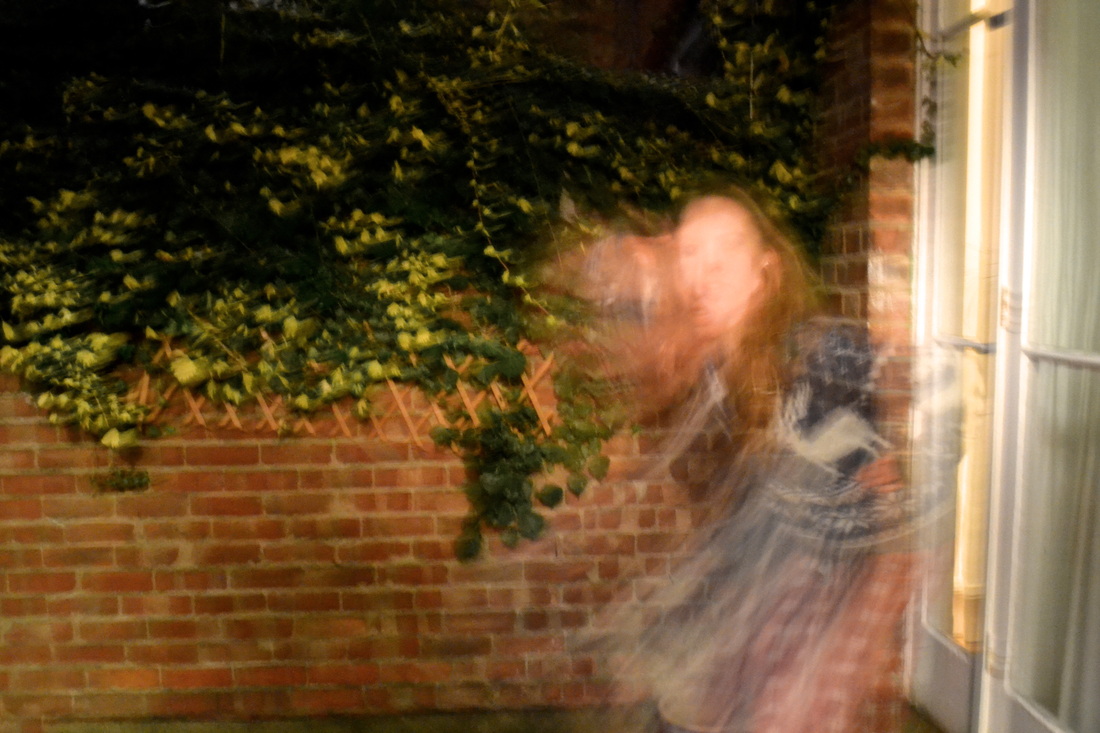
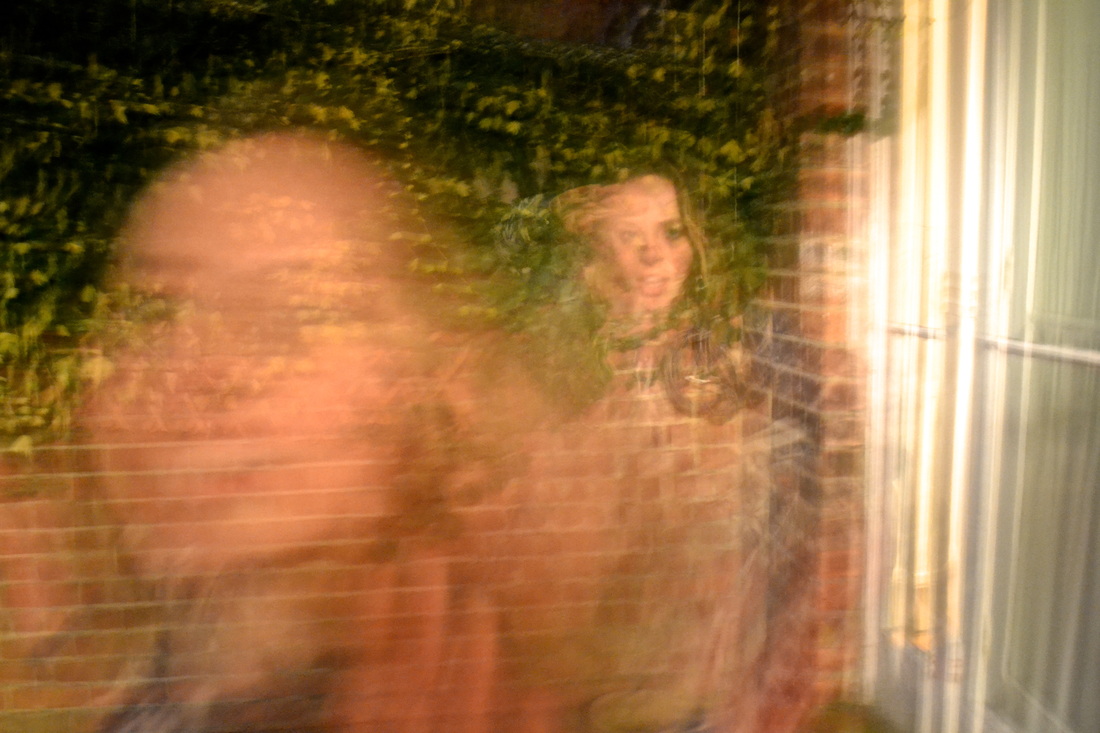
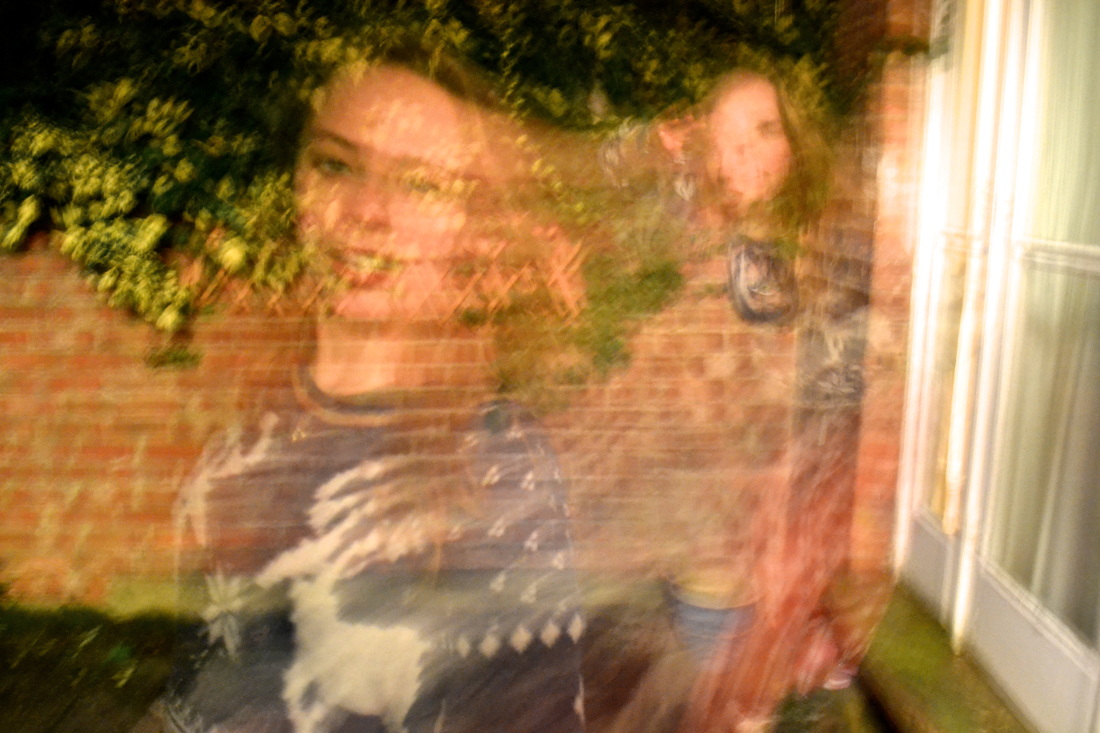
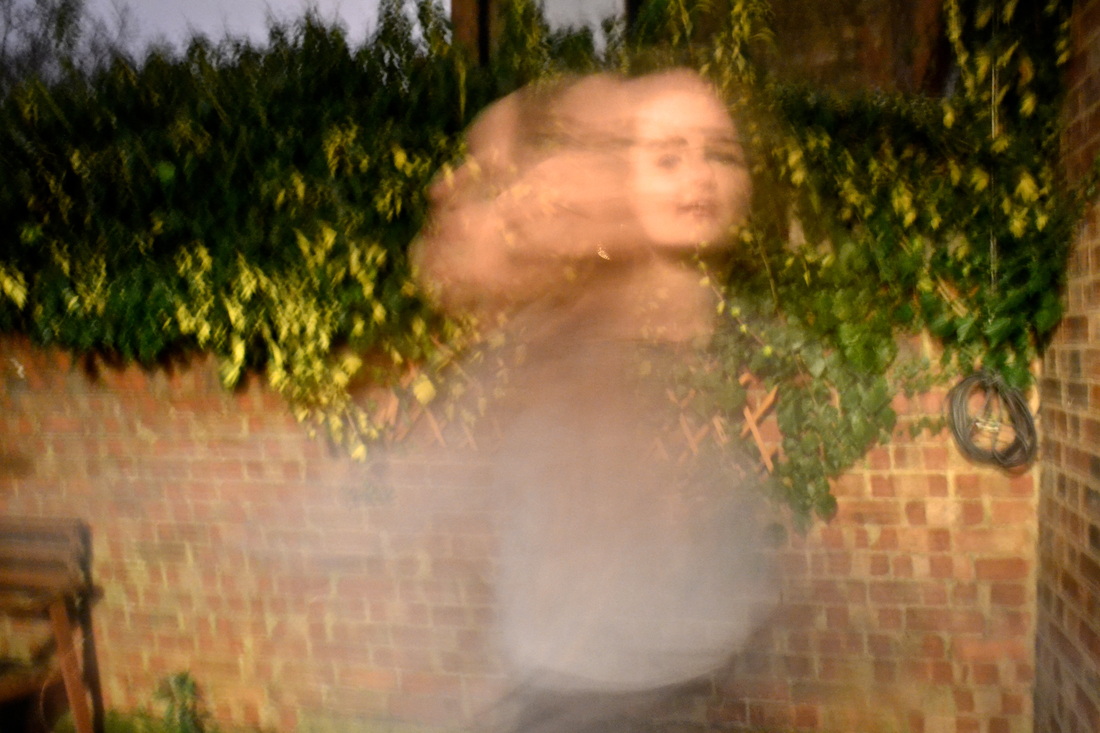
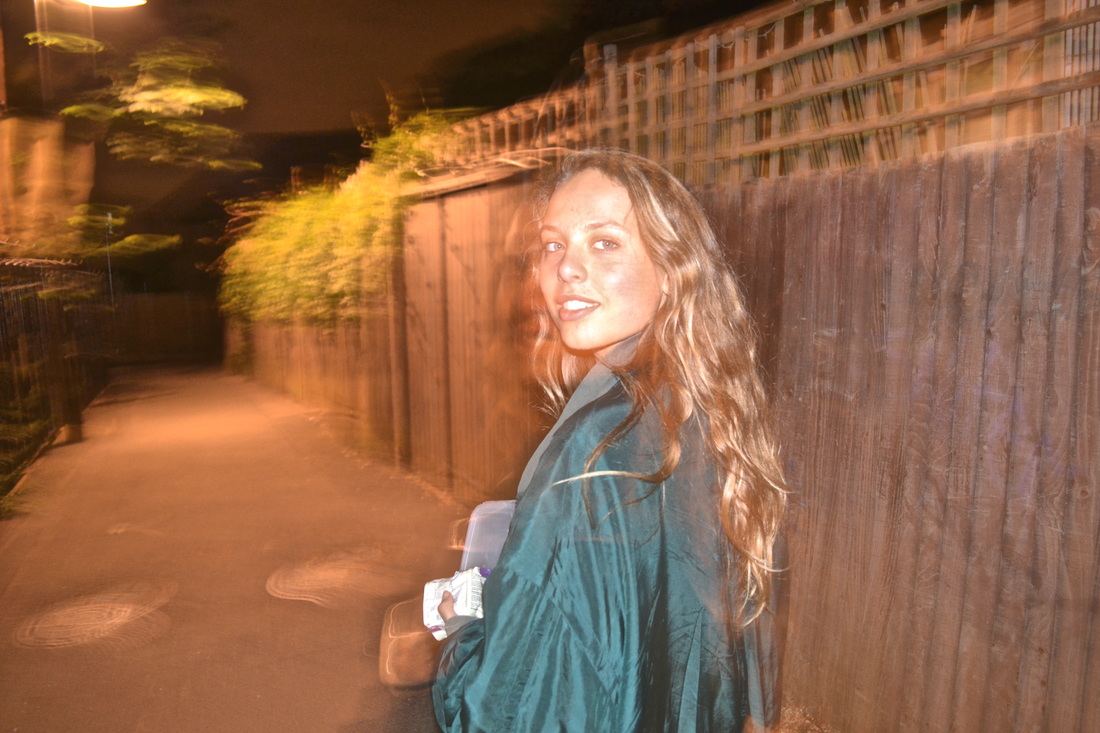
francesca woodman
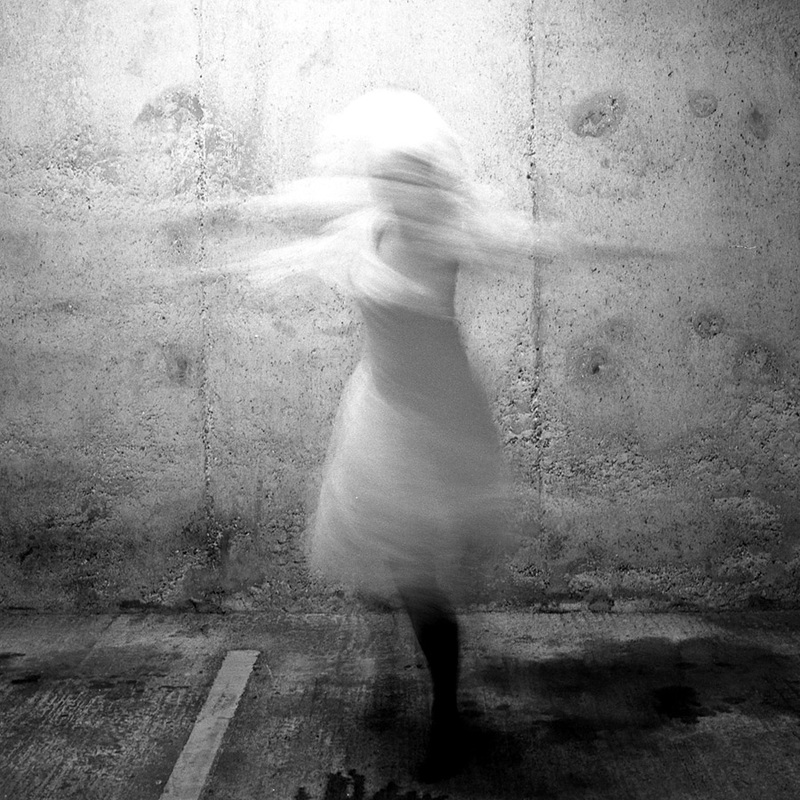
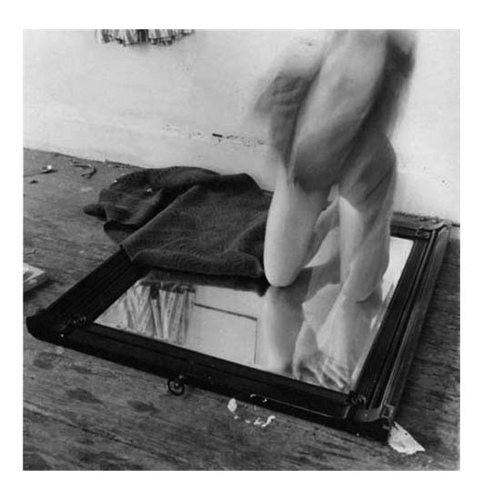
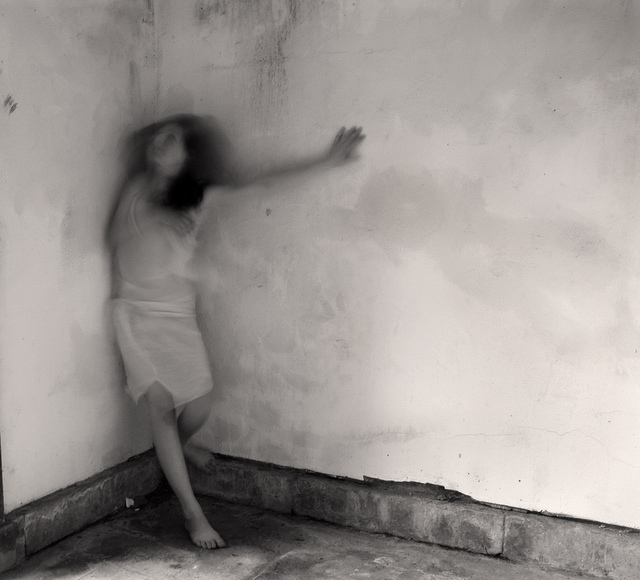
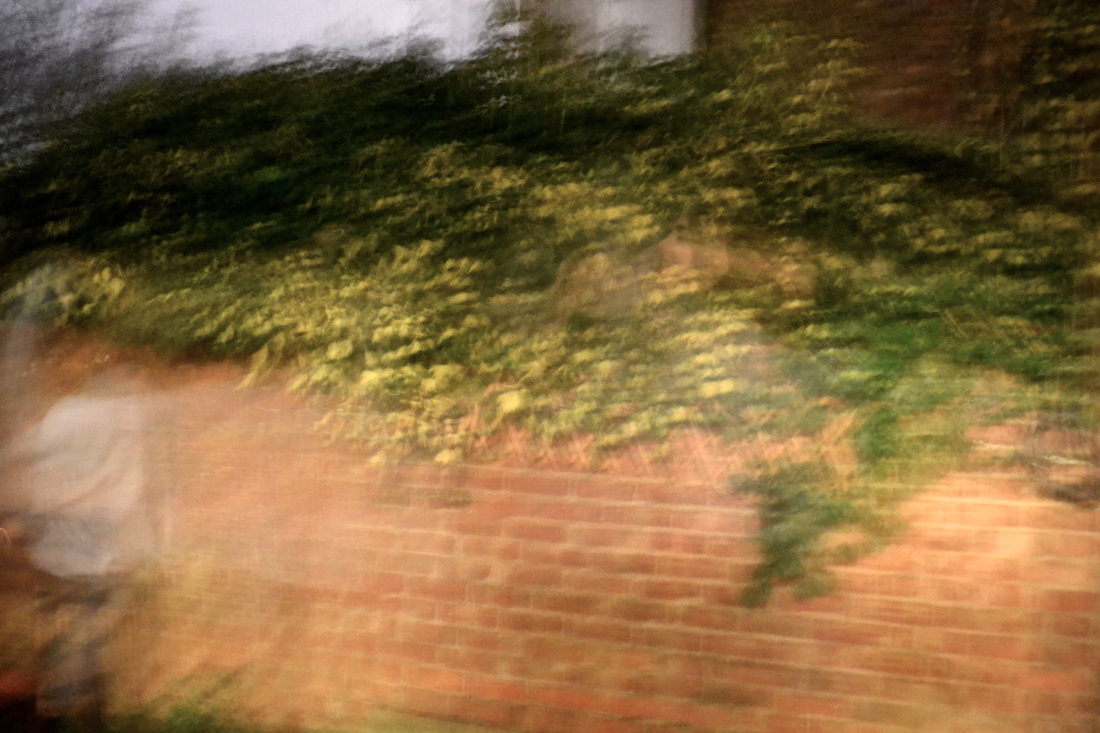
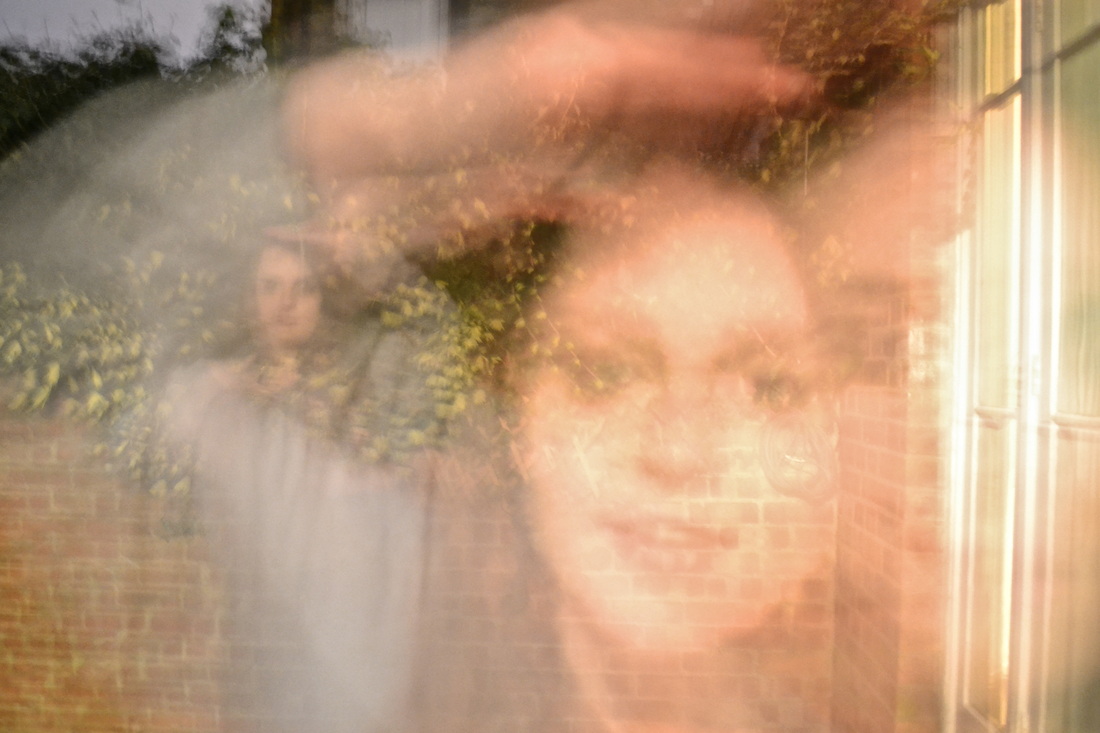
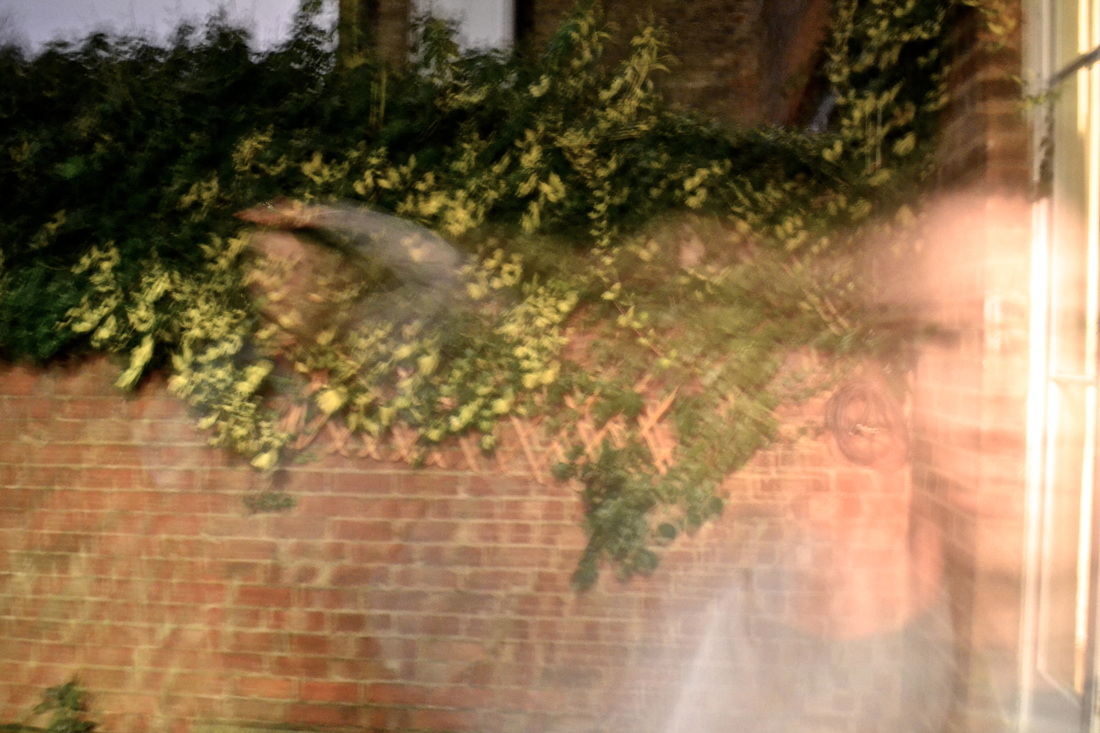
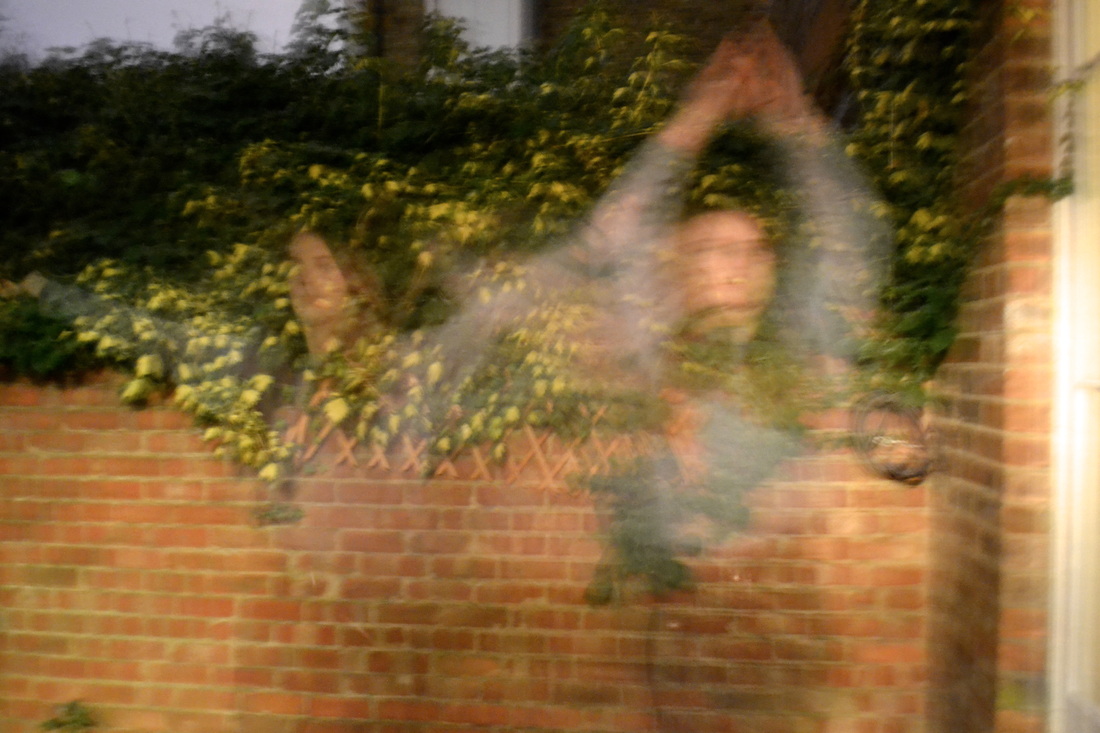
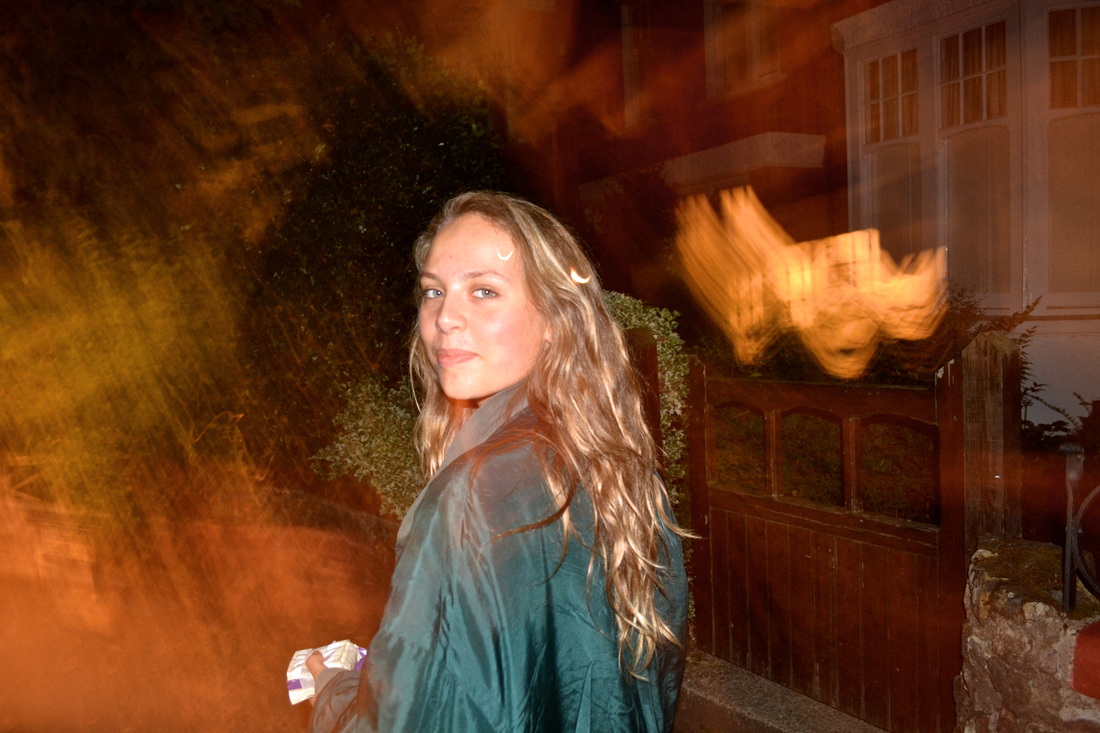
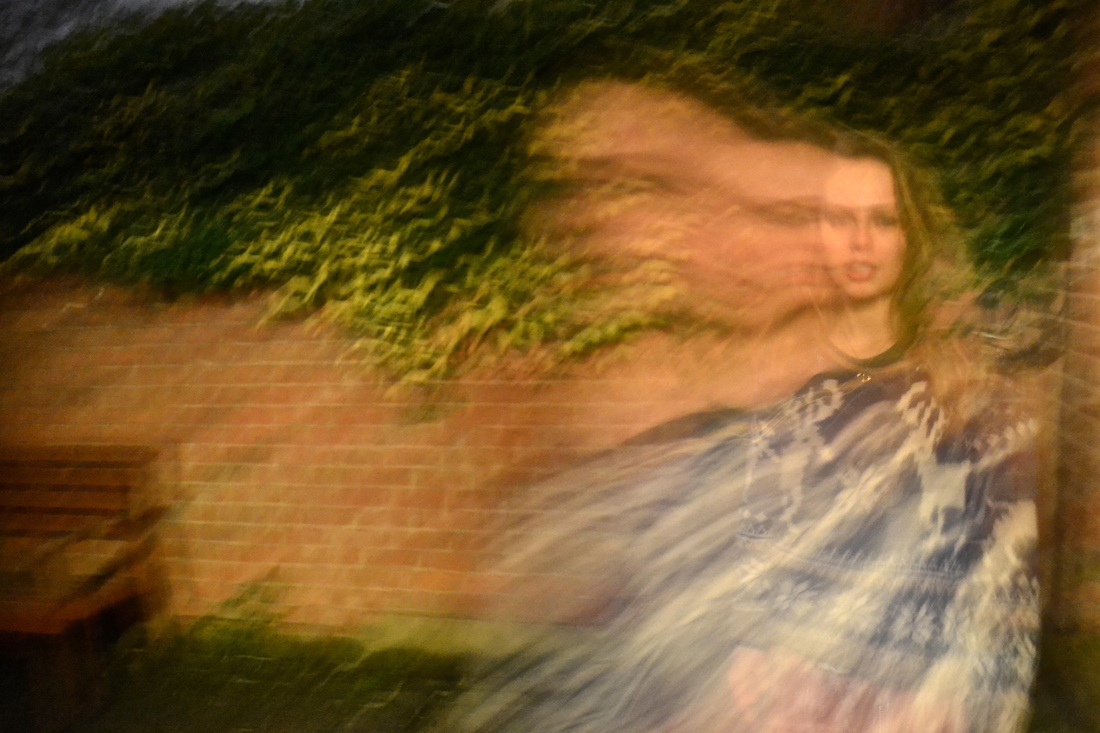
Francesca Woodman is an american photographer who's been photographing from the young age of 13, till she took her life when she was 22. Her photography portrays feminist views, and the relationship with fashion photography. Her photos explore the issues of gender and the self, particularly conveying the representation of the body and it's relation to the surroudings. Most often, she's the her own subject to her photos. However, they're not conventional self portraits, as she is usually hidden, or her moving figure is blurred due to the slow exposure. The hidden vulnerability and innocence is emphasises by the small format of the photographs. She's often photographed in rustic, deserted rooms, where her body is camouflaged into the surroundings, for example, in the middle photo she's crouching over a mirror, and in the left photo she's appeared blended into the wall. The emptiness of the room, and the small format of the image creates a claustrophobic sensation. Her photos demonstrate interesting self-exposure and create disturbing psychological states. In hiding, or encrypting her subjects, she portrays the message that conventional photographs flatten and distort, never telling the truth about the subject.
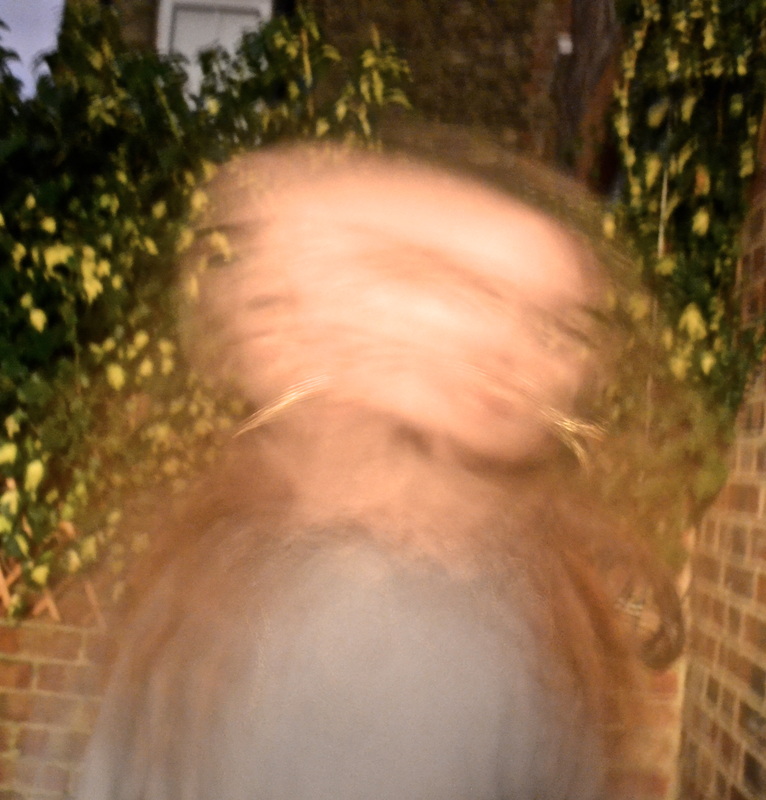
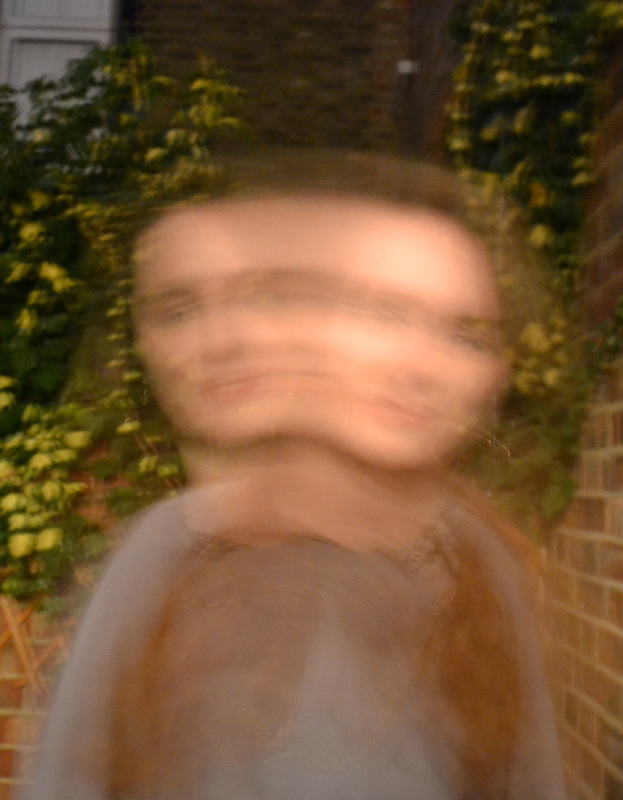
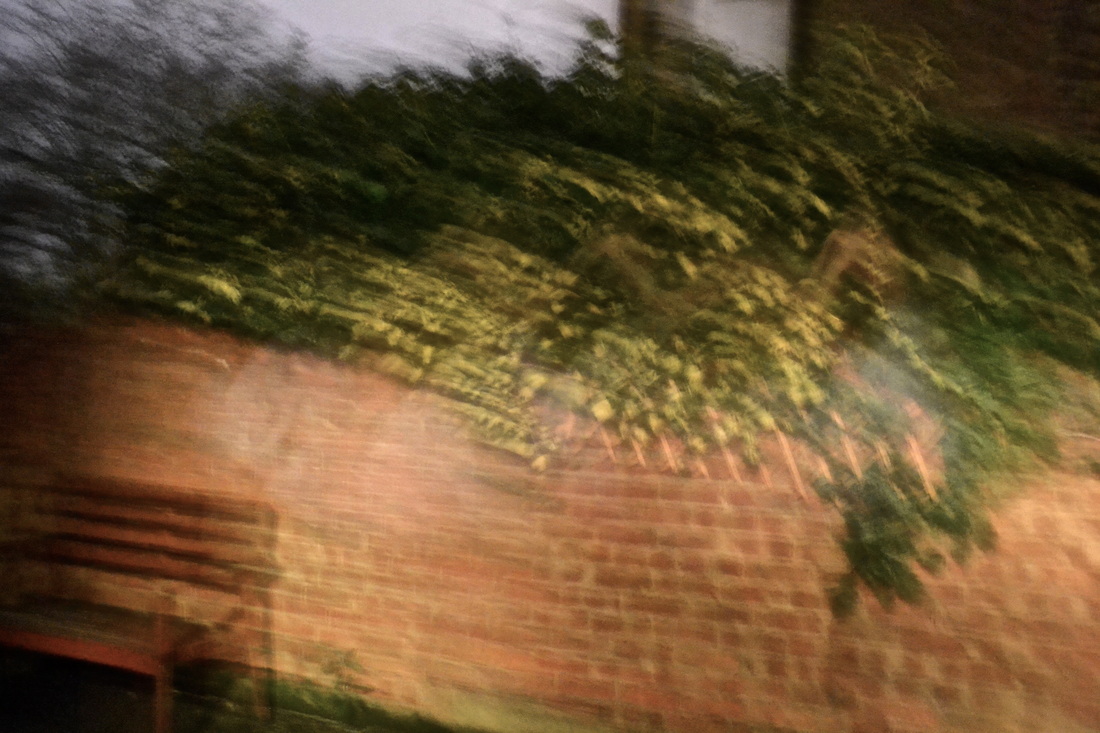
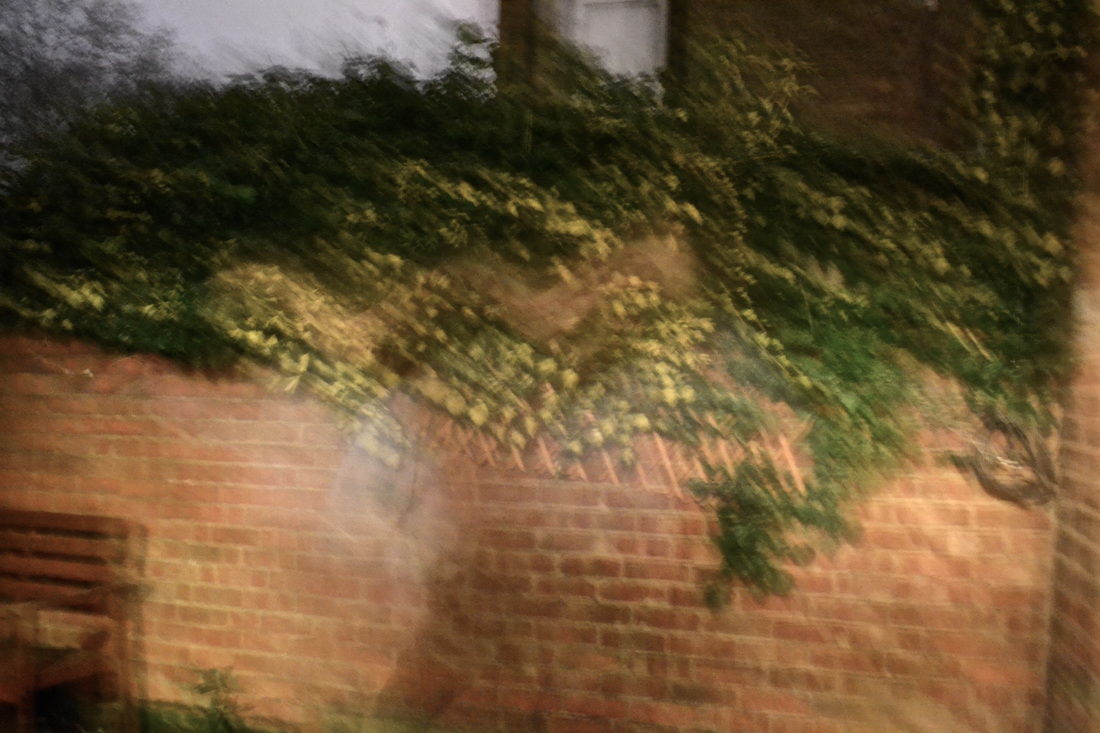
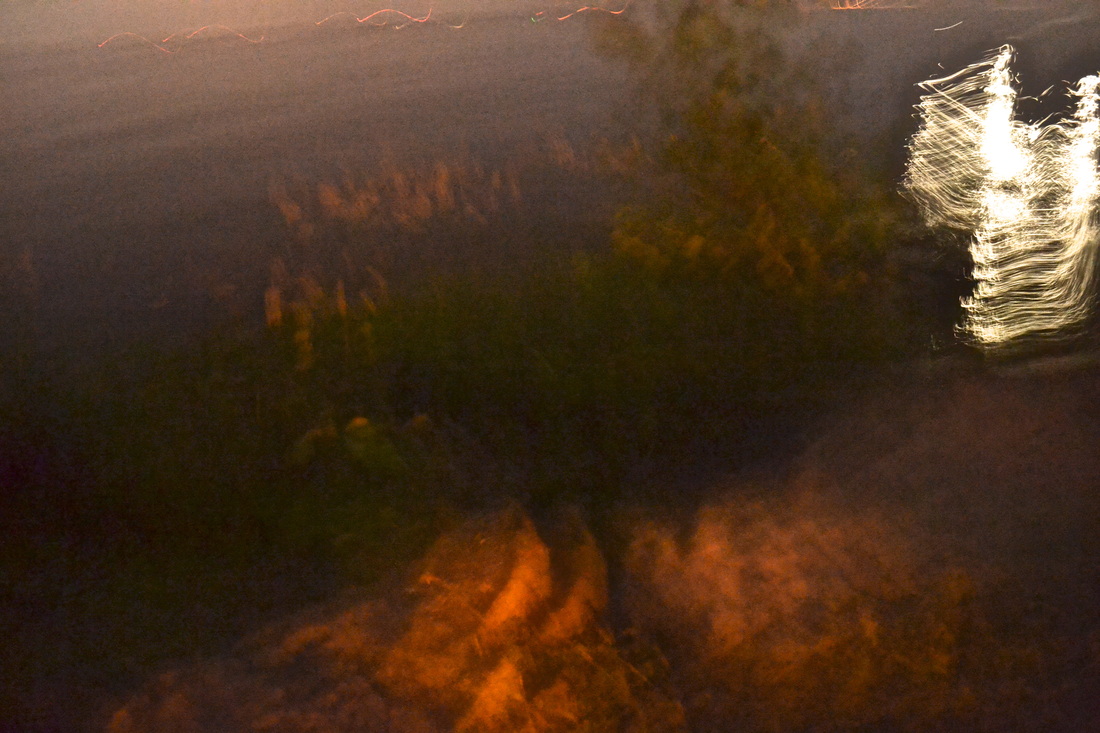
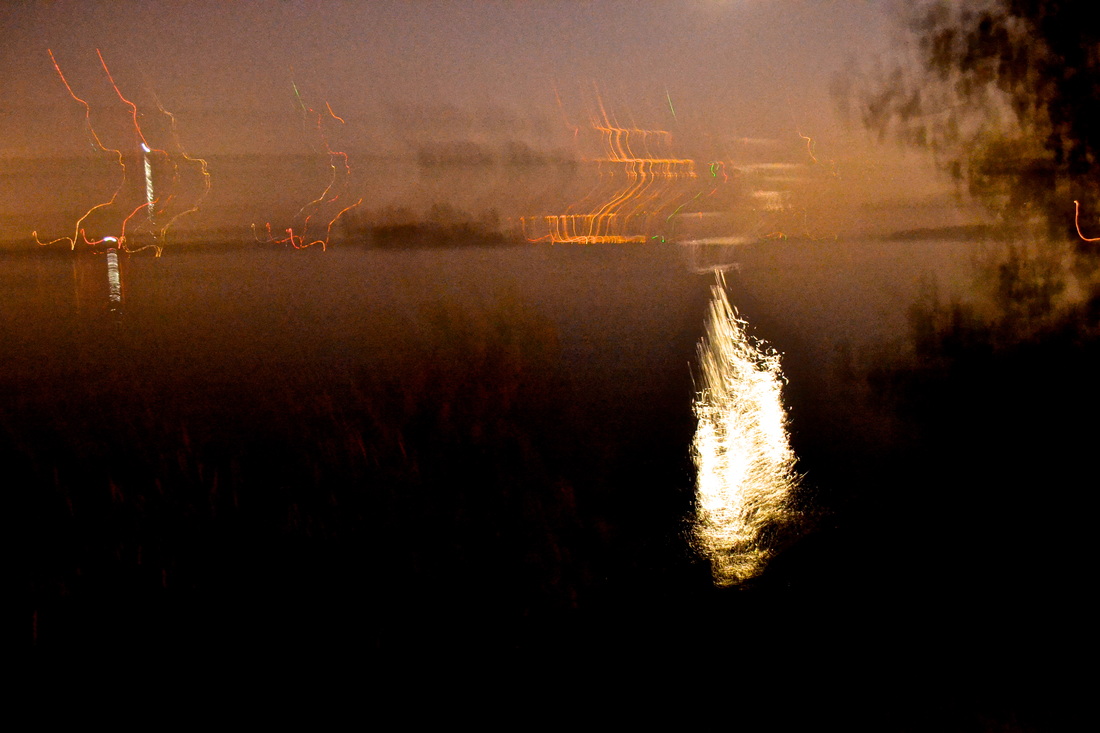
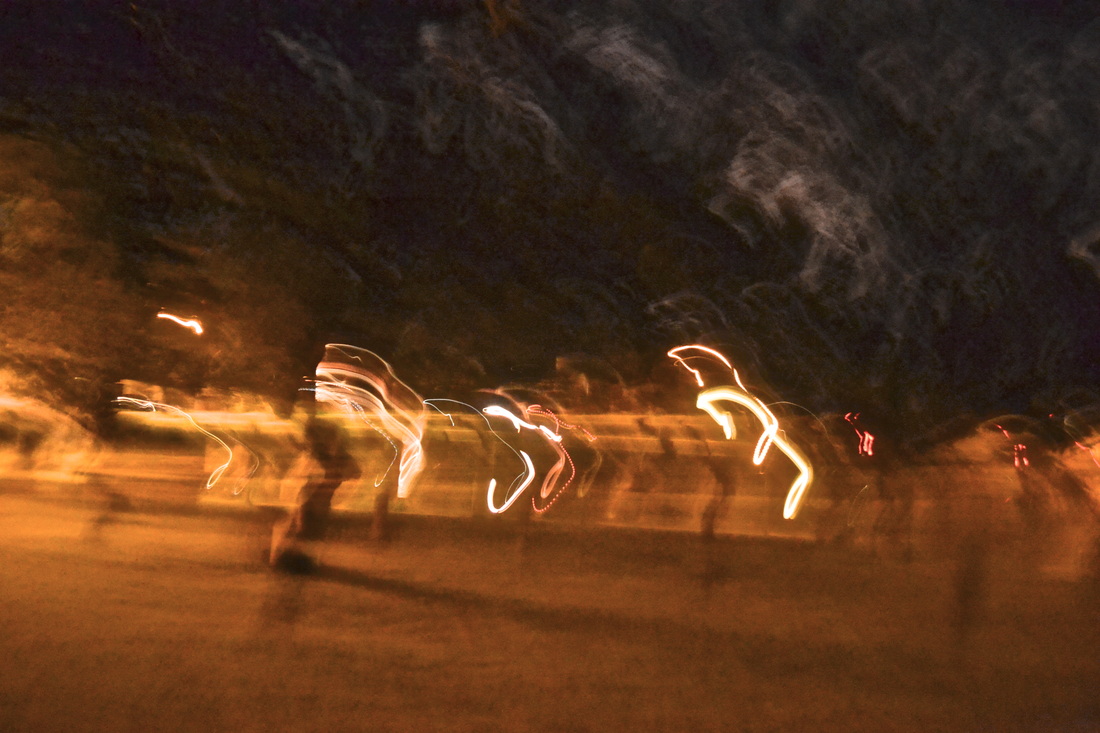
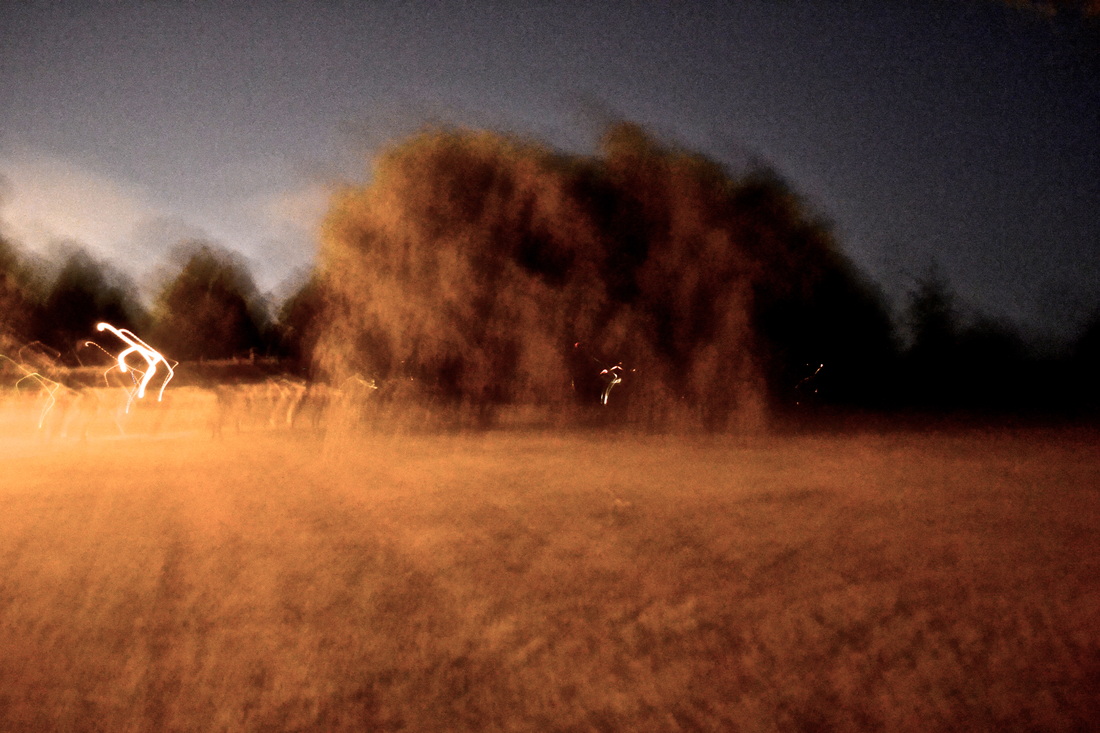
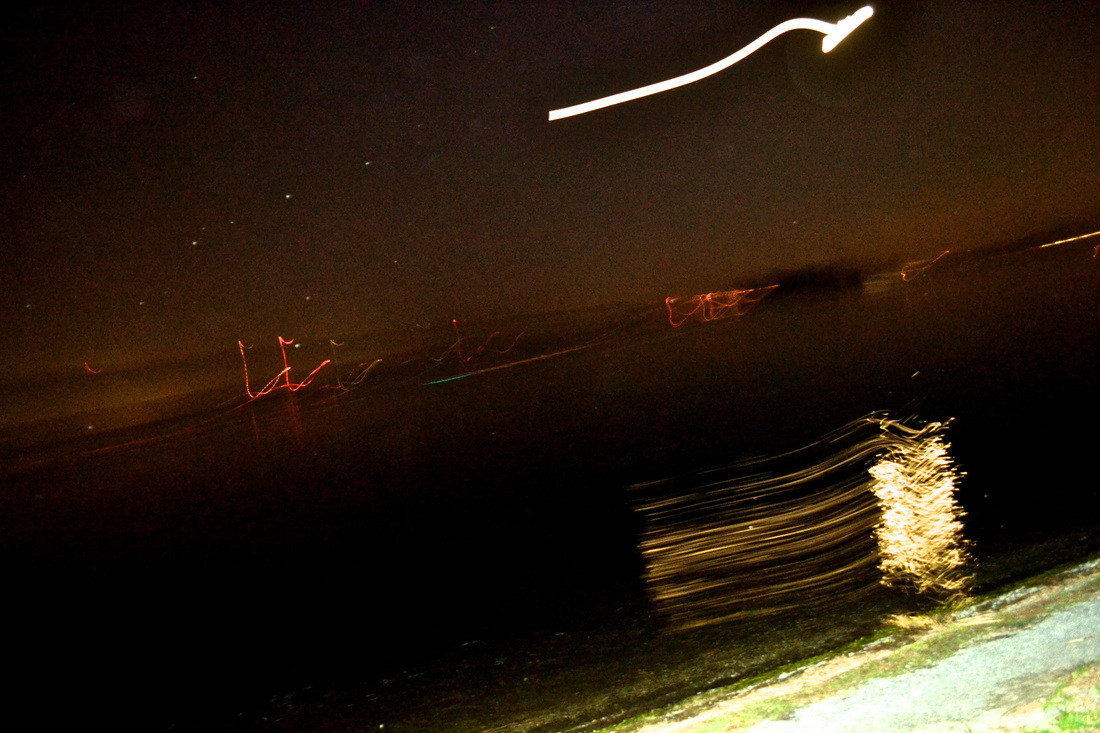
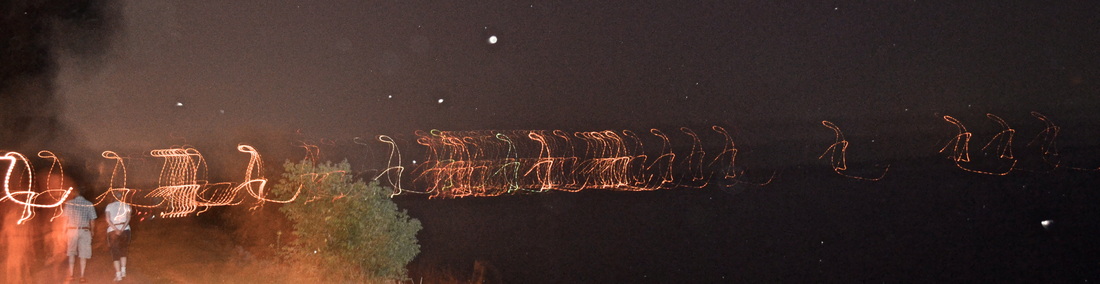
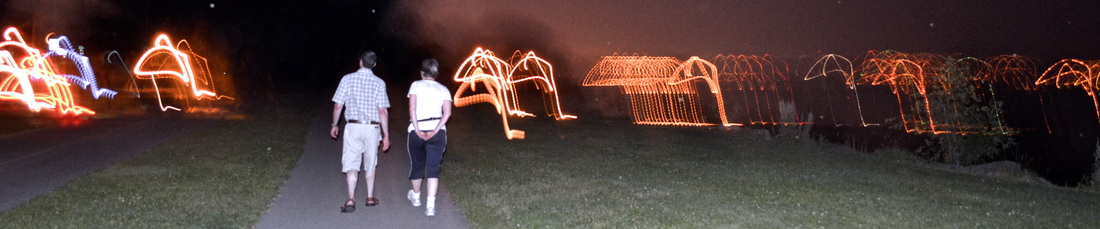
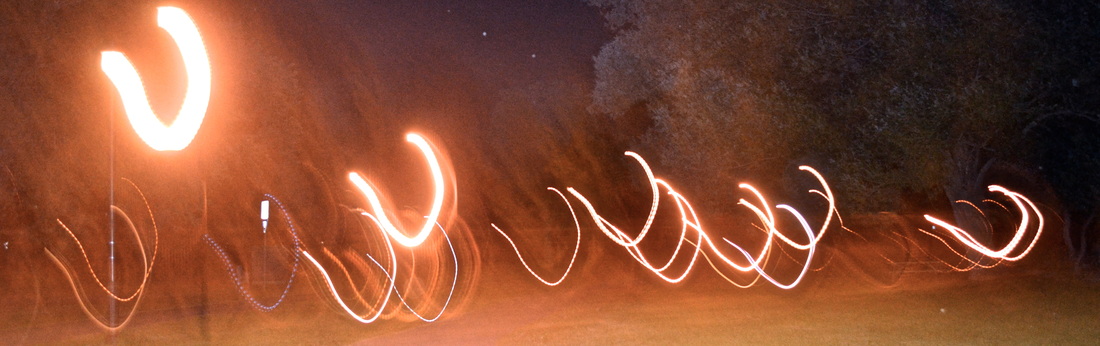
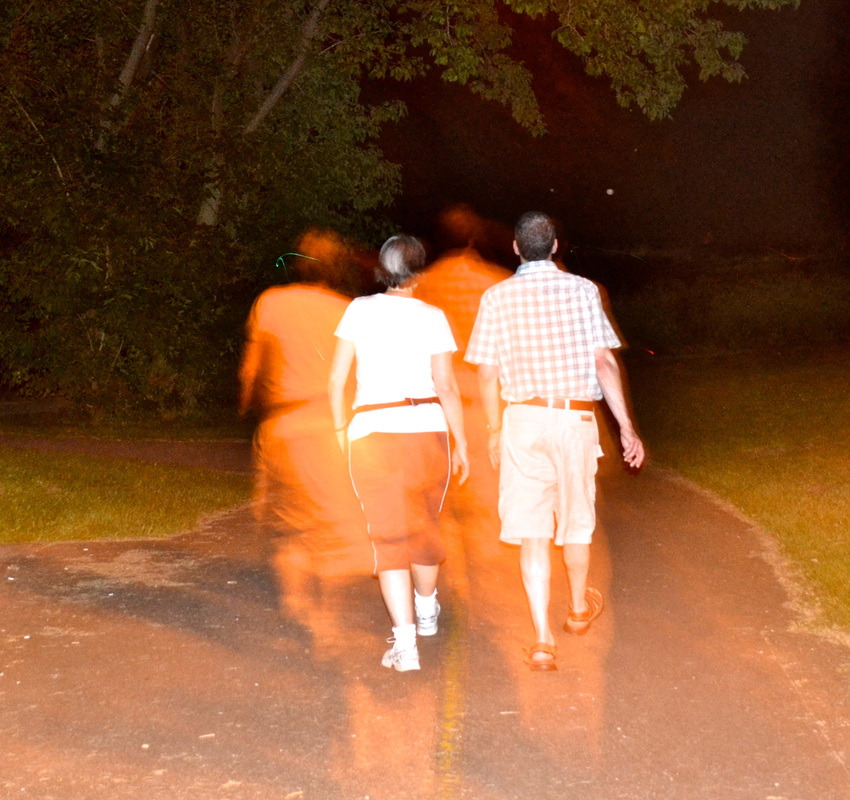
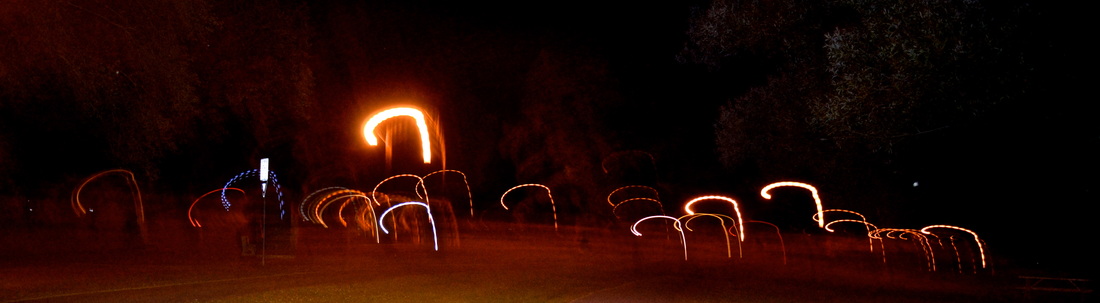
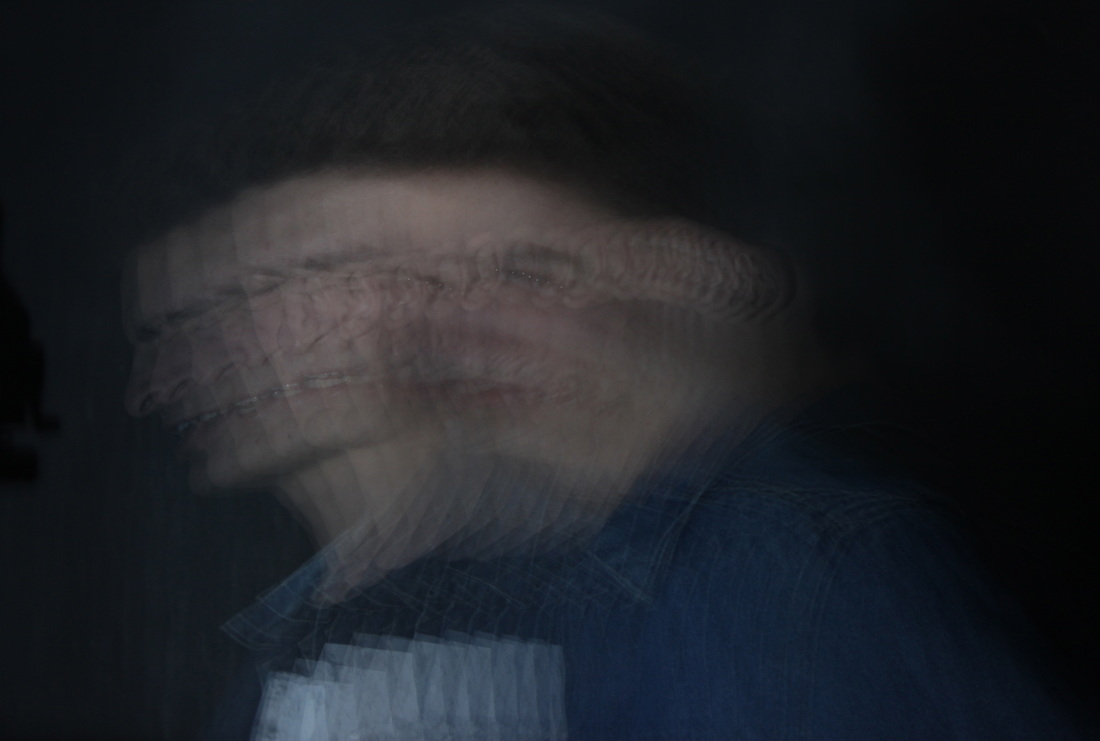
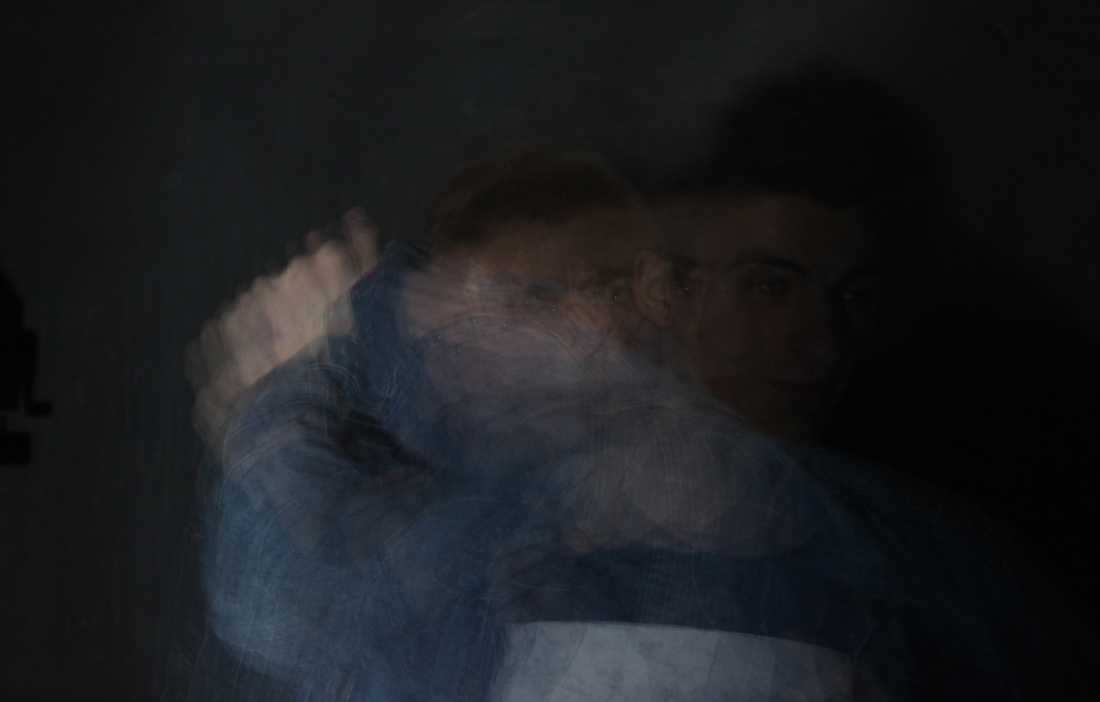
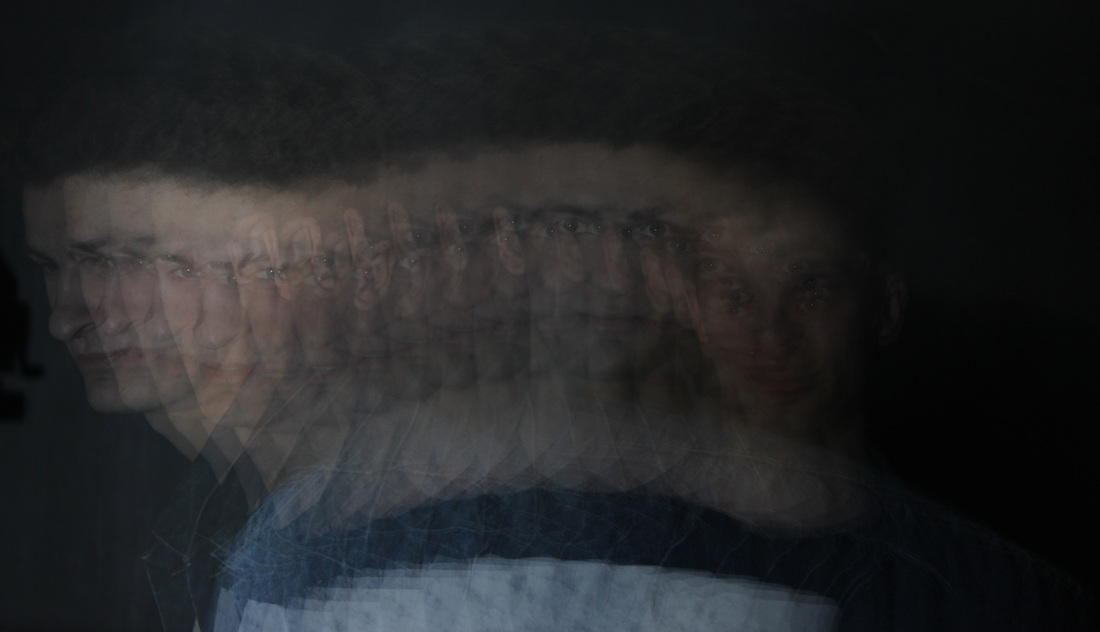
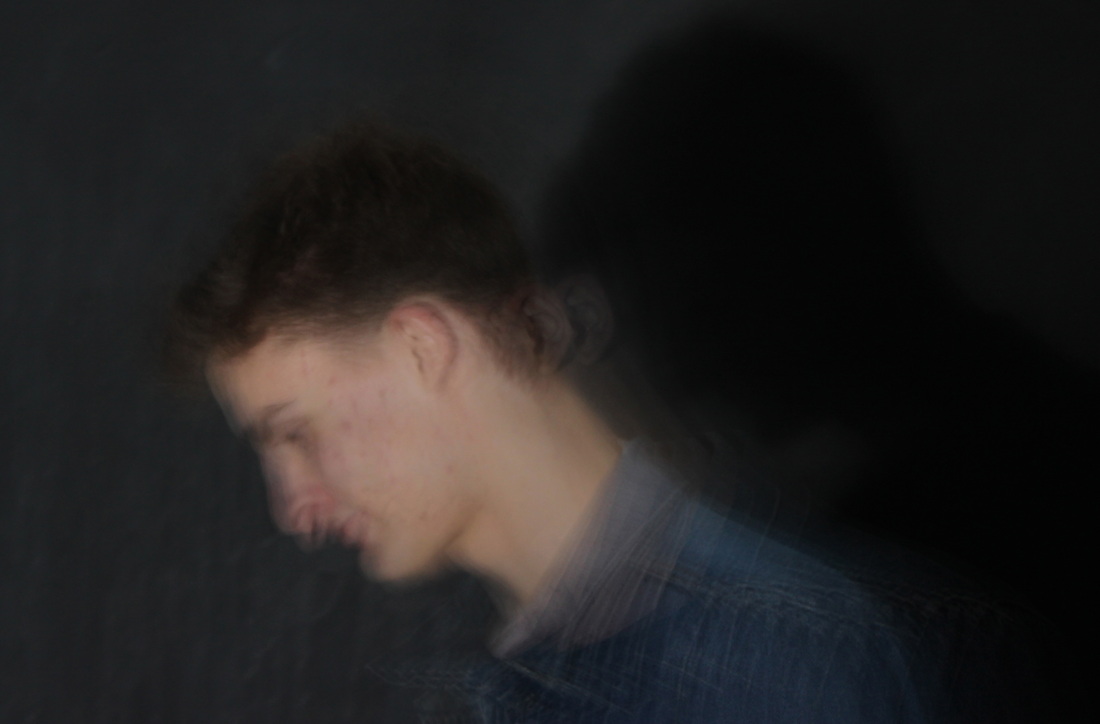
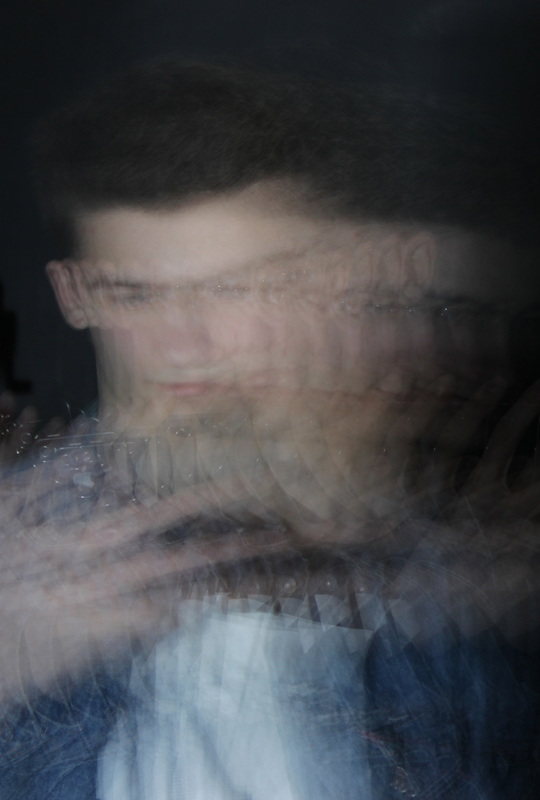
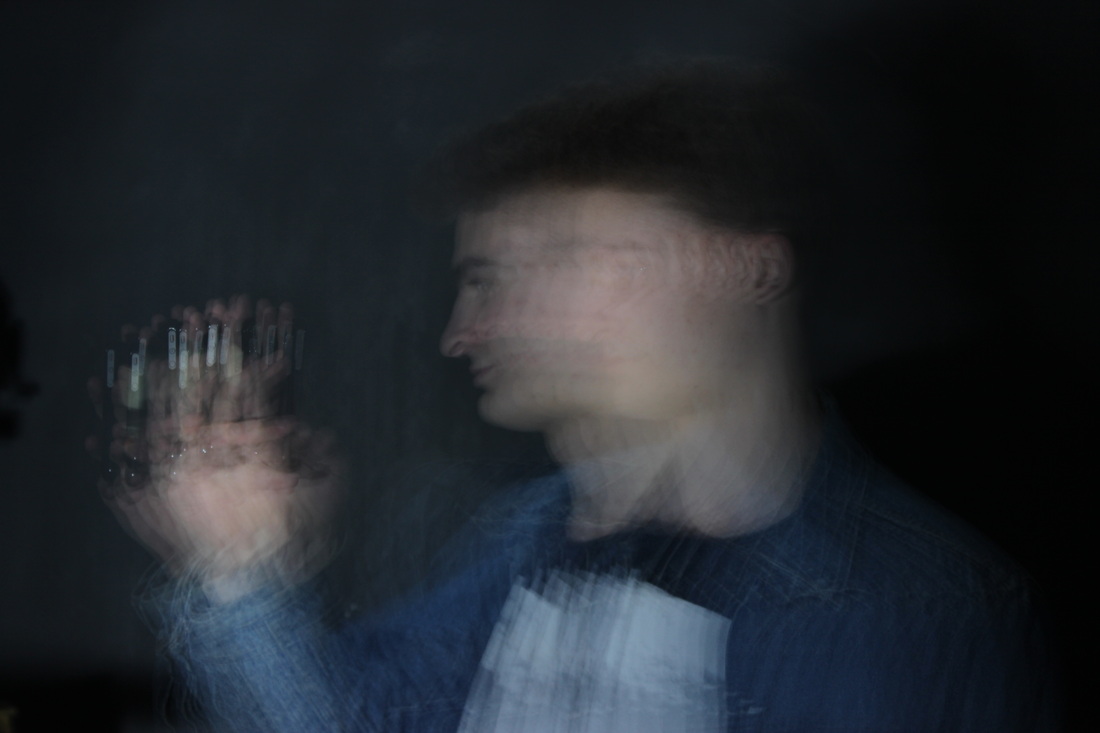
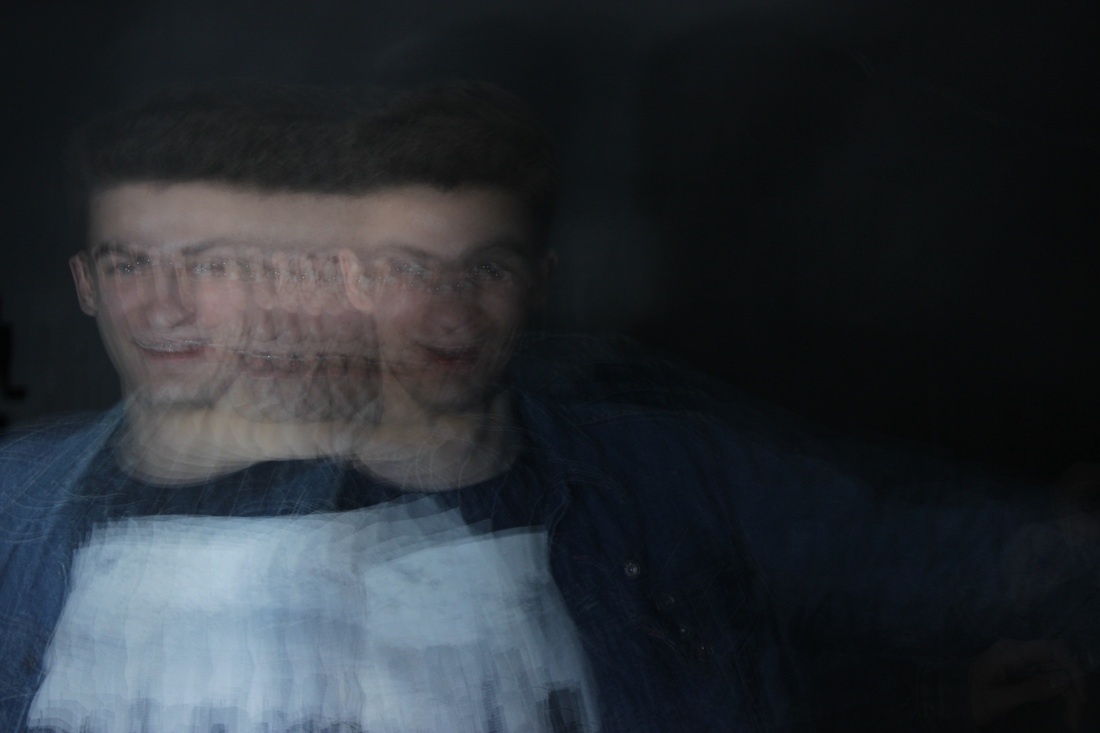
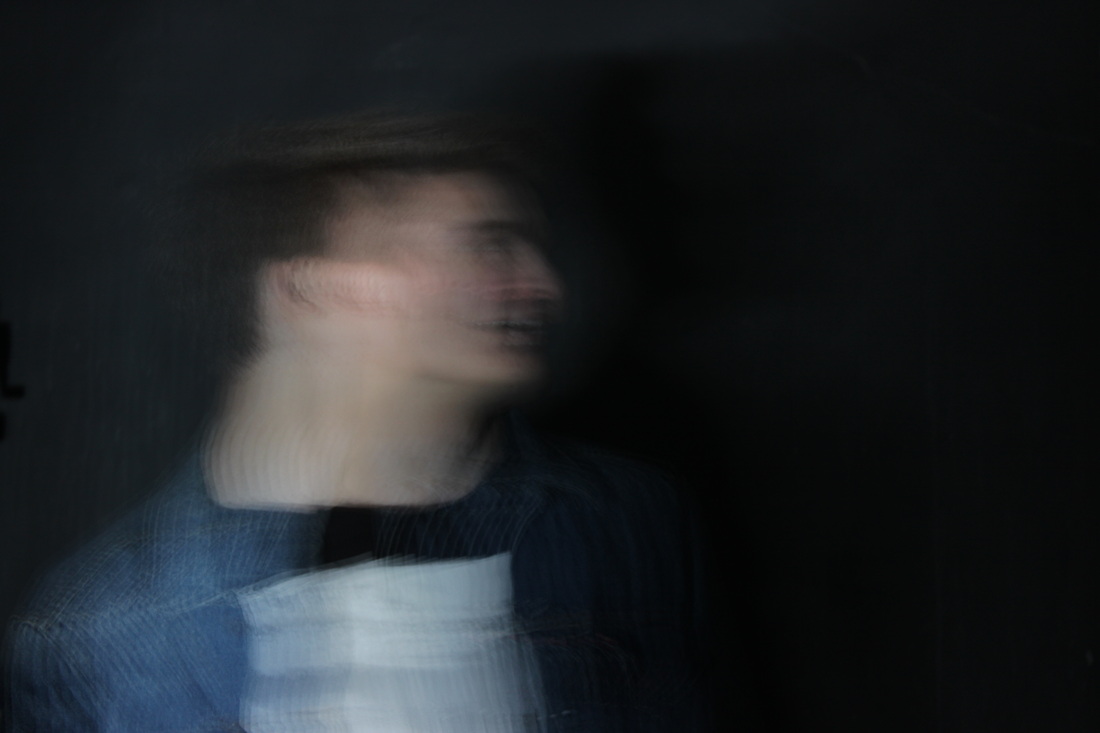
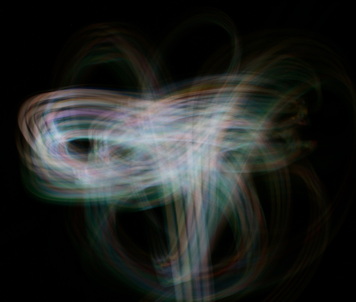
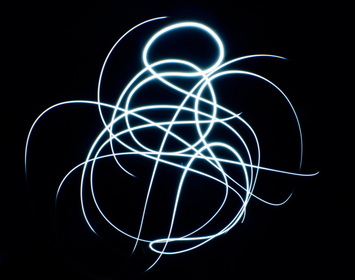
For my next strand I decided to use the element 'air' which I am most interested in, and will be following on from. In the first few photos, I played around with the shutter speed to create images made up of one person moving, pictured several times, creating a blurred effect. In the other photos, I experimented the effect that shutter speed had on a dark night, photographing lights. It followed the lights 'path' creating interesting patterns. I was inspired by Irdis Khan's and Francesca Woodman's work.
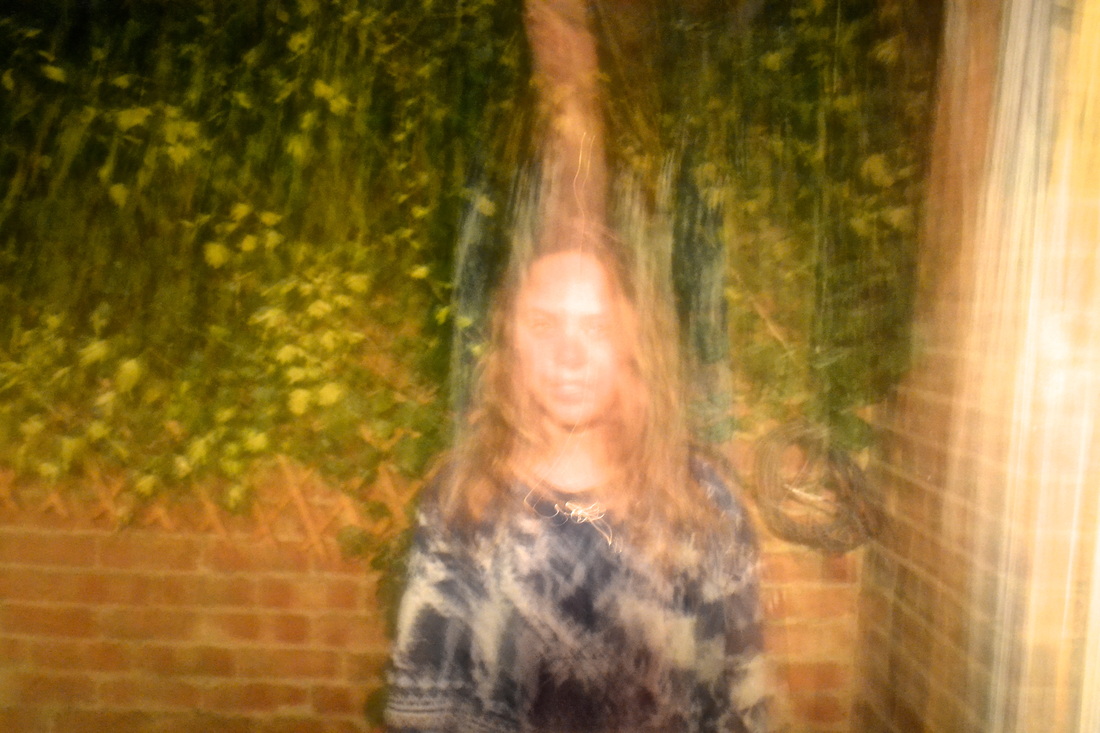
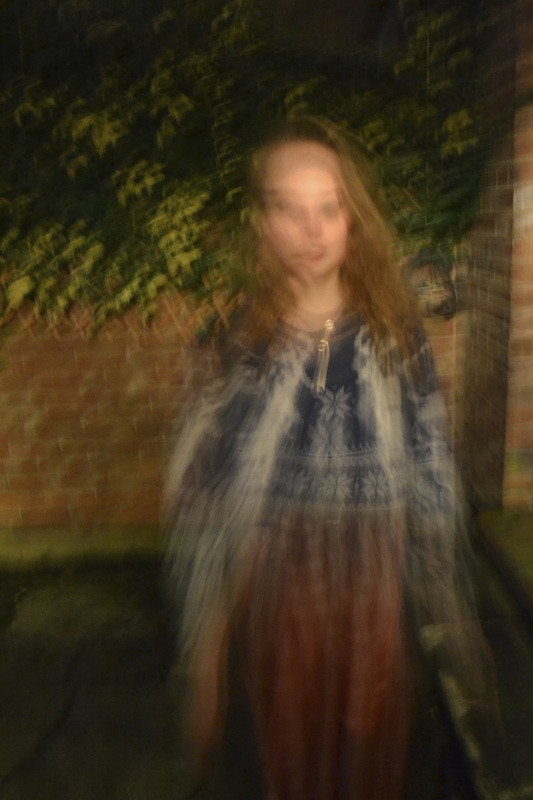
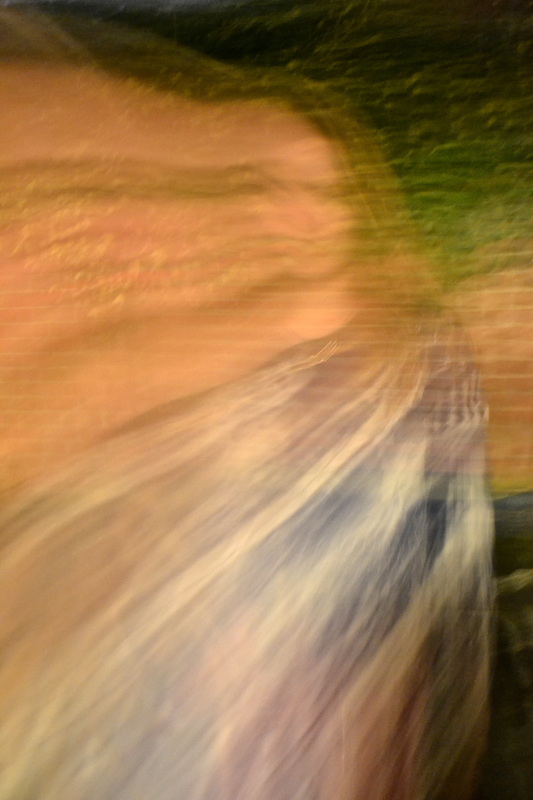
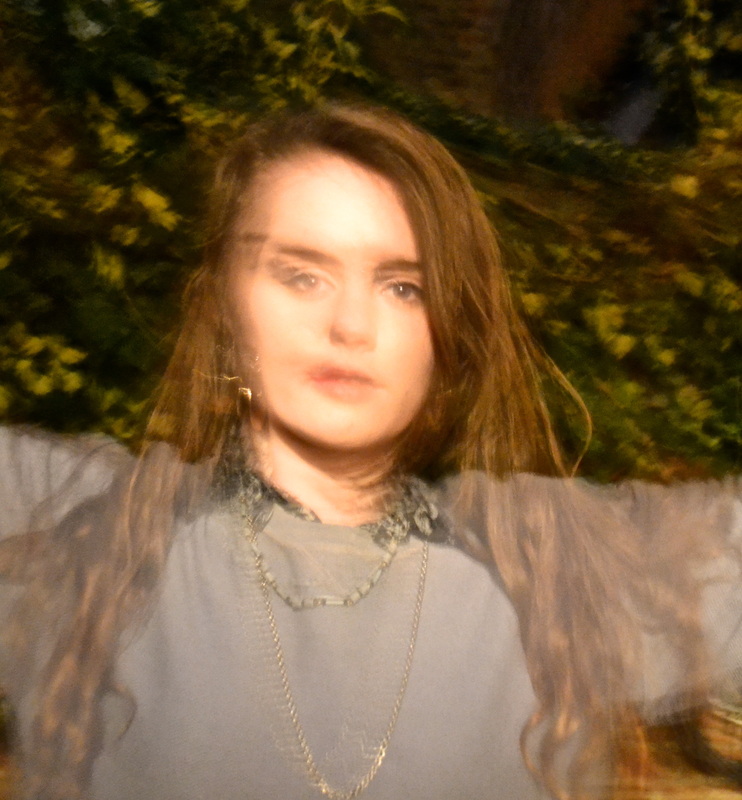


Edits
These are my top three photos, as I thought they worked the most effectively. I edited the images to have a higher contrast, and increased their definition to emphasise the 'blur'. The first two photos give a ghost-like appearance, and present a sense of motion. The bottom image, is interesting as there was only a small number of lamp-posts, but the settings on the camera made it appear as if there were many more. The lights were originally all yellow, but through editing, and the flash on my camera, the lights became multiple colours.
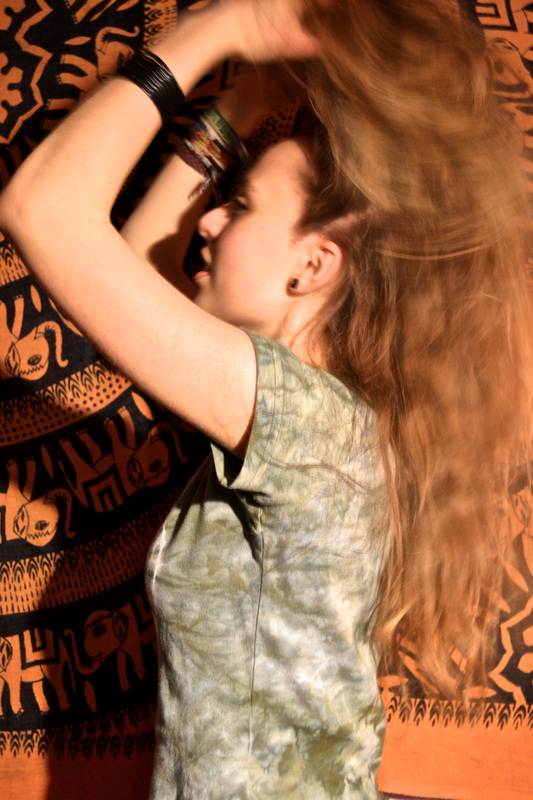
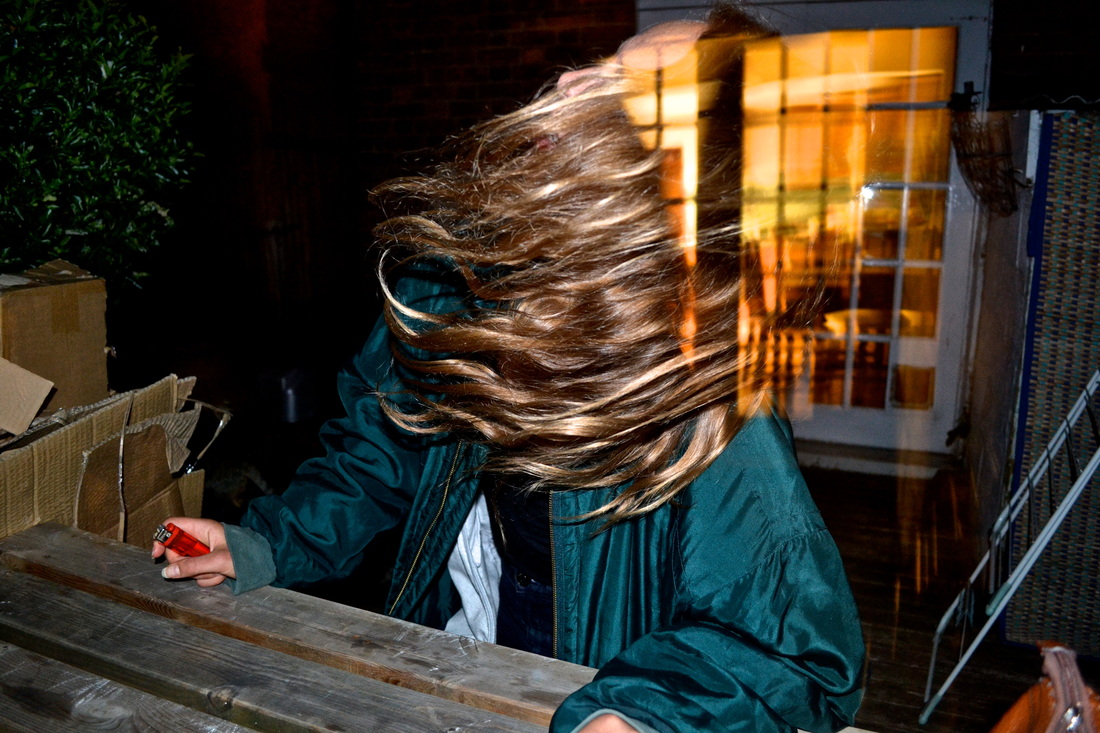
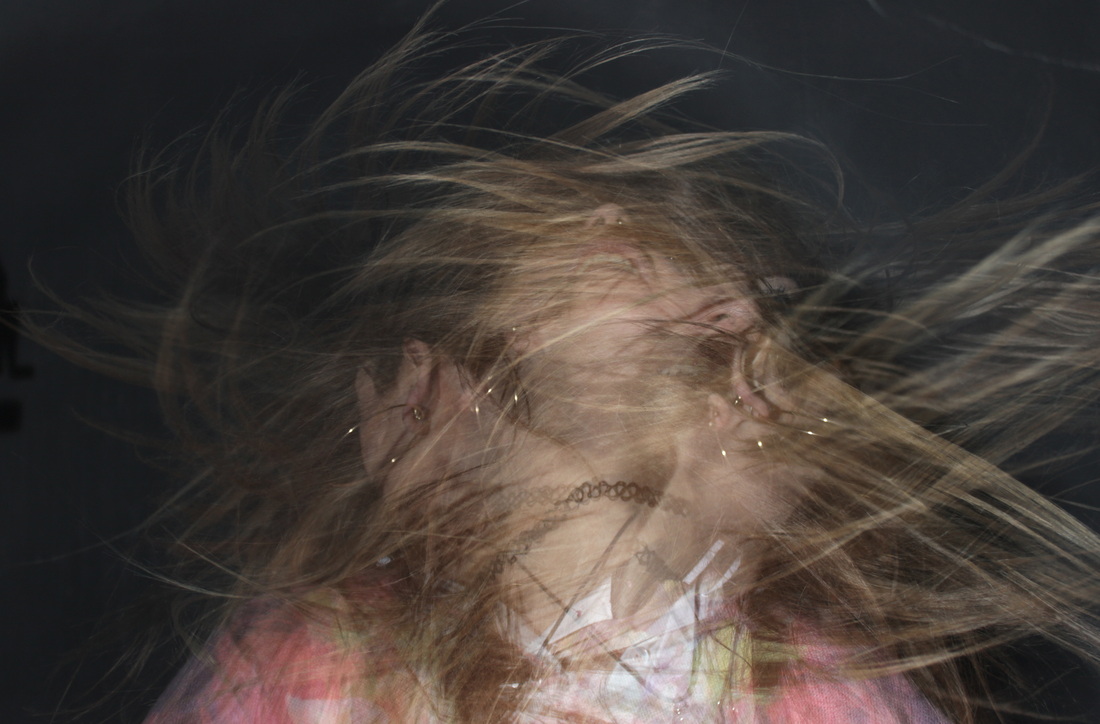
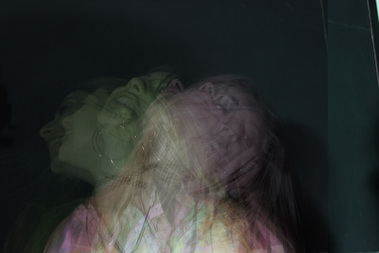
Inspiration
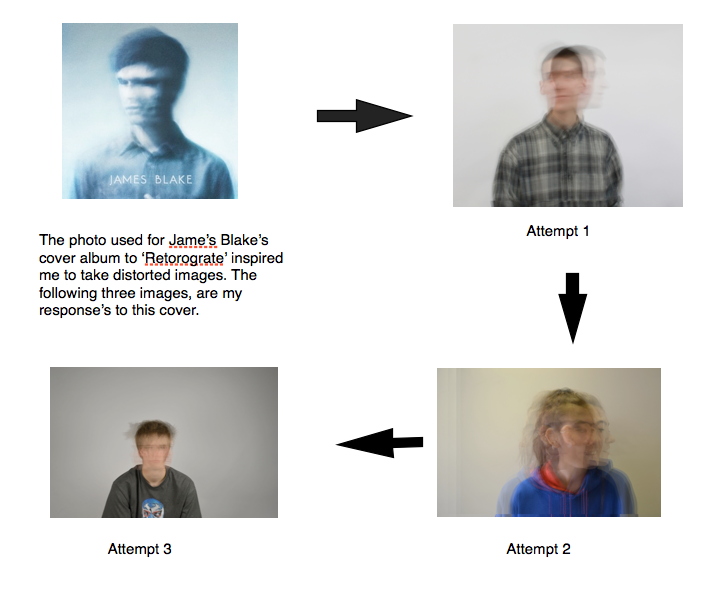
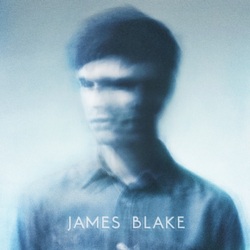
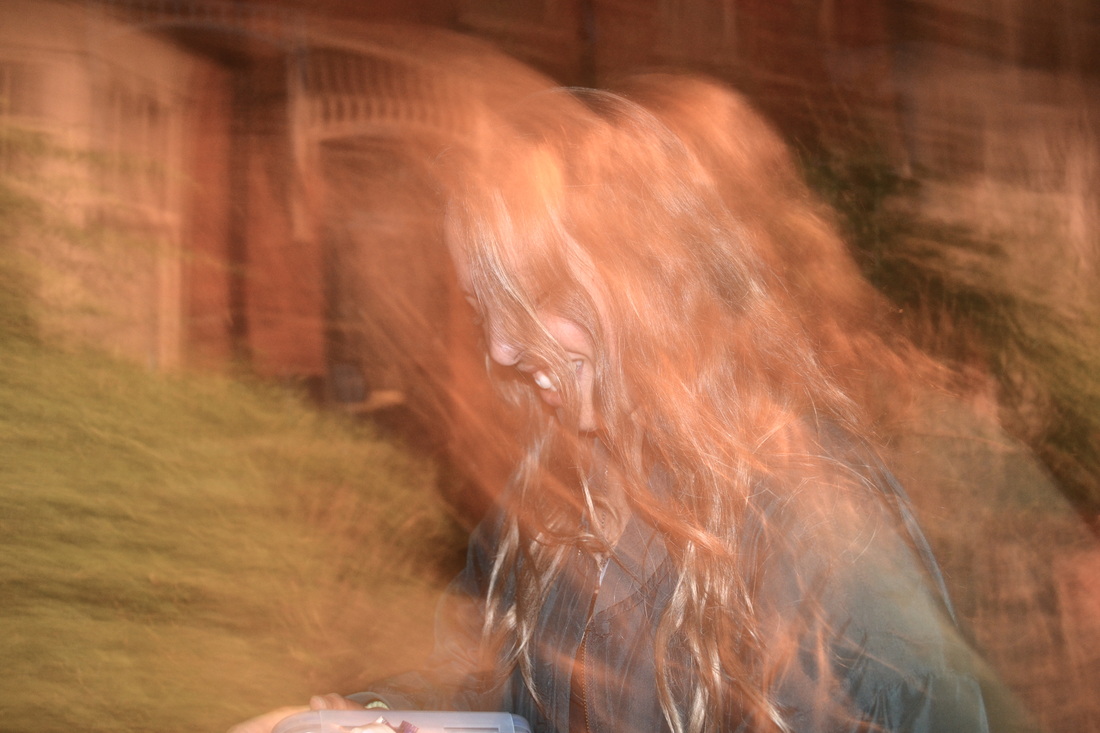
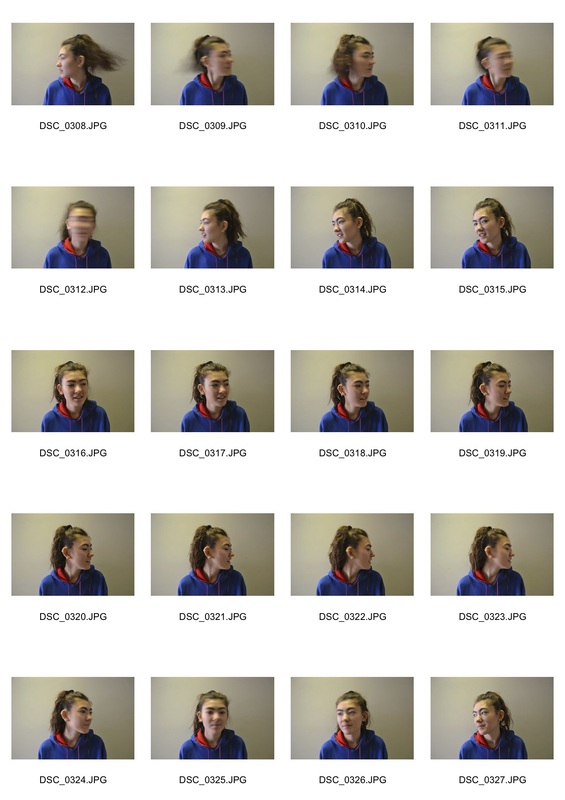
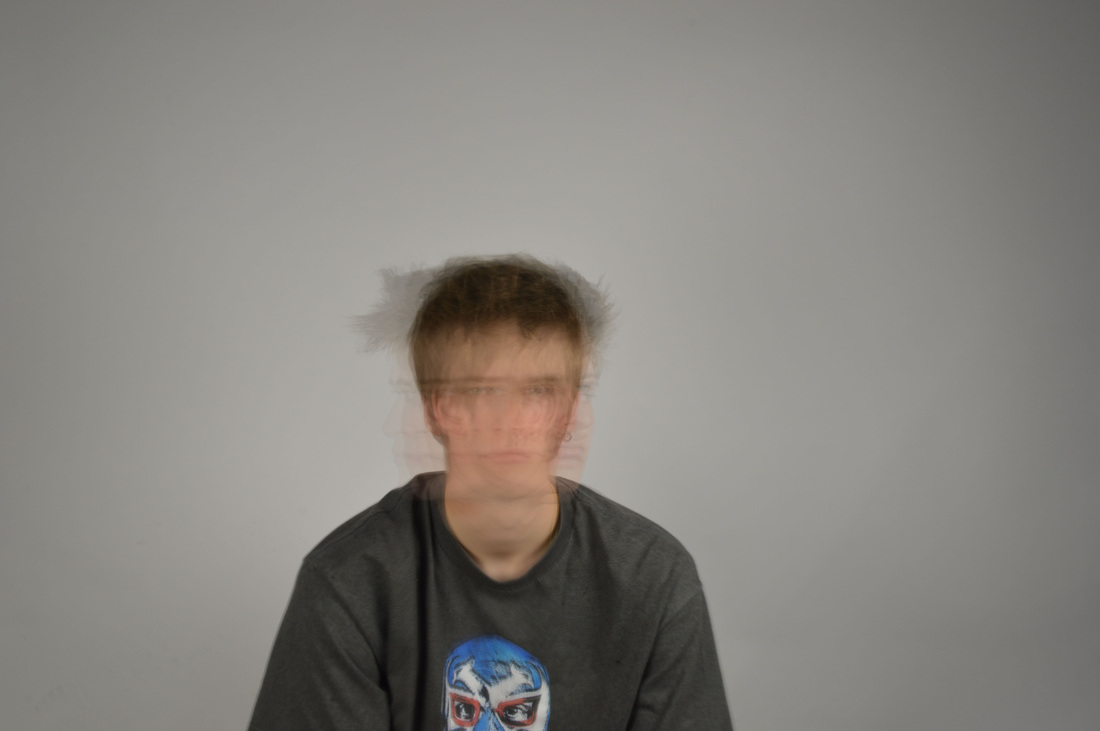
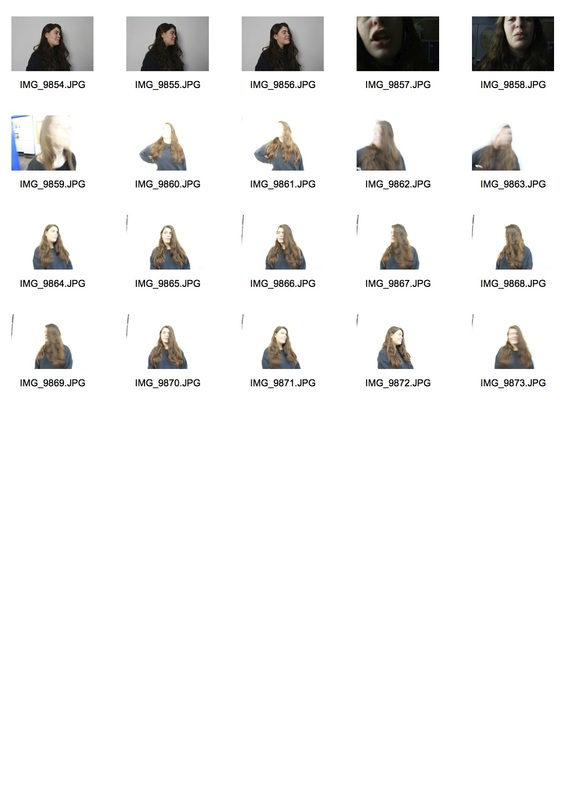
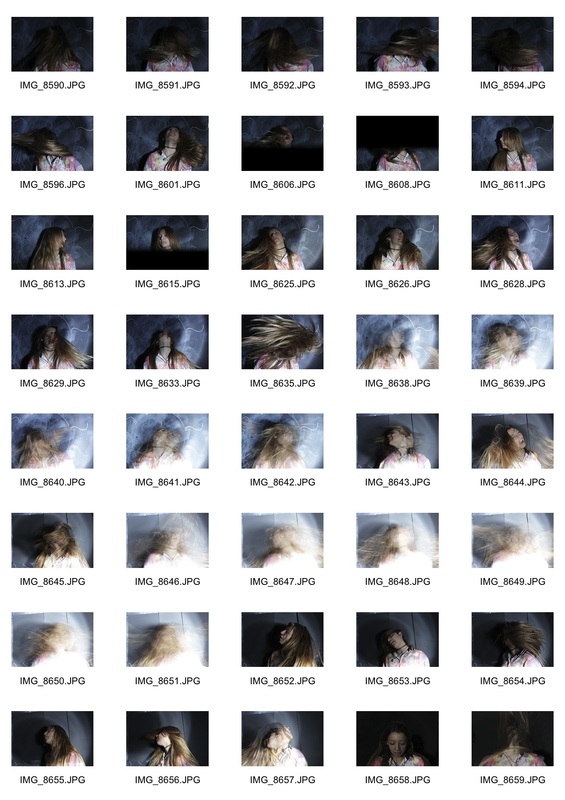
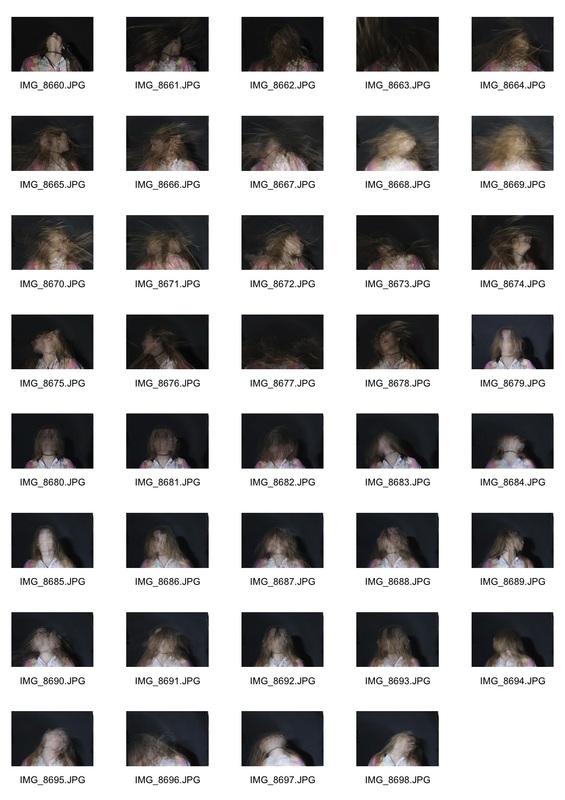
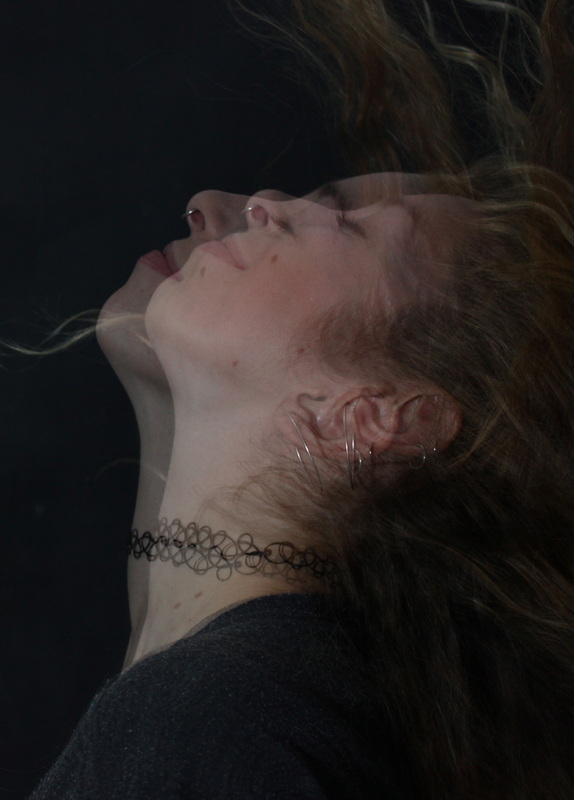
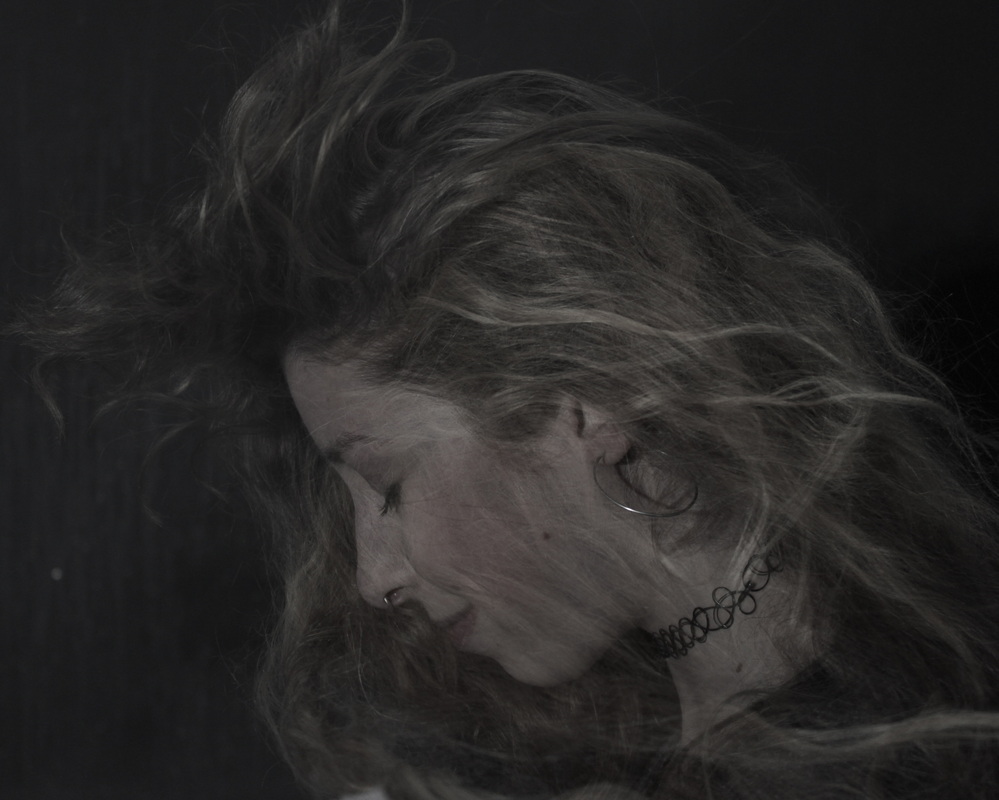
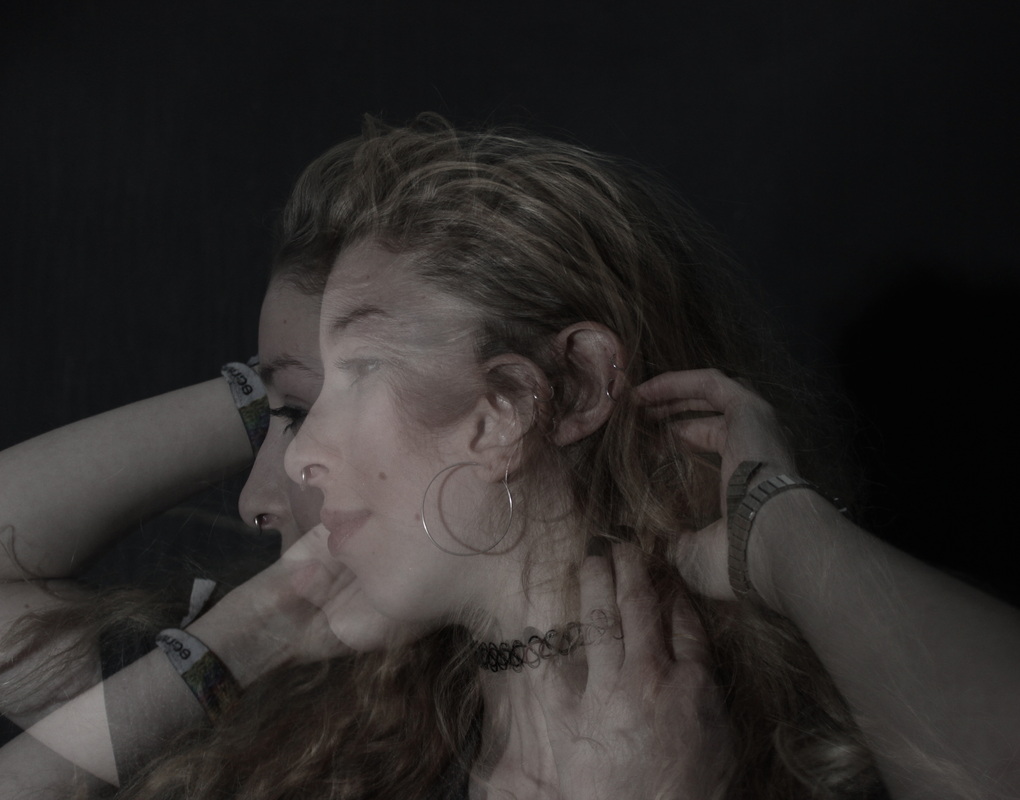
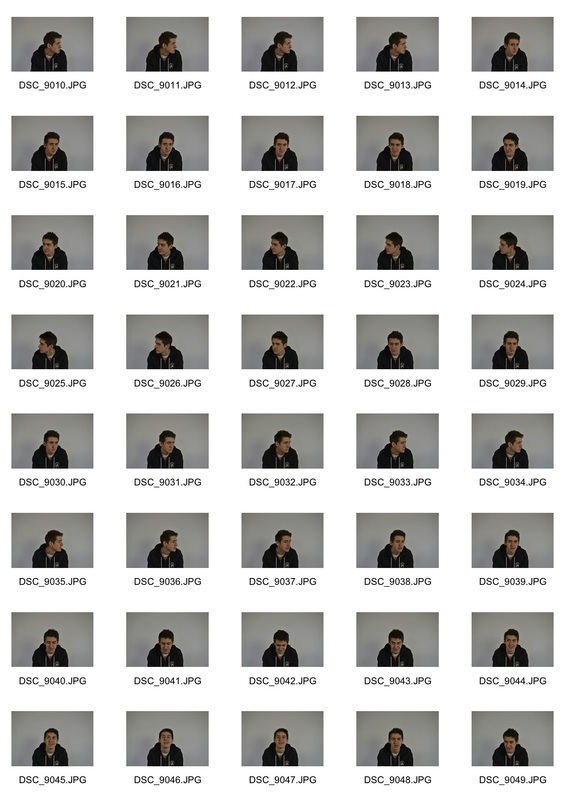
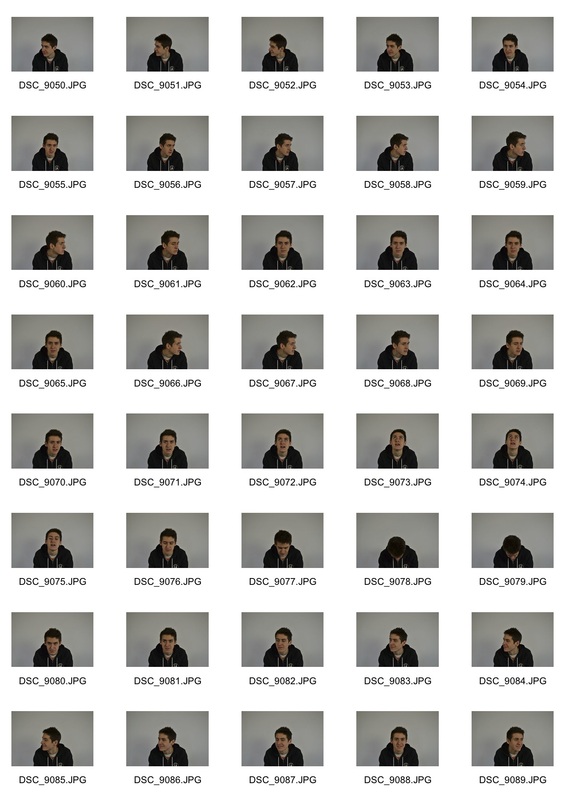
For my next set photos I was inspired by Jame's Blake's cover album. I took a series of photos of my friend shaking her head, and played around with the photos on photoshop. Firstly, I layered the photos on top of each other, and reduced the capacity to around 50%, to create an image similar to James Blake's album cover. My two attempts are below my contact sheet. I then used the same photos to make a gif. My first attempt wasn't effective, as the head movement was too jerky, and not natural. In my second attempt, I used more photos to make the movement
This clip from the Matrix gave me inspiration for my project. The actor transforming into someone else 0.30 portrays the idea of distortion through portrait images. The main link to my project from this clip is at 0.47 when the actor dodges the bullet. In one shot, the camera captures multiple images of him in different positions. The next few seconds from 0.47 capture his movement through several images of him captured at one time. I responded to this clip, by attempting to take photos with various movement captured in it, using a slow shutter speed. I also made gifs to portray movement and distortion. My responses are shown below.
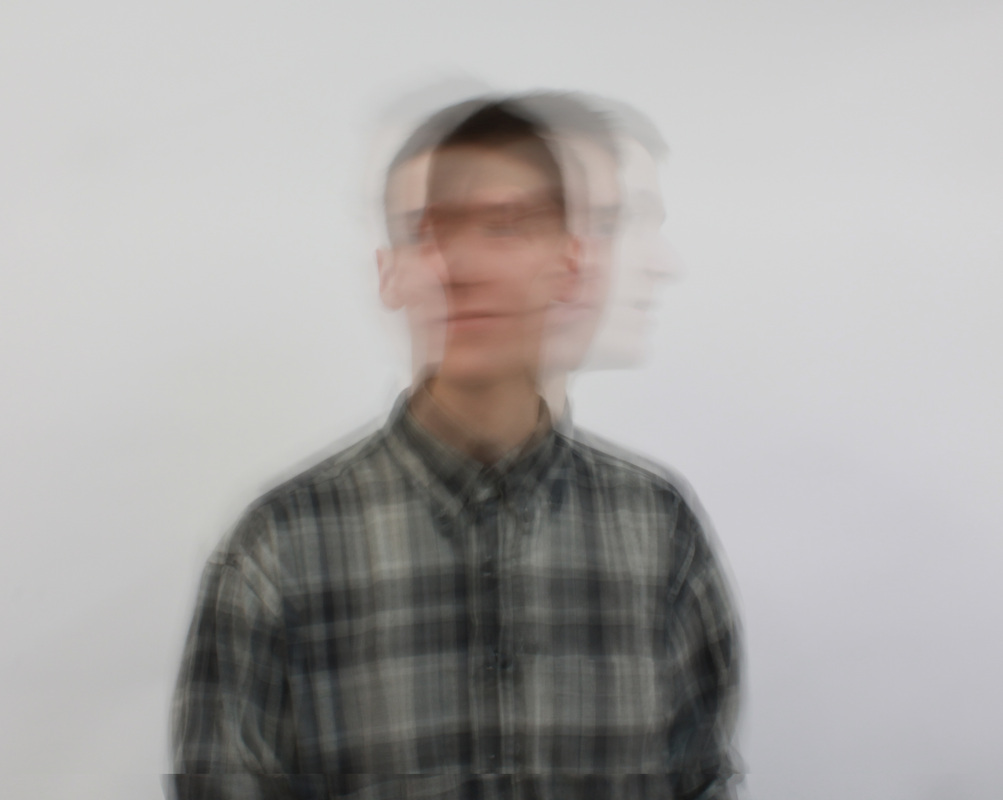
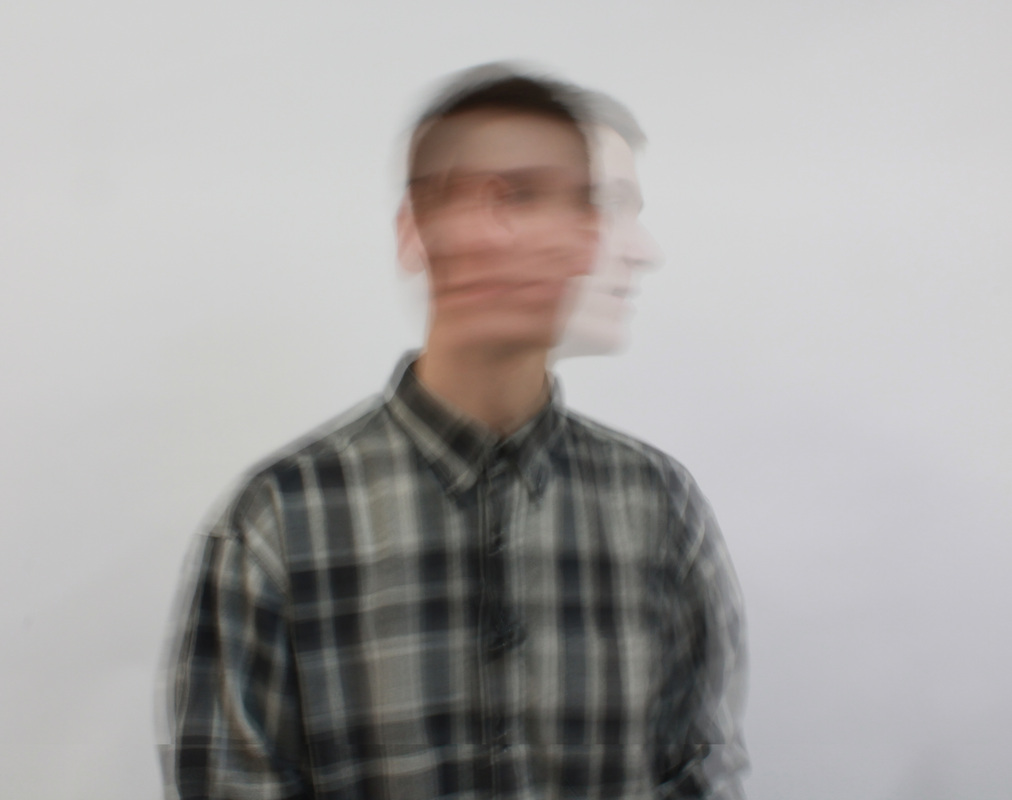
two unsuccessful attempts at a response to jame's blake's album cover
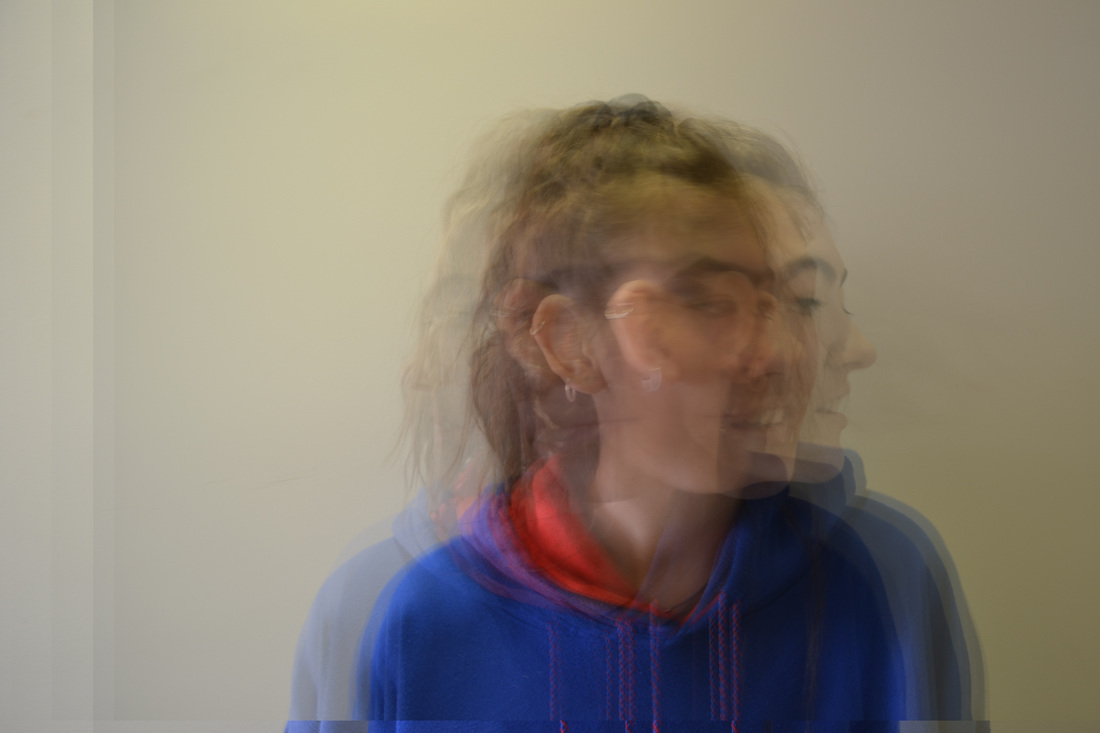
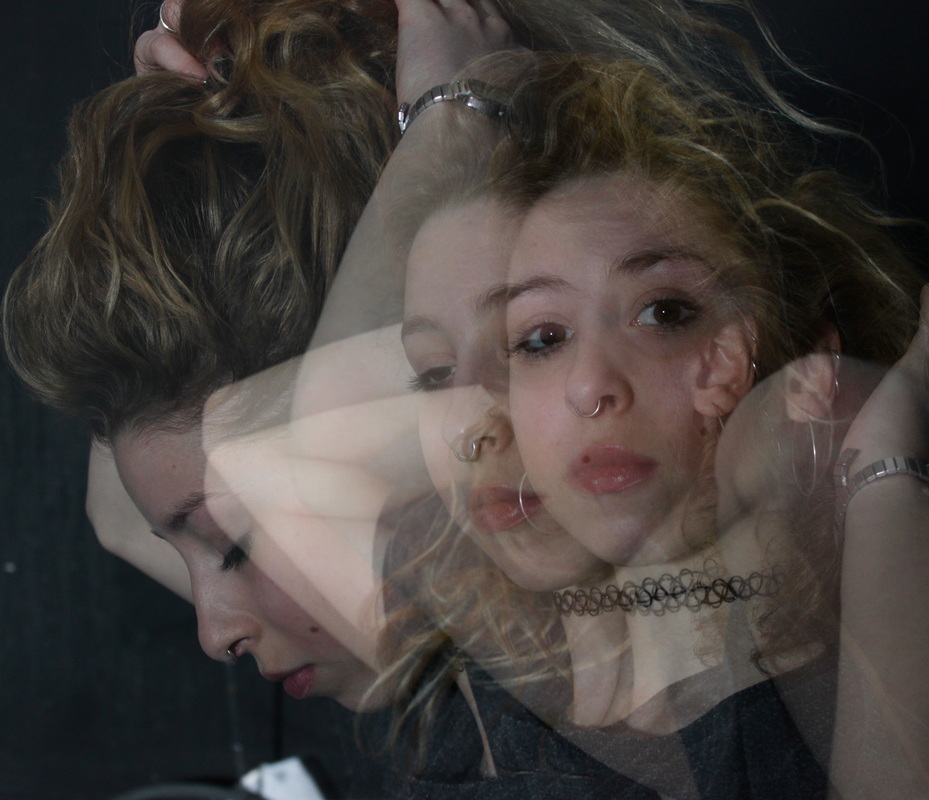
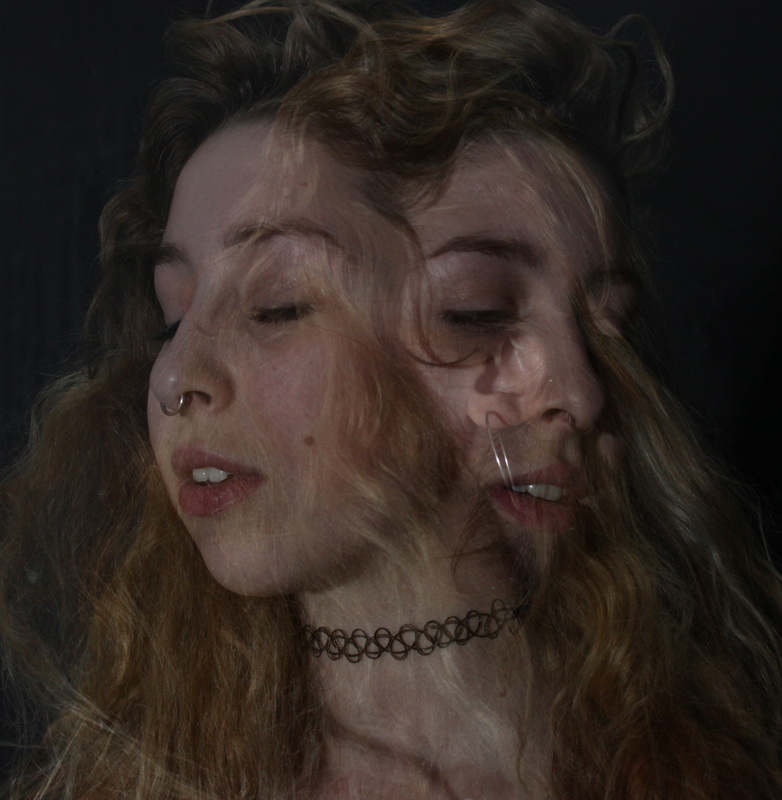
In the following two images, I attempted to produce a successful response to Jame's Blake's album cover, however neither of them were successful. I needed more images of his face facing the left, as most images are focused on him looking to the right. The opacity on the various images were not the same, causing his some angles of his face to appear more transparent than others. His body in the different photos doesn't match up exactly, due to the lack of tripod when taking the photos, causing the image to appear shaky. In the individual photos, I used a slow shutter speed which causes his face to blur, however when layered on photoshop, it's too blurry.
|
|
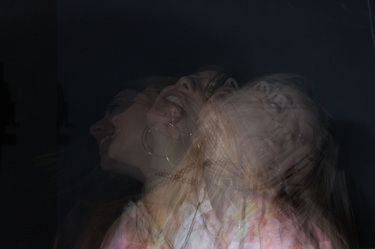
response 2
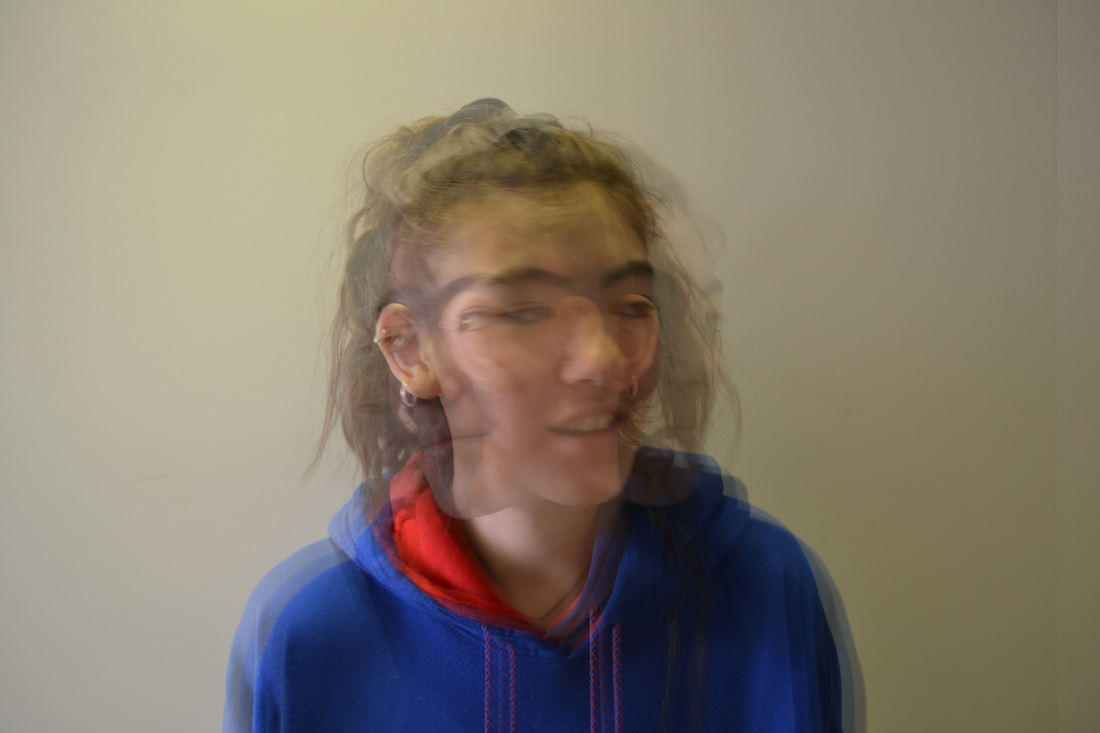
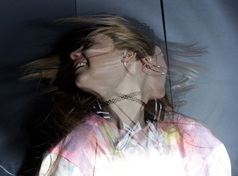
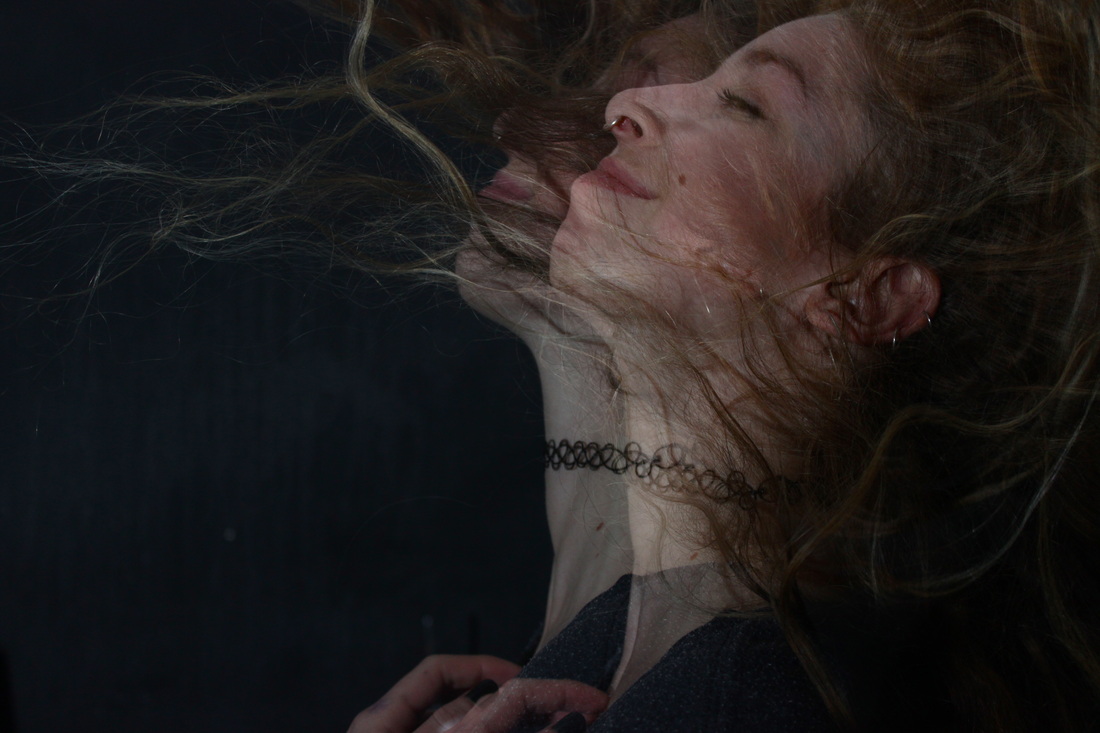
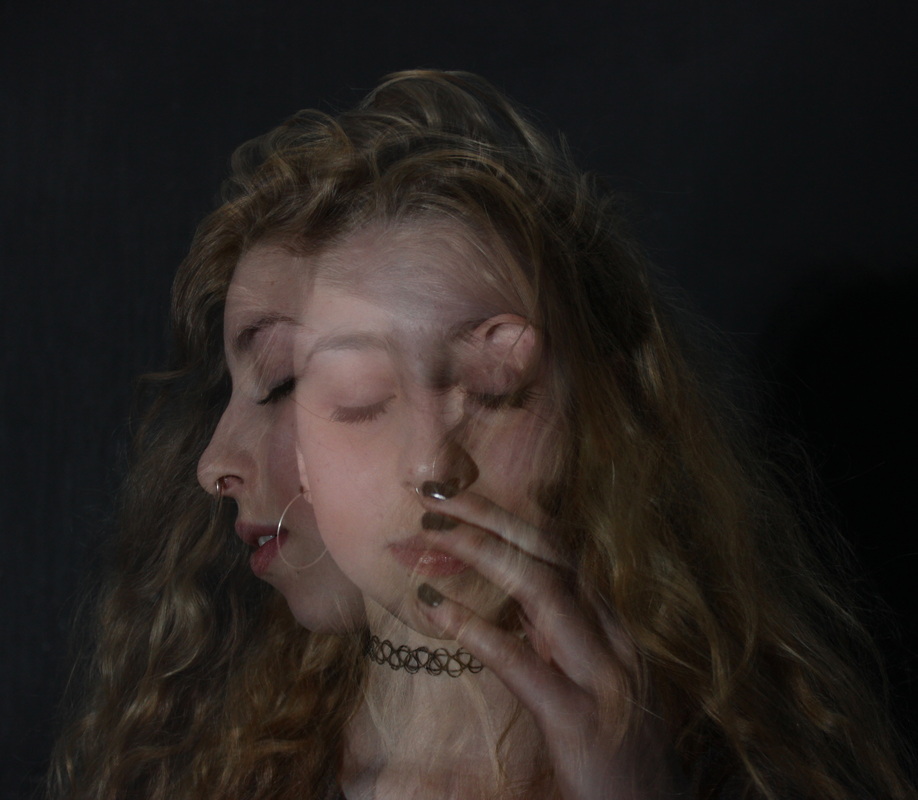
These attempts are slightly have improved, but are still not completely successful. Her body on the various images doesn't match up, causing the image to look shaky. However, the opacity levels have improved from my previous attempt (more in the first image) as the shade of face on the photo's are the same colour, causing the image to look more realistic. This time I used a faster shutter speed in order for her face not be blurry in the individual images. This was more effective as when layered on photoshop, it's not too blurry, and you can identify the movement between photos.
|
|
Next, I decided to experiment with gifs on photoshop. This gif wasn't very effective, as her head movement is too jerky and un-natural. To improve, I need to take more photos of her movement to make the gif flow smoothly.
response 3
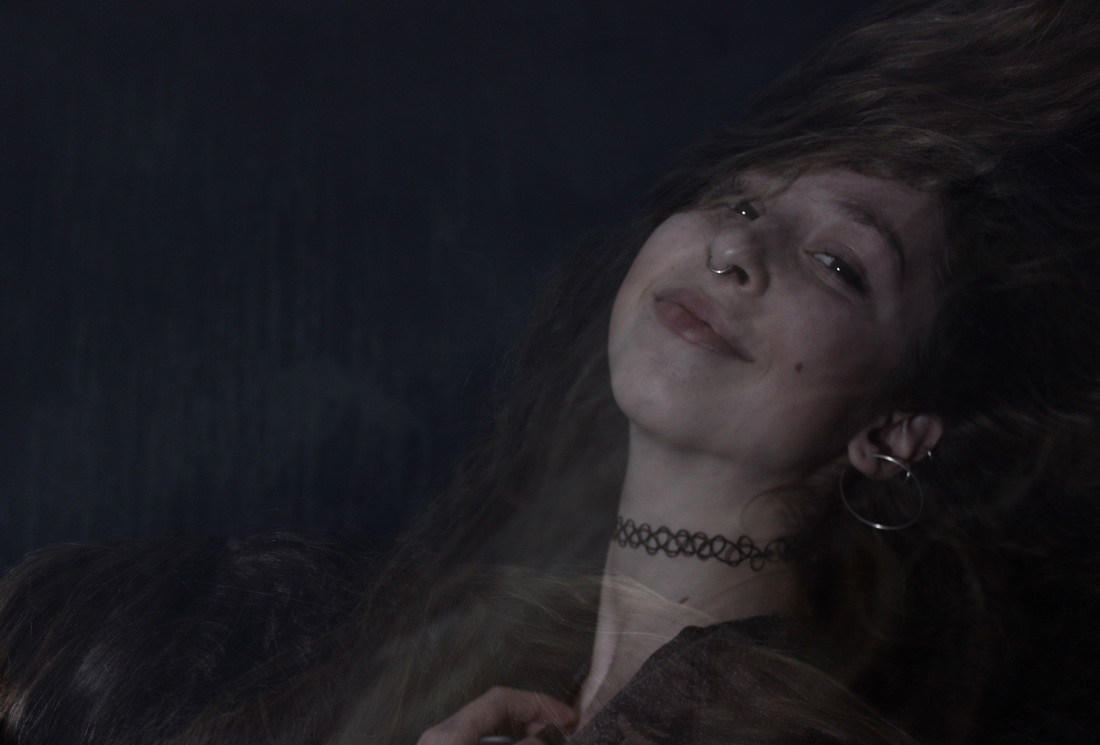
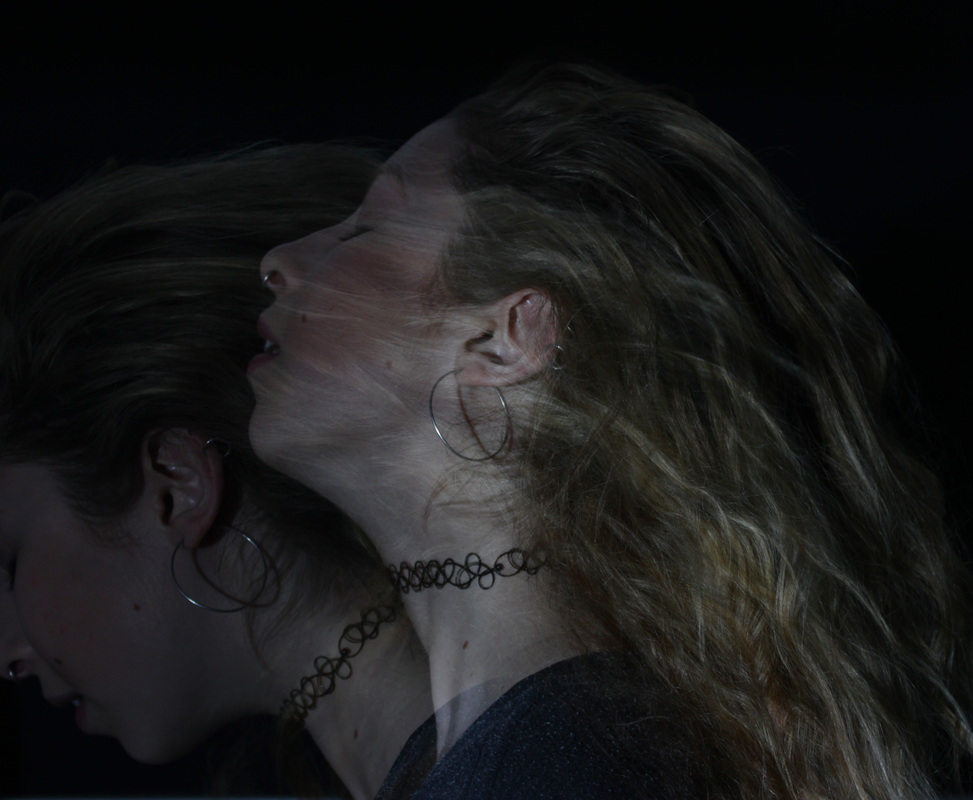
I think this response is my most effective and successful. This time I took the photos using a tripod causing the images not to be shaky, and allowing his body to match up and not be blurry. The opacity levels are similar, making it appear as if the camera has photographed the movement of him shaking his head.
Next, I made a gif using the images that I took of a person shaking their head. This was more effective as I used a tripod, hence the gif is not shaky.
attempt 3

|
|
Then, I decided to experiment with gifs capturing different movement. I took several shots of my friend shaking her hear

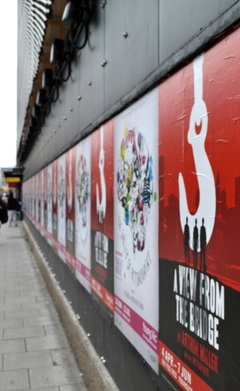
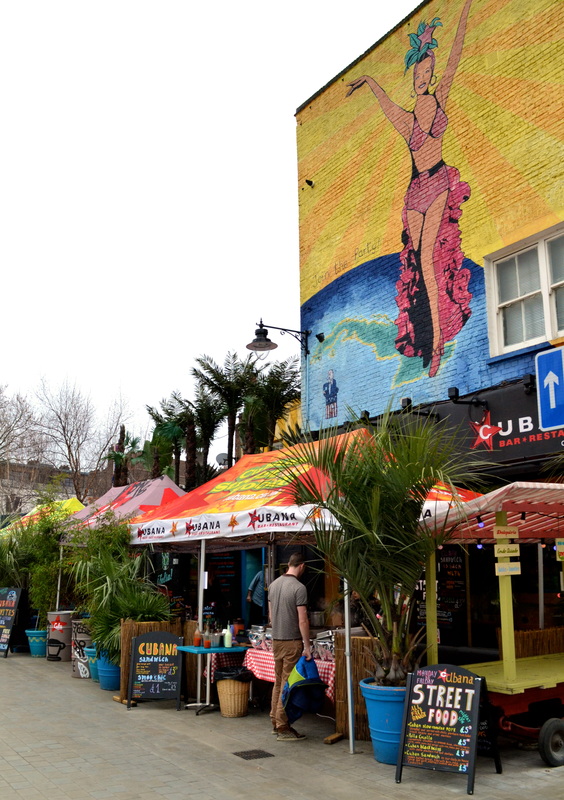
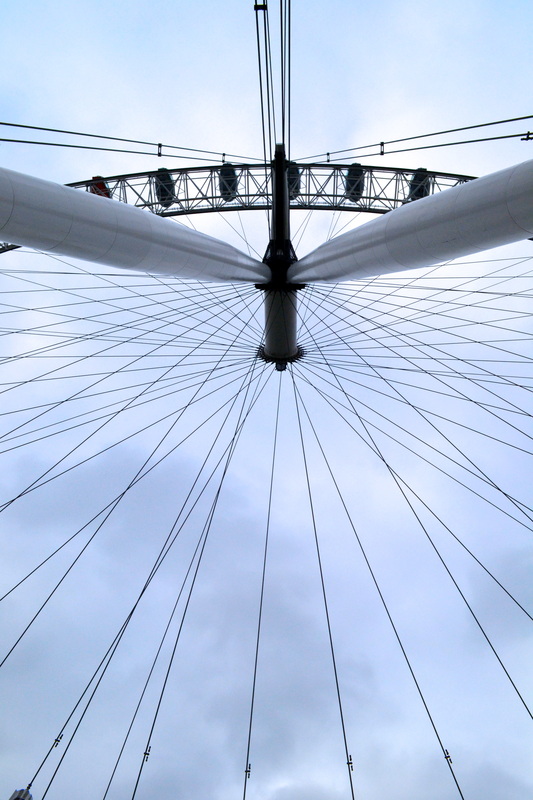
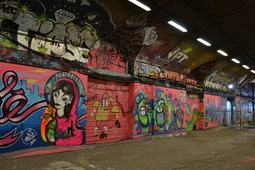
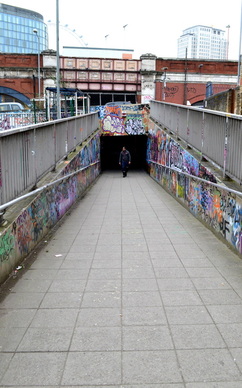
southbank walk

|
|
edits
|

|
|
harry callahan exhibition
task 1 - to choose photos that convey callahan's interest in formal questions of line and composition, depth of field, multiple exposures and the relationship between photography and abstraction.
line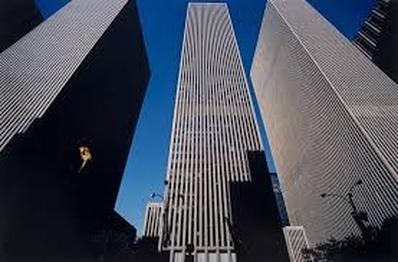
New York (towers), printed 1979-89
I thought this photo portrayed lines as the structure consists of hundreds of lines. depth of field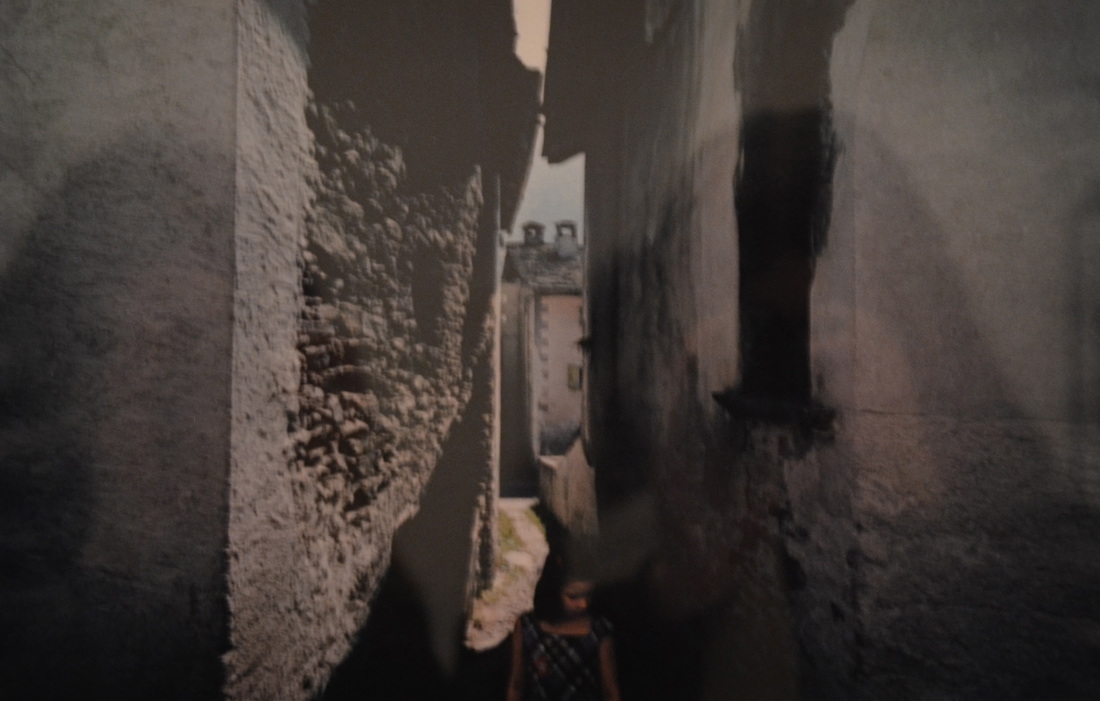
Florence (ba, bara in alleyway), printed 1979-89
This photo demonstrates depth of field as the focul point is the the centre, with the walls larger at the front of the photo, and gradually getting smaller towards the centre of the image. |
composition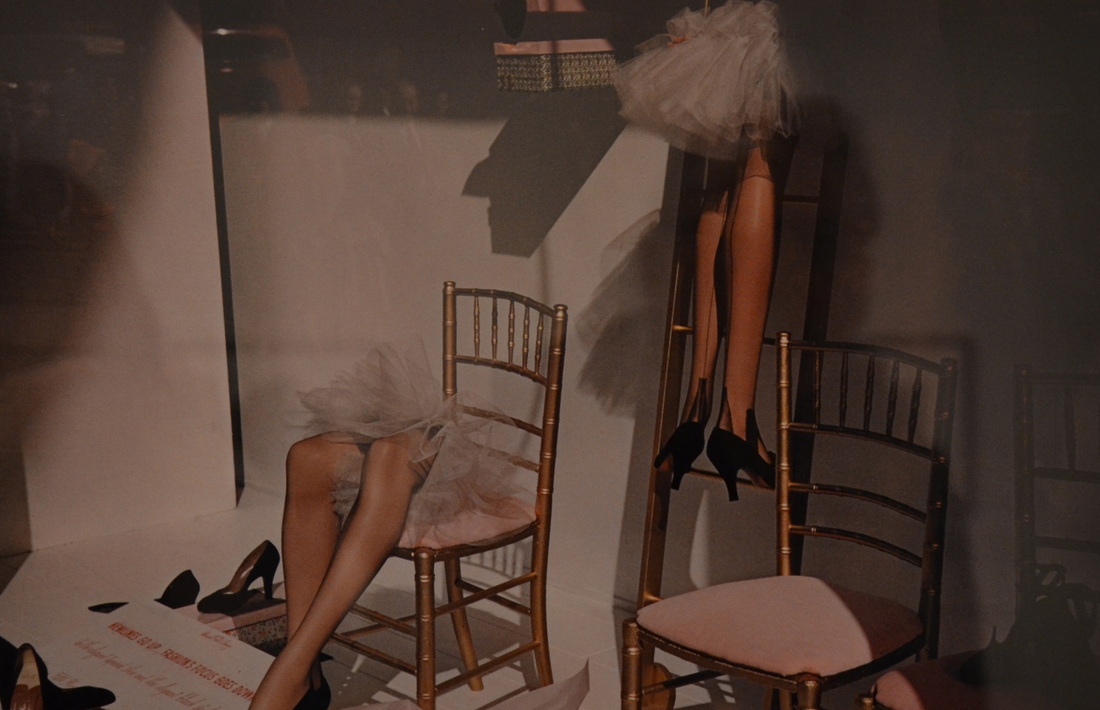
New York (mannequin legs), 1955, printed 1979-89
I chose this photo for composition due to the various objects making up different sections of the photo (the chairs, and the mannequin legs) creating an interesting point of perspective. multiple exposures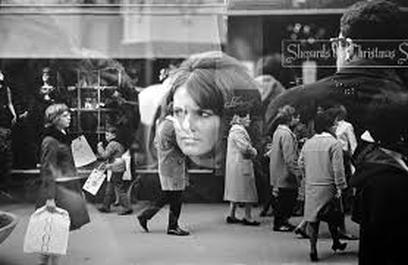
Providence (Shepard's), printed in 1966
This image uses multiple exposures as a photo of a woman's face is layered over the background street image. |
task 2 - callahan's work can be grouped into three themes: Nature, Buildings and people. The key thread linking all three is his wife, and most photographed subject, eleanor. Below are two images where the figure is integral to the composition.
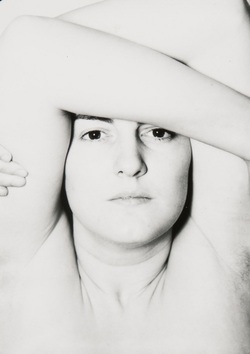
Eleanor (taken in 1947)
Harry Callahan continually uses his wife, Eleanor, as the focul point of his photography. His photos vary from her being inside and outside, nude and clothed. They convey the depth of his emotions for her. In the image above, Eleanor's arms are covering the top of her head, just hiding her eyebrows, acting as a frame. Her arms create a shadow around her face, emphasising the bone structure, and making the centre of attention to the reader. |
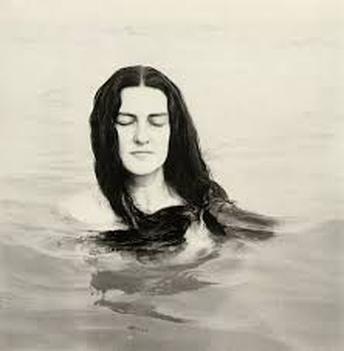
Eleanor, Chicago 1949 In this image, Harry Callahan photographed her shoulder upwards, swimming in a lake. He incorporated both of his recurring themes, nature and people by contrasting Eleanor, to the lake. Most of the photo is a washed-out, beige colour, apart from the dark colour of her hair, making it stand out from the rest. |
task 3 - attempt to find an image for each element; earth, wind, water and fire.
Water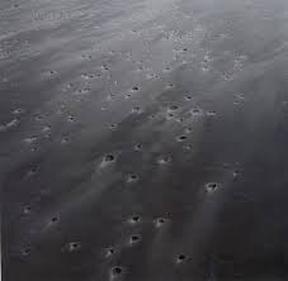
Horseneck Beach
I thought this image conveyed the element 'water' as it was photographed on a beach, where the power of the sea caused various holes on the sand. fire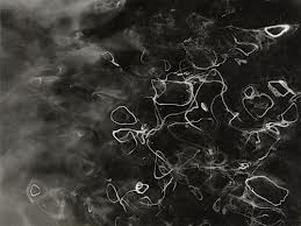
Sunlight on water
This image of rings of smoke show 'fire' as it wouldn't formed without the element of fire. |
wind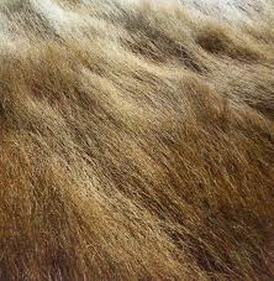
Horseneck Beach (grasses), 1971, printed in 1979-89
I chose this image for 'wind' as the grass is horizontal as opposed to being vertical, portraying the power of wind. Earth
Cape Cod (multi-coloured foliage)
Callahan's image of brightly coloured leaves represents 'earth' as it demonstrates the beauty of nature. |
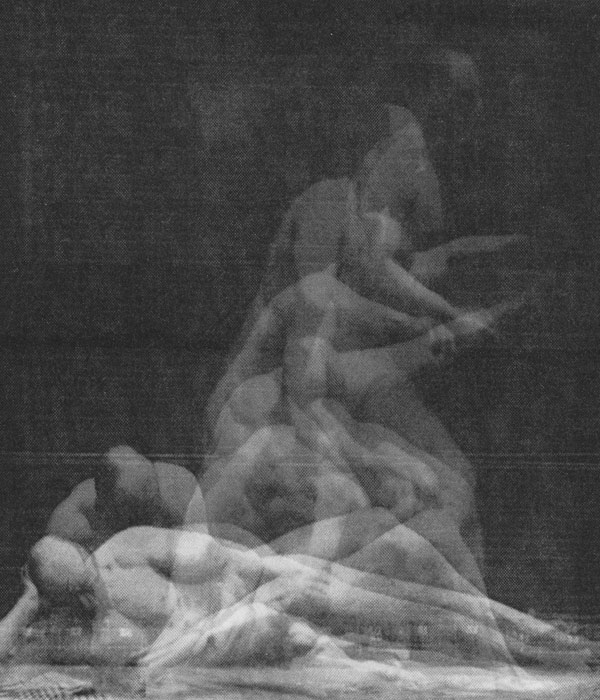
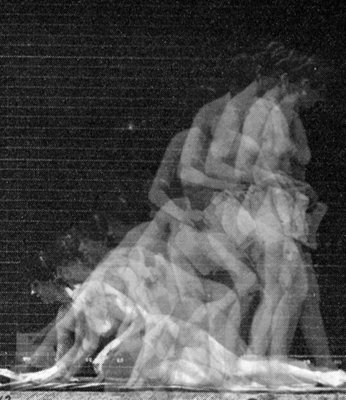
artist research - Shinichi Maruyama
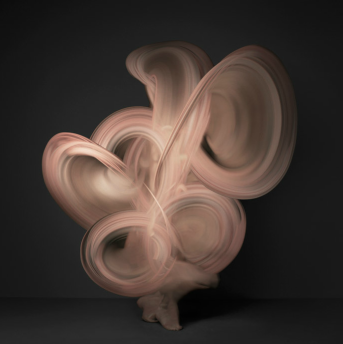
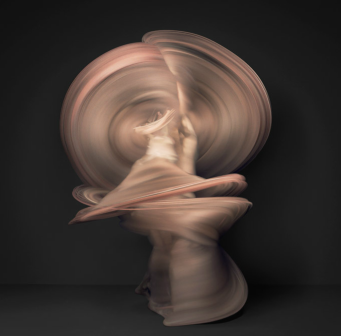
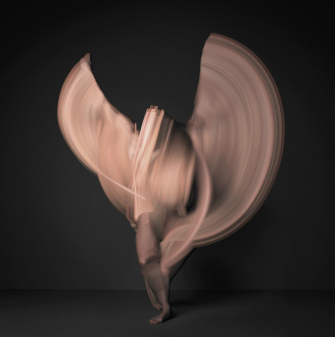
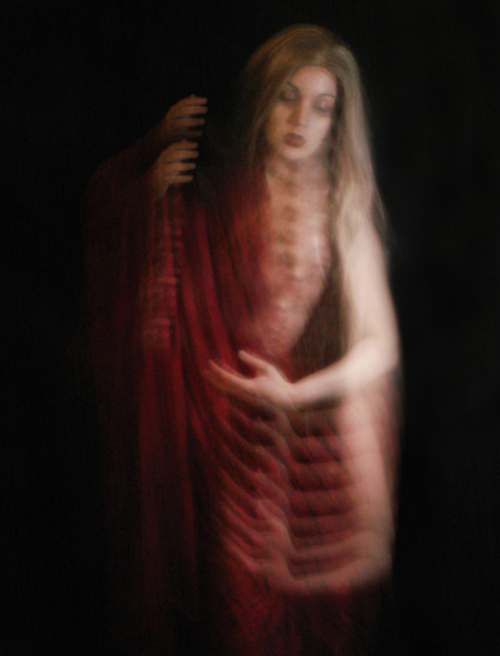
Shinichi Maruyama was born in Nagano, Japan in 1968. When he was at school, he began mountain climbing, which inspired him to preserve the sunny landscape by photography. Shinichi Maruyama started his professional career in Tokyo in 1993, moving on to New York 10 years later. He specialises in splashing and energetic movements. In the series of photo's I posted above, he captures people's movement using a long exposure. His work is very abstract, as the viewer cannot decipher the separate movements that have been collaborated into the image. The image on the top left in particular is very abstract, as it's hard to tell which body part;s movement has been photographed. The dark colour of the background gives a strong contrast to the pale shades of the figure. Shinichi Maruyama's work relate's to my work, as similarly I am experimenting with capturing movement using a long exposure. My photo's differ due to lack of similar abstraction, as the individual movement's are captured in my photo's as opposed to being 'blended' into one (demonstrated in the three photo's above).
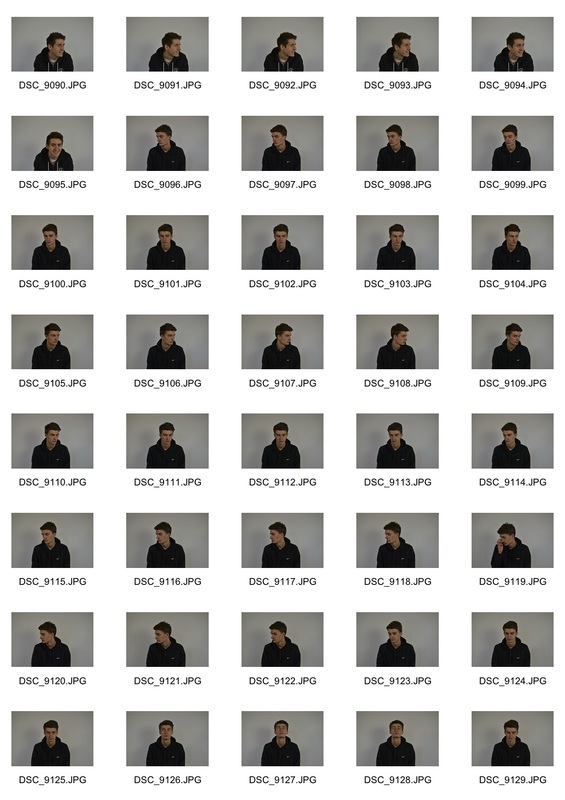
DEVELOPMENT using a strobe light
|
|
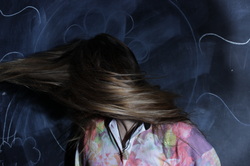
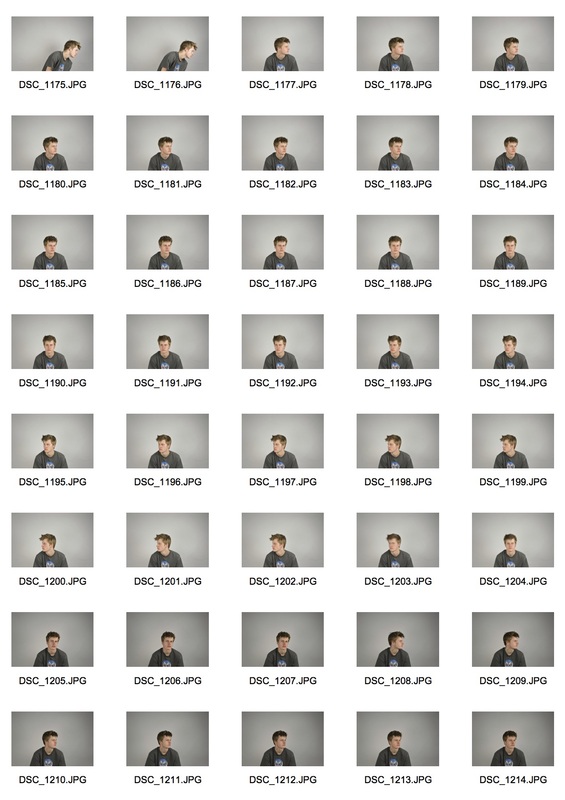
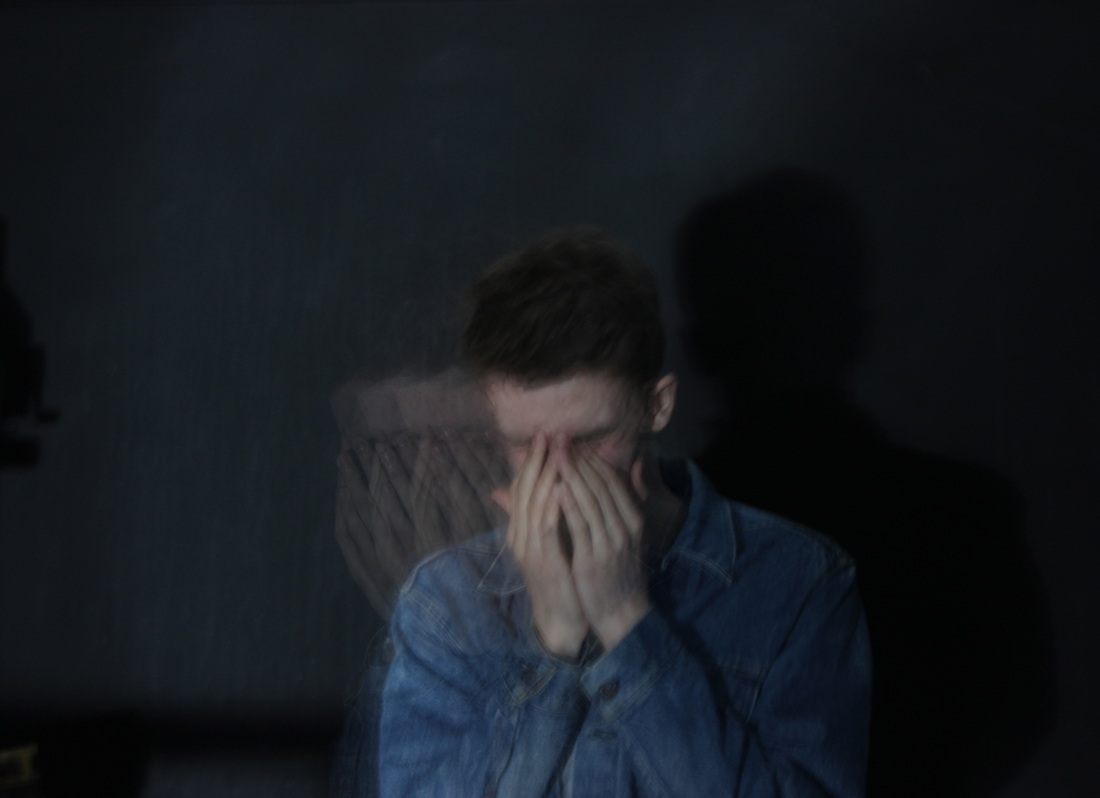
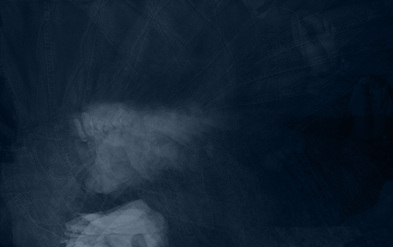
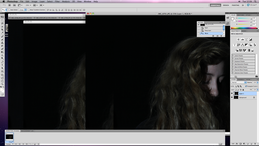
Firstly, I experimented using a strobe light on a slow speed. This image on the left, is result of using a slow speed. I wanted my image to have multiple exposures, however it simply shot one still image, not capturing what I aimed to shoot. Underneath are the results of using a strobe light with a fast speed. These are much more effective, as they use multiple exposures, and portray a simular effect to Jame's Blake's album cover. I experimented with different backgrounds, and decided that the most effective was the plain black background, as it emphasises my model, Ruby's, face. The photo on the bottom left was shot infront of a chalk board, with chalk drawings on the back. The chalk blurs, creating an interesting, ghostly effect.
|
|
|
sepia edit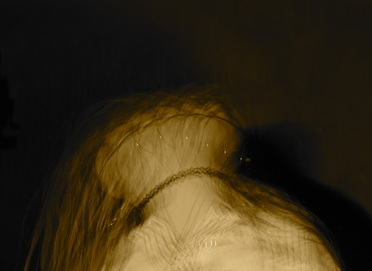
In this image, I merged two separate photos together to create a thought-provoking effect. To do this, I dragged one image on top of another, and decreased the image's opacity.
|
black and white edit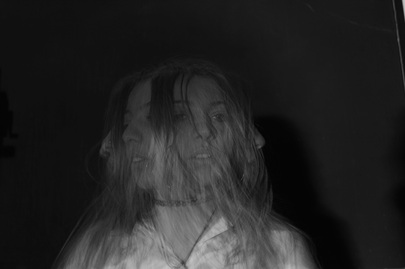
This image is the same as the merged photo on the left, however this time I edited the 'hue' of the two separate images before I merged them on top of each other. The photo on the bottom layer has a pink tint, whilst the top image has a green tint.
|
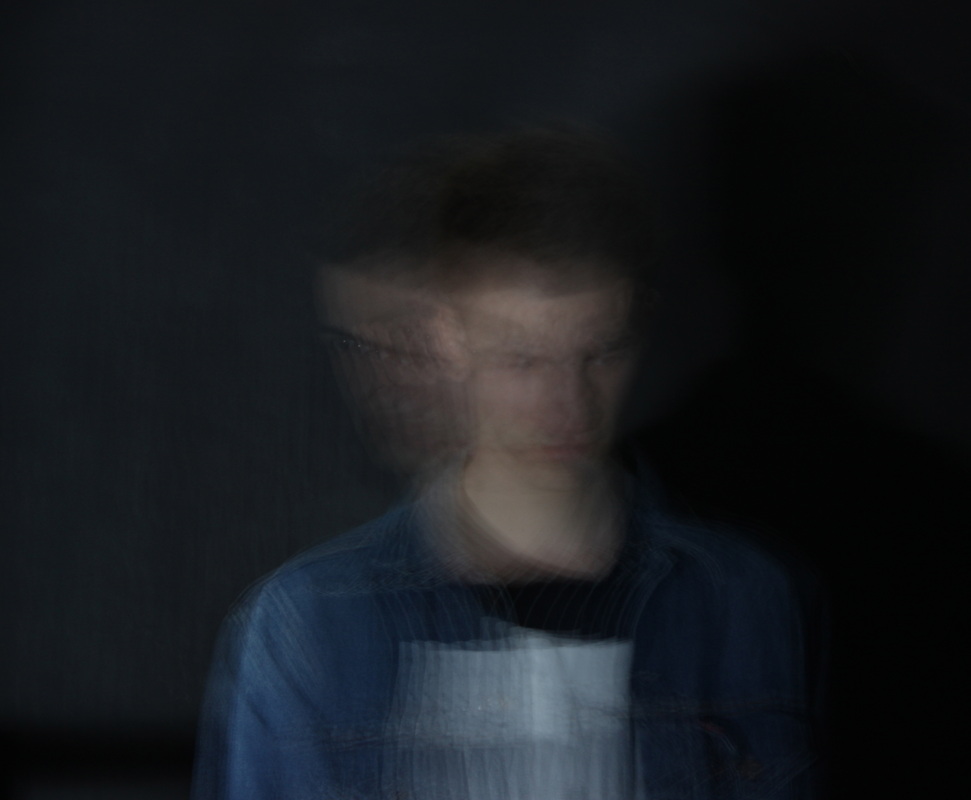
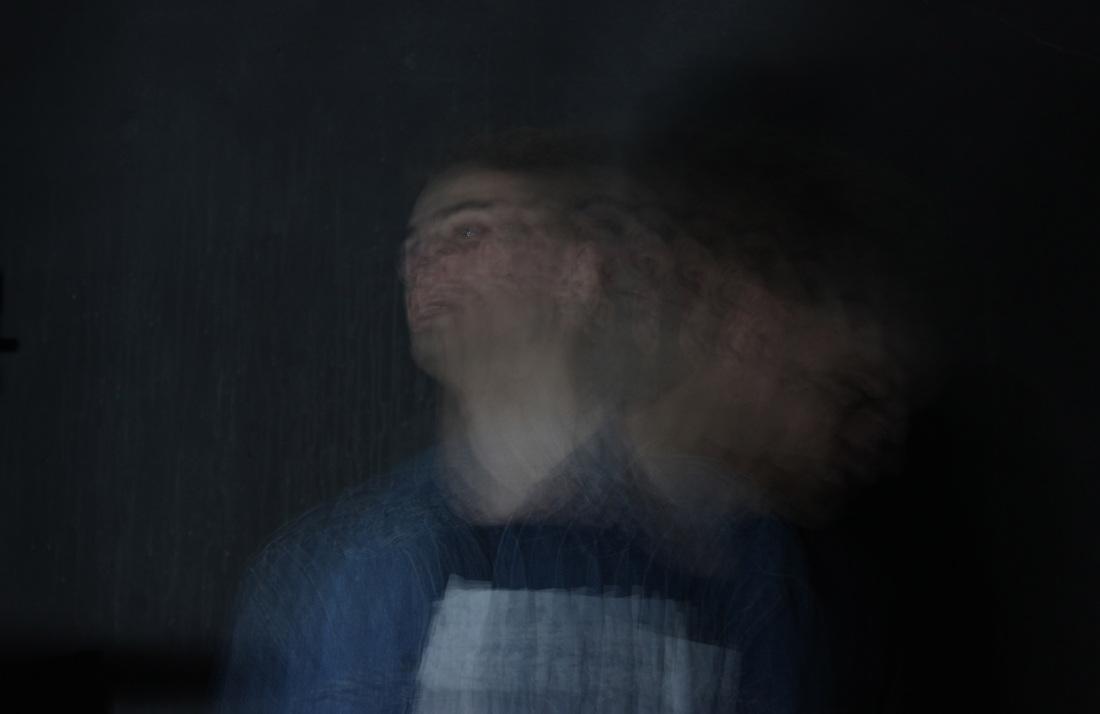
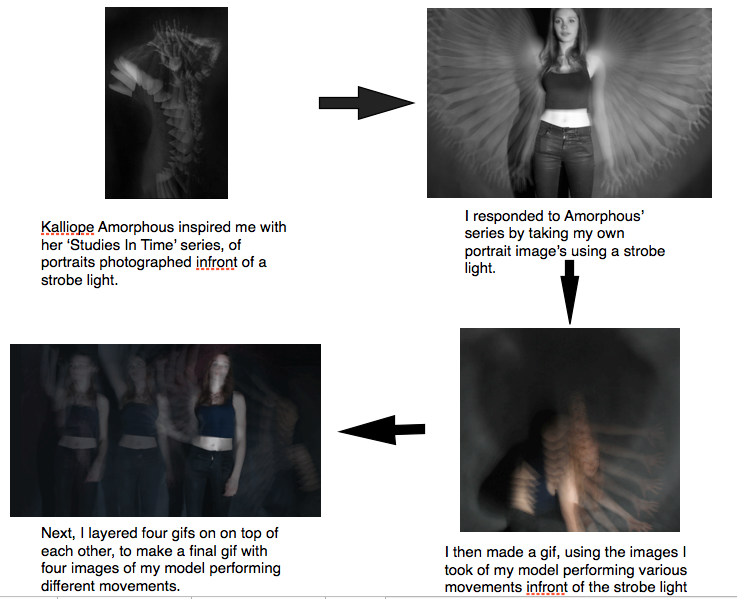
kalope amorphous
Kaliope Amorphous's series called 'studies in time' is a collection of self-portraits using stroboscopic techniques, in which she freezes successive actions in a single frame. In the photo's above, she either uses a handmade stroboscope of flashing strobes, allowing to capture the images sequentially as opposed to instantaneously. By changing the papers used in the mechanical stroboscope and using an early DSLR Camera, Amorphous create's texture and intentional graininess in some of her photo's. She uses different paper for some of her other images, causing them to appear luminous, dreamy and paint-like. Although using strobe lights, allow's multiple actions be to be captured in a single frame, she also uses long exposures for a more subtle distortion of the movement.
I continued experimenting with a strobe light. This time, I set the strobe light at a faster speed, and used a slower shutter speed. This allowed me to capture more images in one, creating an abstract effect.


I edited this photo on photoshop by using the 'saturation/hue' tool, to cause his face to have a green tone, and his top and the background to have a purple tone.
|
In this image, I edited the hue to give it a blue tint, and increased the saturation.
|
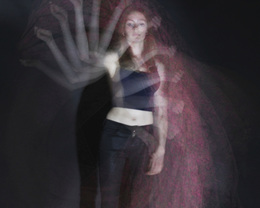
artist and me
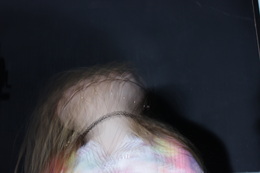
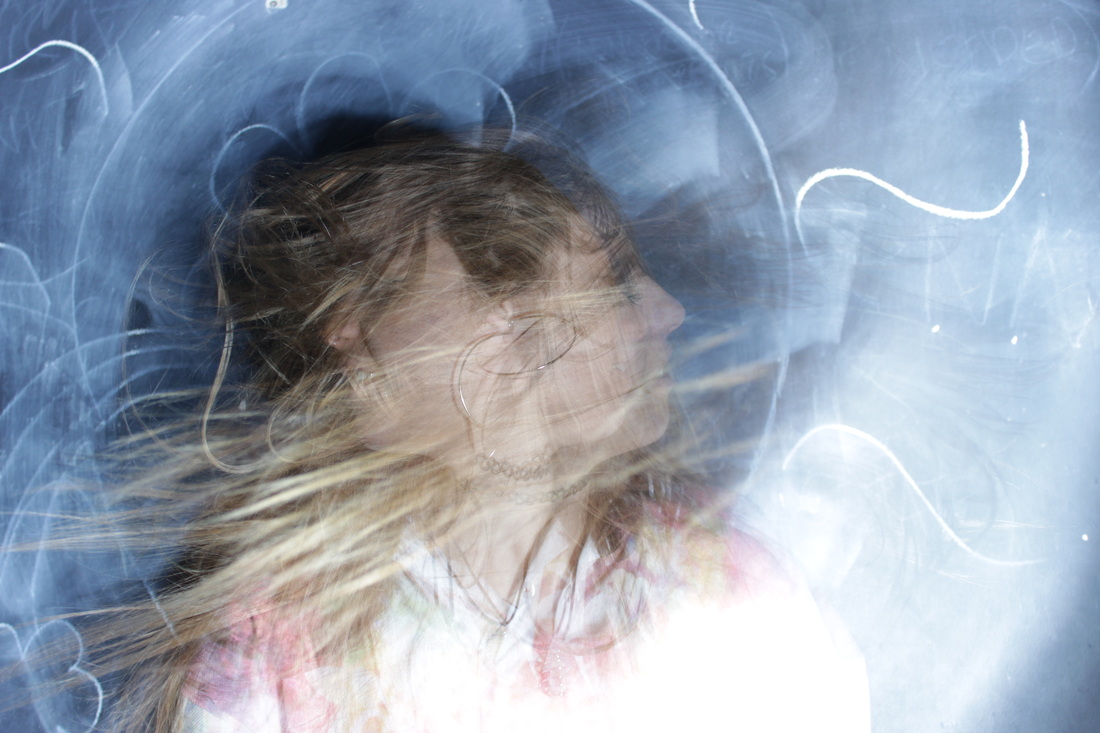
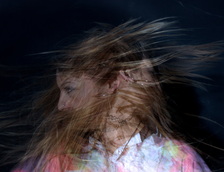
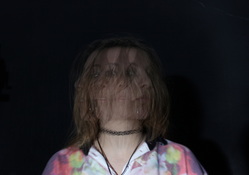
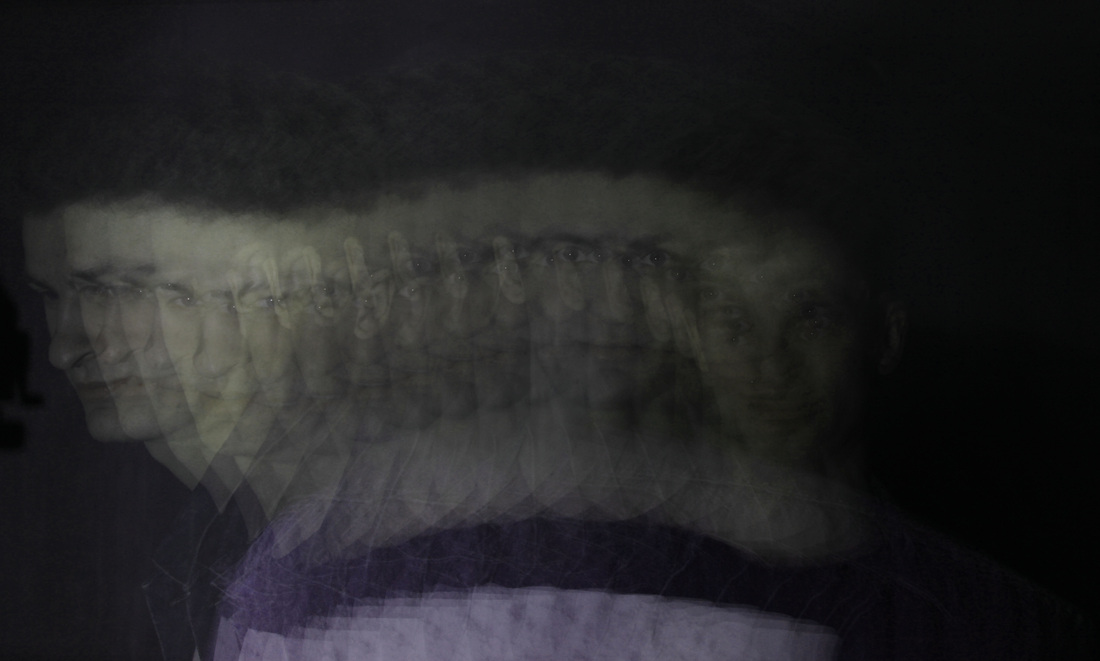
KALLIOPE AMORPHOUS
|
me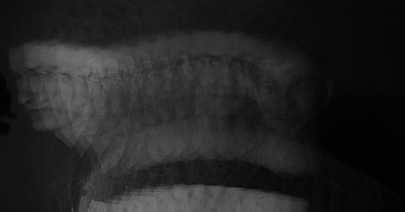
|
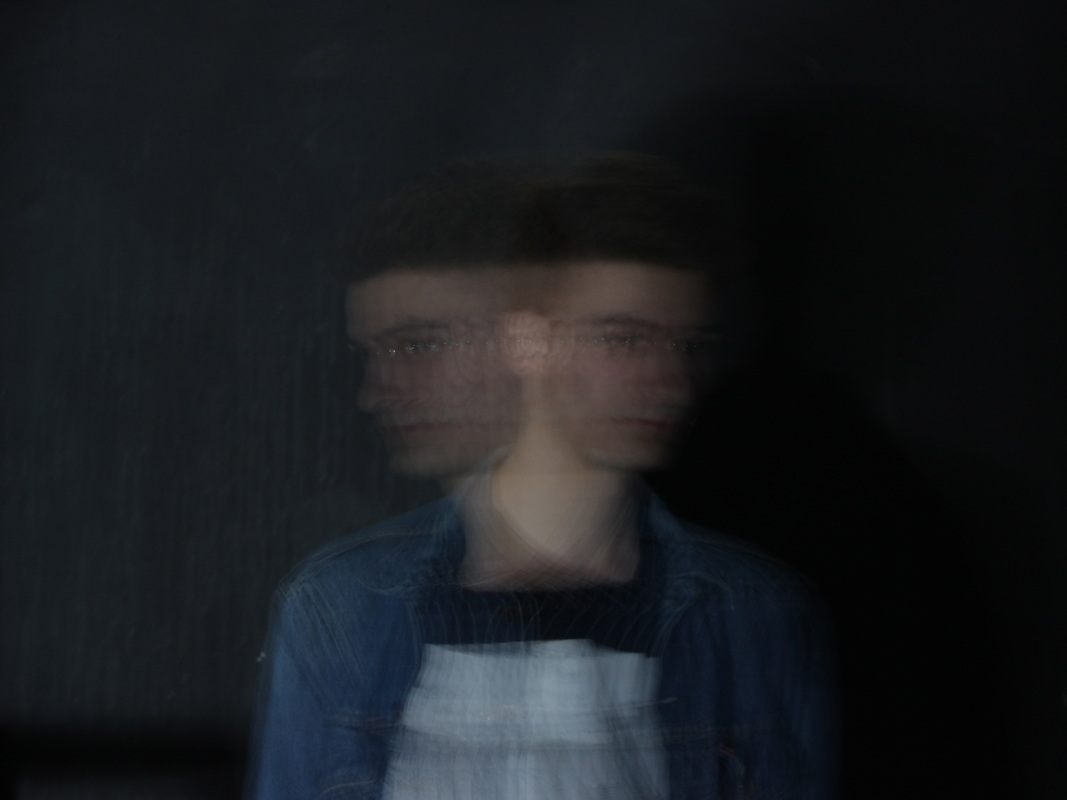
Kalliope Amorphous photographed a woman's face blurred, appearing to be closer to the camera. The separate images are out of focus, and slightly distorted. I responded to Kalliope Amorphous' image by photographing a portrait image captured multiple times in one shot. I shot this photo in a dark room, with a strobe light set on a fast speed, and my camera set at a slow shutter speed. Similarly to Amorphous' image, I edited it in black and white, setting an eerie tone. My photo differs from the artists as the individual shots are in focus, as opposed to being blurred. Similarly I edit my image in black and white, however it differs to the artist's image due to the lower contrast.
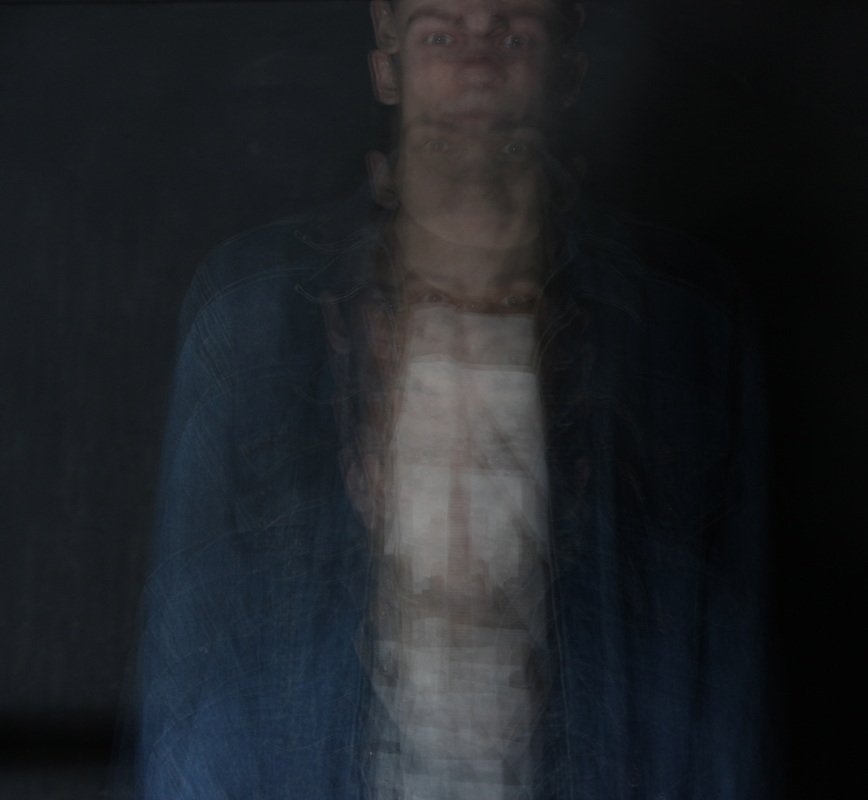
This is my third set of experimenting with the strobe light. In this set, I used a faster shutter speed and a slower strobe light speed, than the second set.
|
|
|
I think this set of photos are my most successful outcome as each captured movement of my friend is in focus, but allowing the images to naturally layer over each other.
gifs
I tried making gifs using images from two sets of people shaking/moving their head. The one on the left is more successful as the separate photo's used in a gif follow the movement of her shaking her head. However, the image's I used to create the gif on the left aren't following her movement, I just experimented making a gif using different photo's of her in front of the strobe light. Therefore, the movement the gif is creating isn't very natural
|
|
how to make gifs
1) Firstly, you import all your chosen photos on to photoshop.
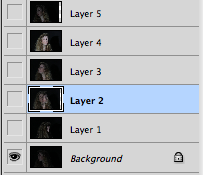
4) Unclick the eye button for all the images, apart from the background image.
|
2) Secondly, you select all the image's, and copy and paste them on top of the background image.
5) Then, open a new slide.
|
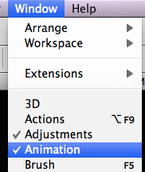
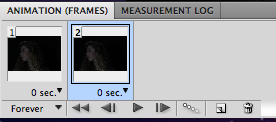
3) Go on window, and tick 'animation'.
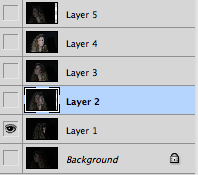
6) Deselect the eye for the background image, and select the next layer. Do this same procedure for all the layer's.
|
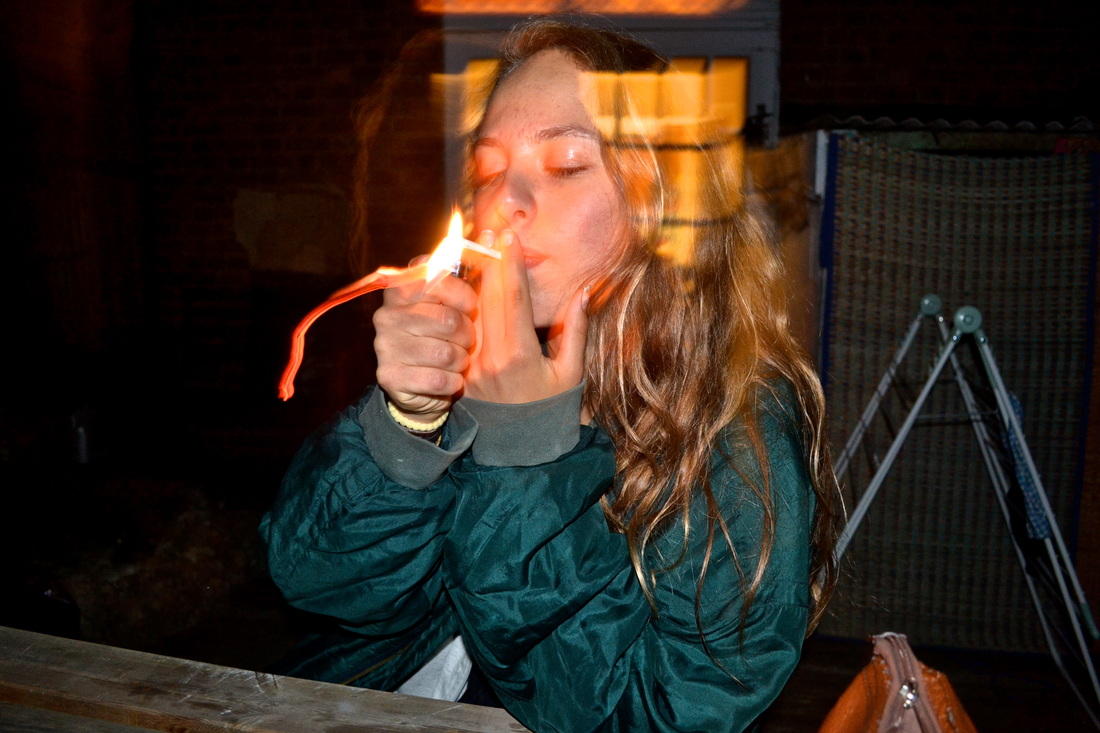
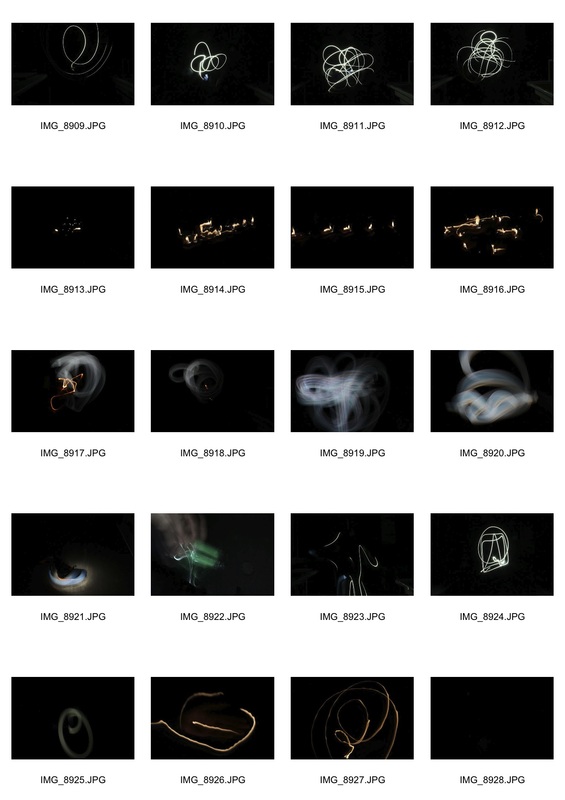
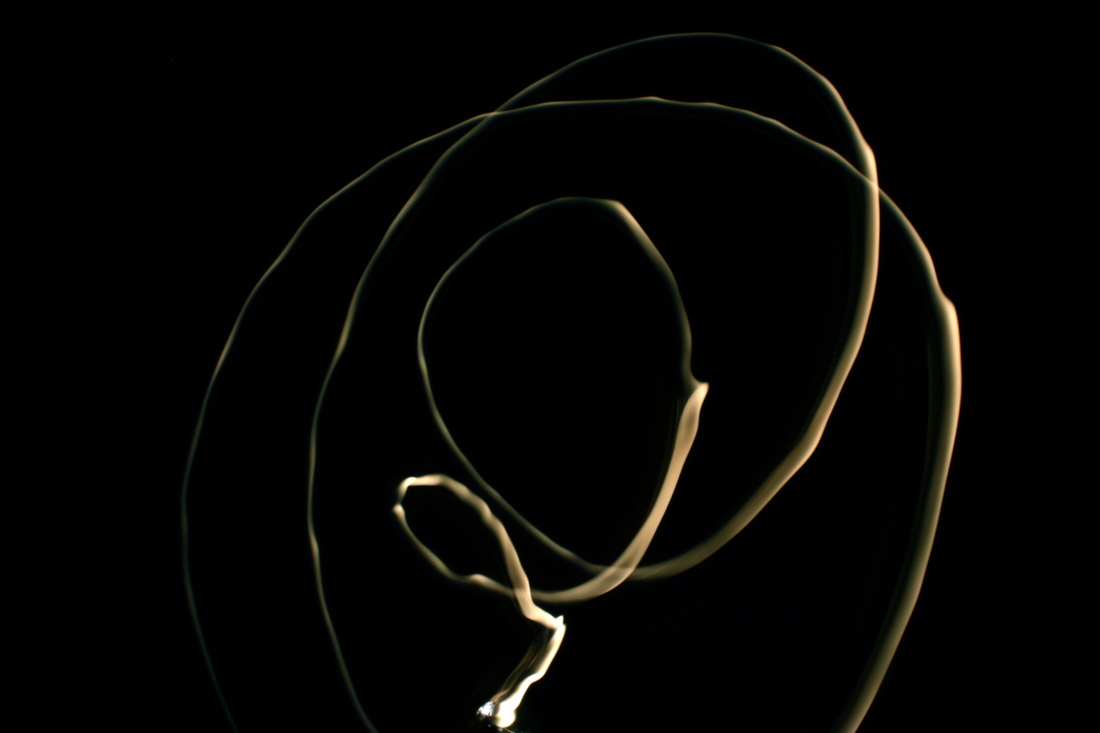
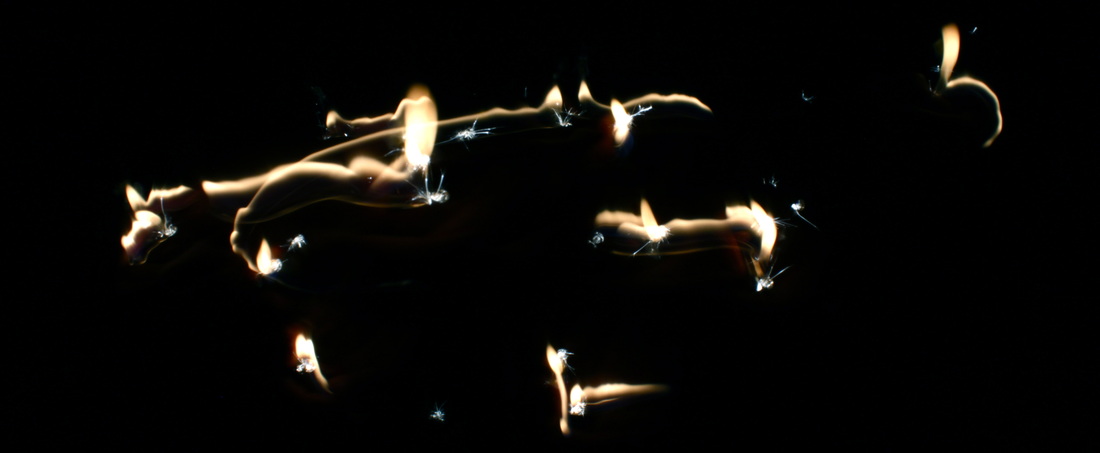
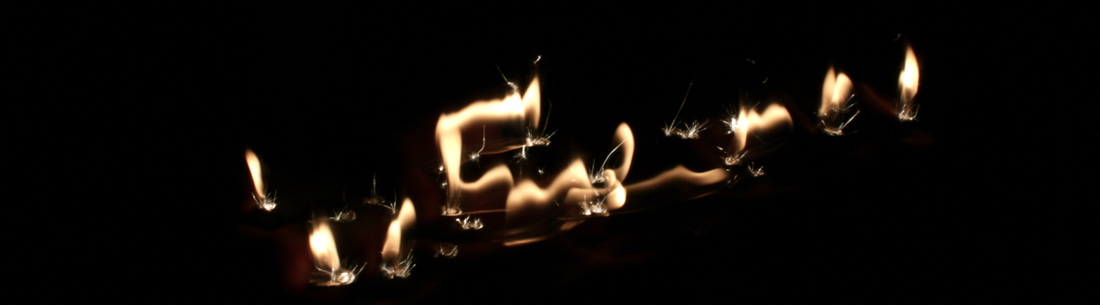
light photography
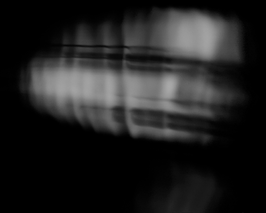
In next set of photo's, I moved on from photographing people, and decided to experiment with light and fire. To photograph these images, I went in a dark room, and set my camera to a slow shutter speed, in order for the camera to capture the light's travelling path. For the following images, I used an iphone's torch, the front screen of an iphone, and a lighter. On reflection, I decided not to continue with this, and carry on developing gifs and distortion photography.
edits
|
|
|
|
|
|
The next gif I made, I decided to layer two portrait's on top of each other, and photograph them moving their head's in the opposite direction. To do this, firstly I had to drag all the selected photo's into photoshop. Then layer the two images of each portrait image than I wanted to appear on the gif at the same time. To allow the gif to work, I then had to flatten the image. After this process, I made the gif the same way I have previously (instructions shown above).
|
|
zoetrope
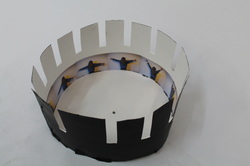
For a development piece, I decided to make a zoetrope, to follow on from my theme of moving still images. A zoetrope is device, created in the 18th century, that produces the illusion of motion from a sequence of pictures. To do this, I took a sequence of photos of my friend lifting her arms. I then printed them out twice (all except the first and last images) on to photographic paper. Next, I cut them out and glued them on to a strip of card. I stuck each side of the card together to form a circle. I placed this on top of another piece of card, drew around it. Then, I cute the base circle out and cellotaped the circle of card on to the base. After, I cut equal strips along the top of the circle, to allow the viewer to watch the motion pictures. Next, I painted the outside and base black to give it a nice finnish. Finally, I made a small hole in the middle of the base, and stuck a pin through it allowing it to spin. Below is a video of how my zoetrope works.
|
|

|
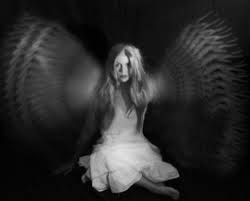
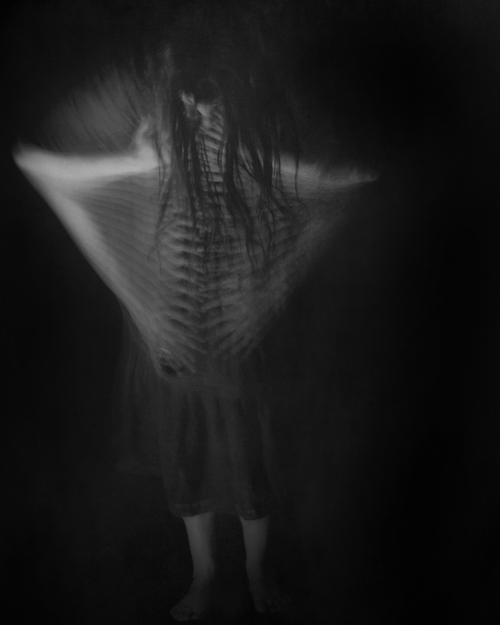
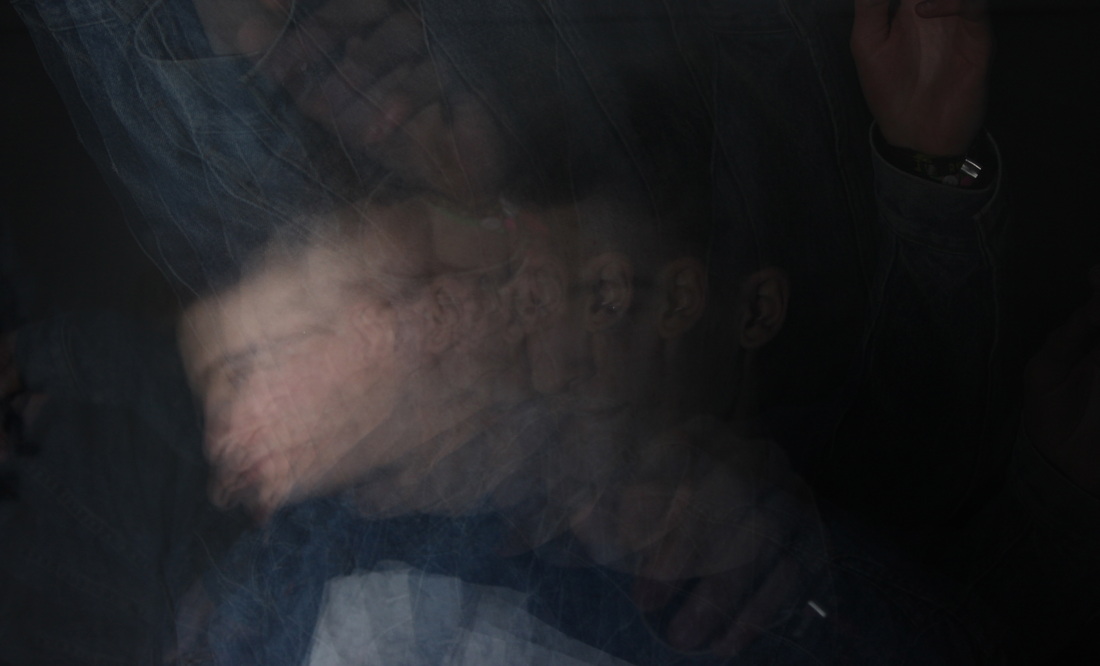
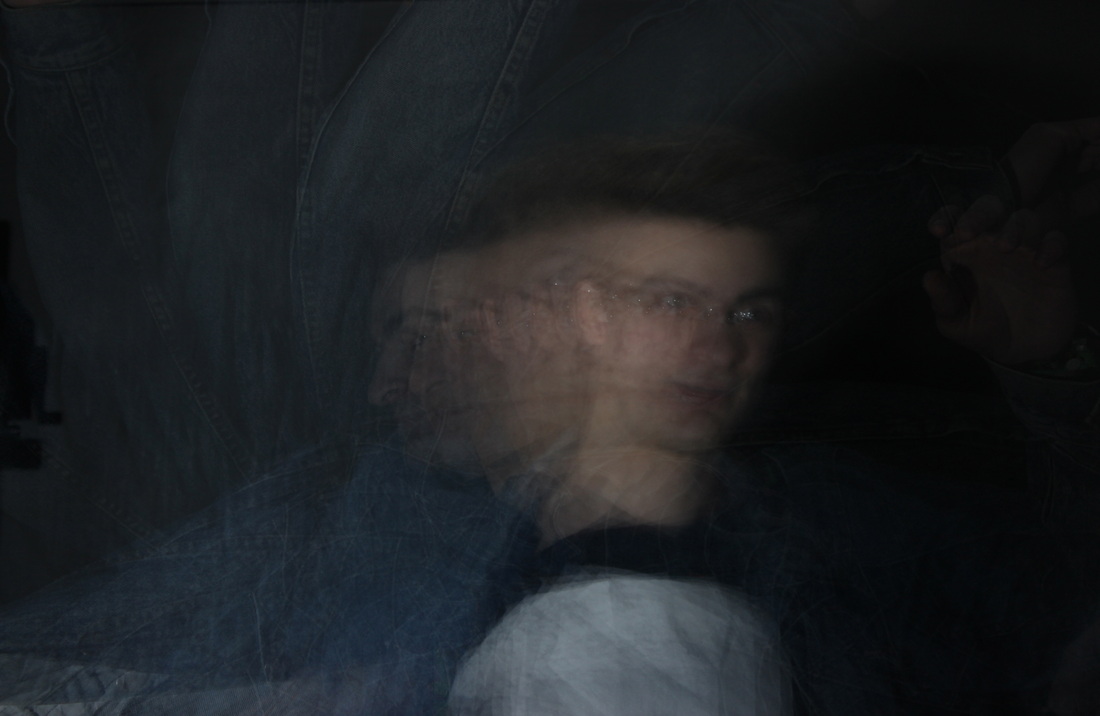
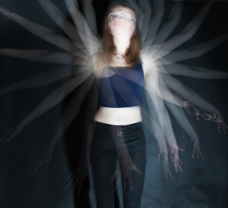
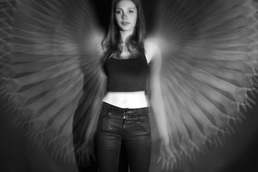
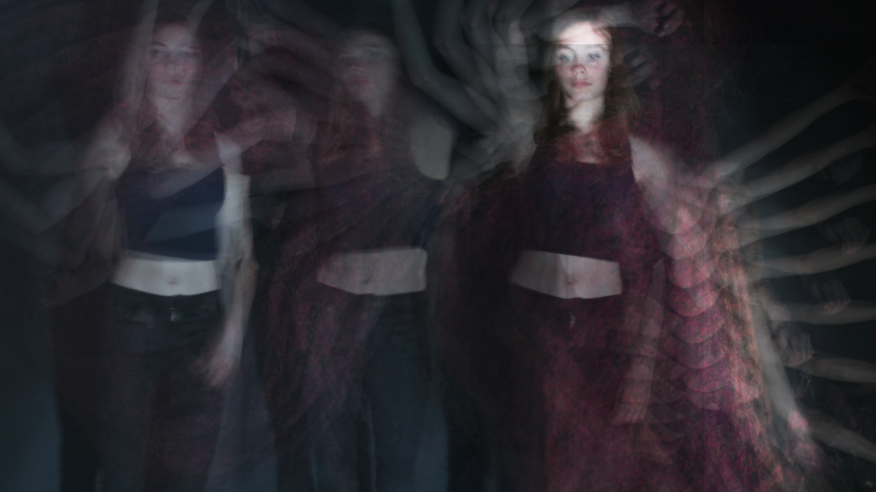
artist and me
|
|
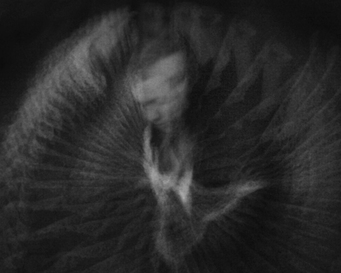
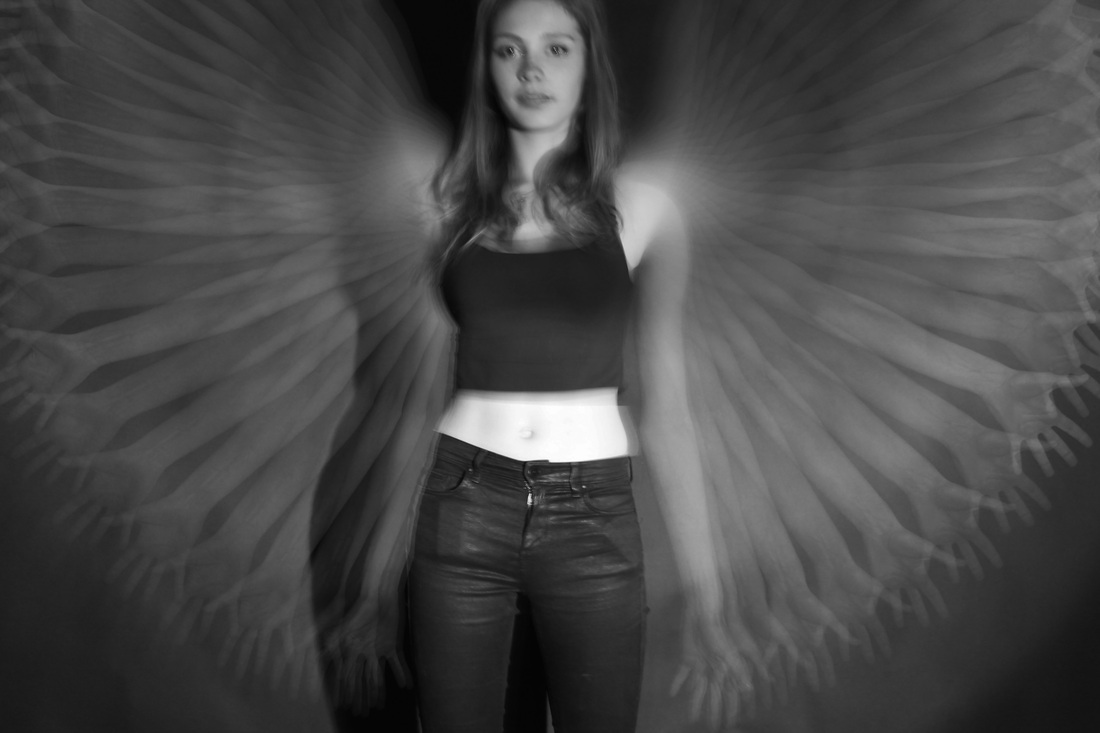
I responded to Kalliope Amorphous's piece shown above to the left by attempting to capture a similar image. I photographed my friend moving her arms from side infront of a strobe light, allowing the camera to capture each individual movement causing her to appear to have 'wings' made up of arms. I edited my photo in black and white to give it the same phantasmal tone. I successfully captured similar blurred arm movement's the subject in my photo as Kalliope Amorphous' creating an abstract effect. However, our photo's differ due to the difference in focus. One way in which the artist displays ambiguity through the photograph is through the use of shutter speed and strobe light, causing the image to be out of focus and blurred. In my image, even though the arm's have been captured multiple times, they still remain in focus.
final piece
For my final piece, I decided to make a gif using four separate gifs merged together. Firstly I photographed my friend showing different arm movement's infront of strobe light. My most successful outcome out of the individual photo's is the black and white image shown above that I compared to Kalliope Amorphous' work. After I took these photos, I created four separate gifs, using six photos on each, all showing different arm movement's. After these gifs, I decided to make one big gif using all of the images from the four gifs. I did this by layering all the images on top of each other, and decreasing all but the background image's opacity to 30%. I had to copy and paste the images into a separate document, as simply layering them wasn't effective, as the images would be too close together. I had difficulty with the line's on the edge of the photo being shown when layered over the other images. To solve this, I had to use various techniques such as using the stamp tool, the rubber and editing the background colours to match. In some of the images, this worked, however the line's can still be shown in some of them. I found the individual gifs more successful, and to improve my final gif, I should of taken more photo's and blended them together more subtly. Finally, I printed out my most successful photo's.
Final prints
|
|
|
four separate gifs
|

|
final gif